In the last two stories, we created the AD B2C Tenant, and then I guided you through the integration into Next.js 14. Signup and Sign-in are working, and therefore, we are gonna add some custom styling to improve the look.
In the previous two stories, we created an Azure AD B2C Tenant, and then we integrated it into our Next.js 14 project. Now, we will style it accordingly so that we have our logo, etc.
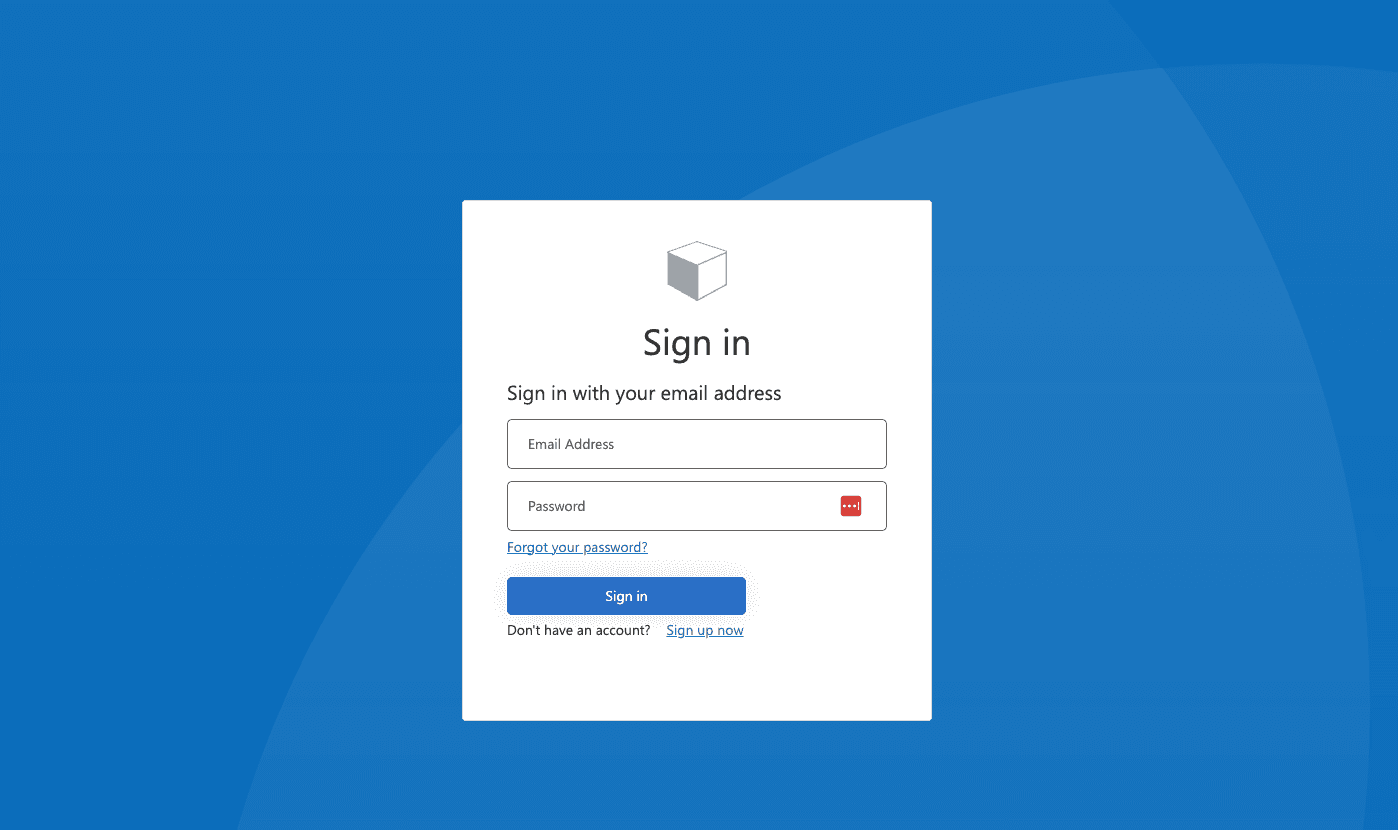
Default Styling Azure AD B2C
That is the current (default) look
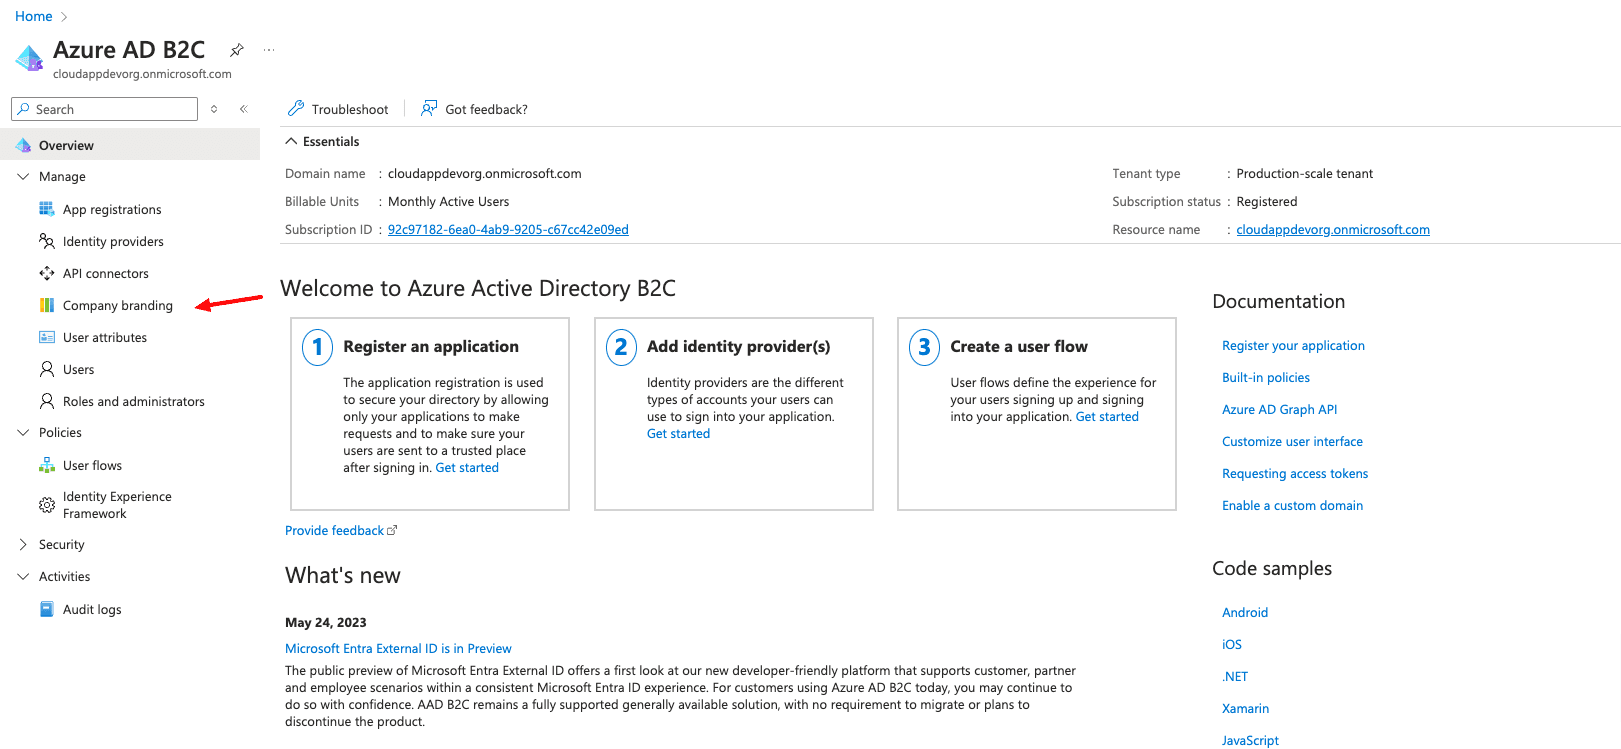
Let’s head over to our Tenant in the Azure portal (portal.azure.com) and click on “Company branding” on the left side.
Custom Branding
On the next screen, we click on Configure on the top middle/left
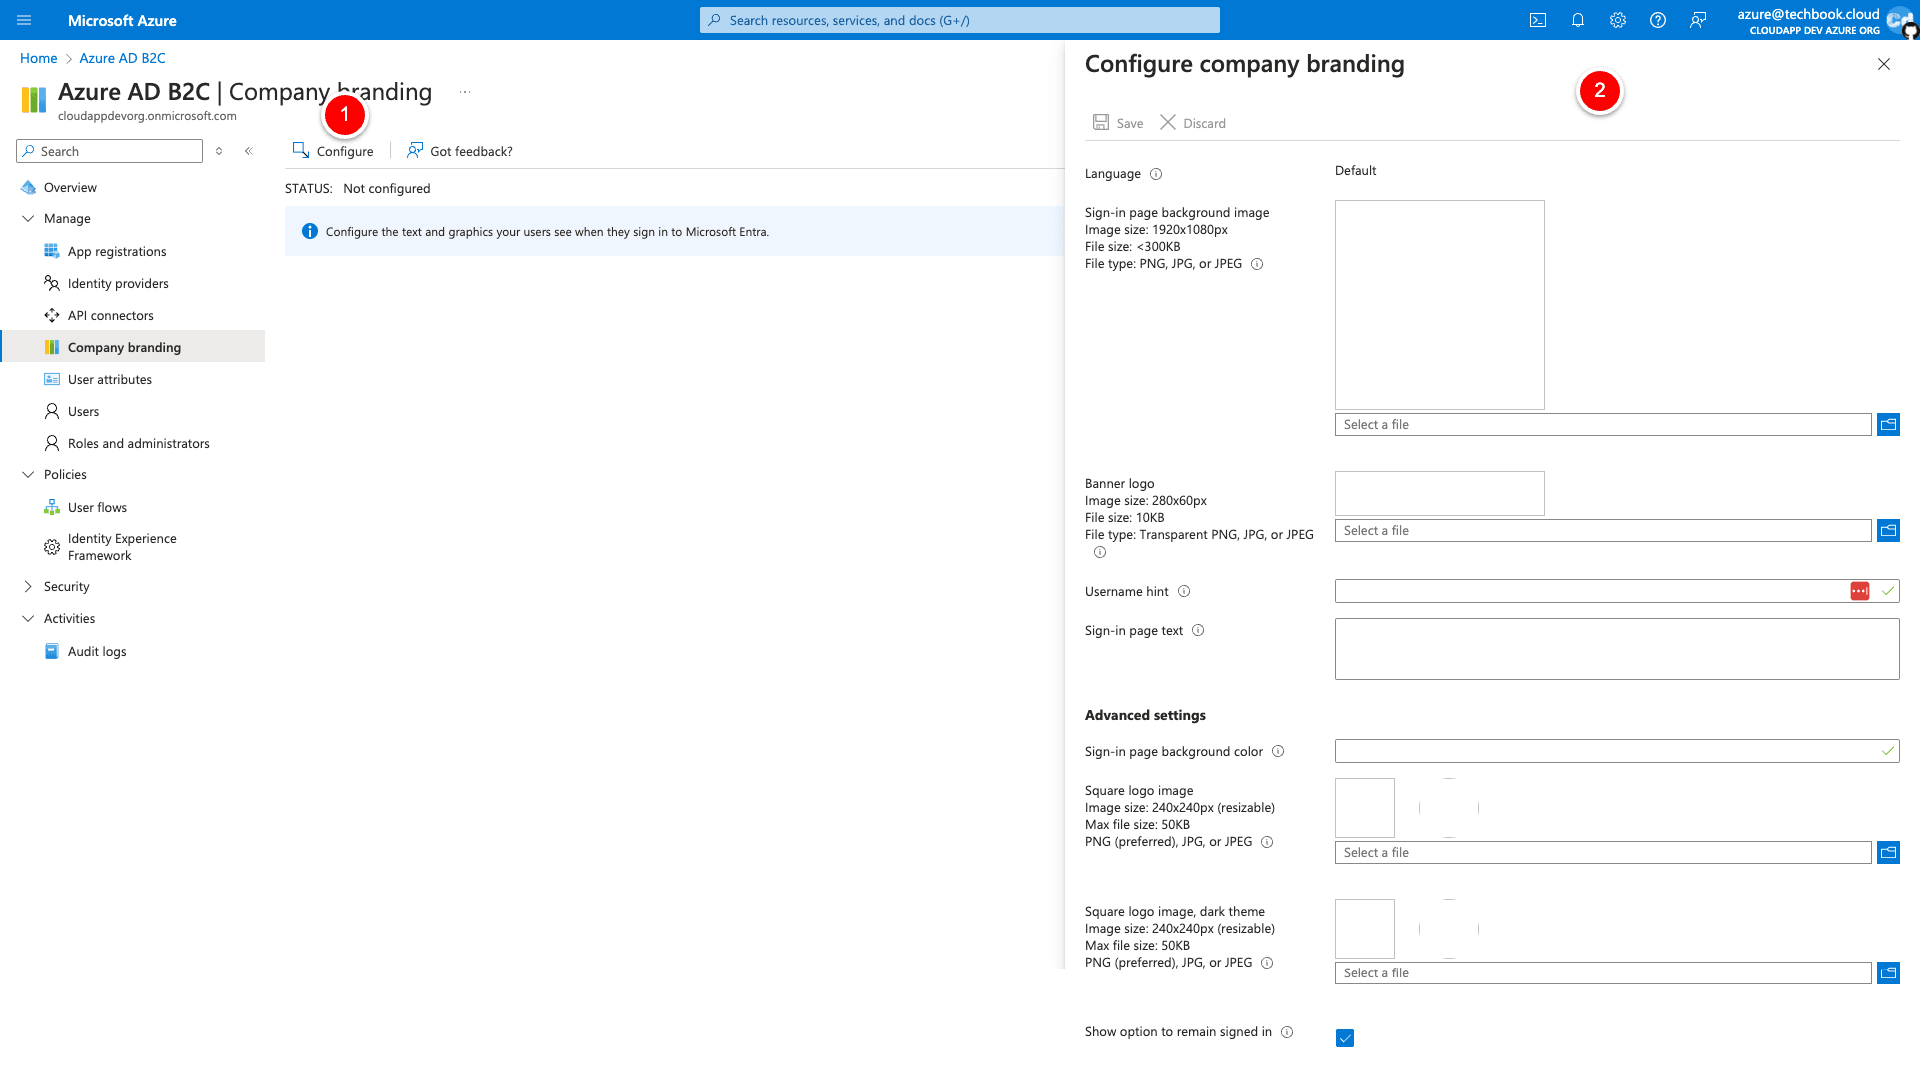
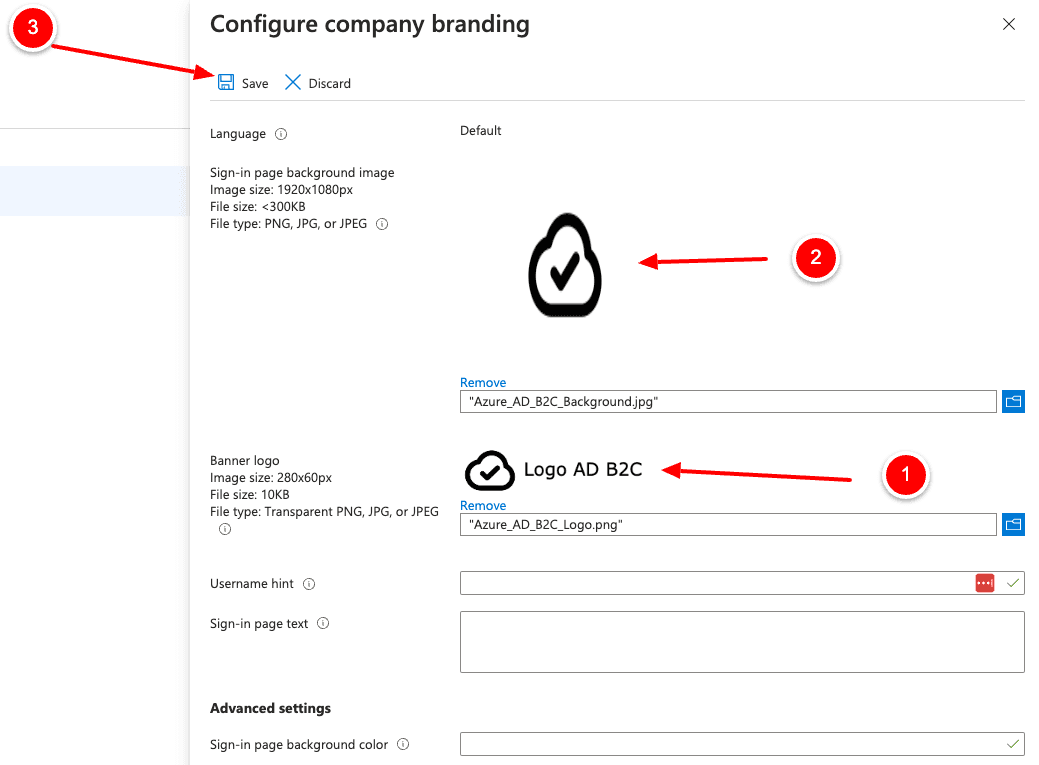
And now we can add a background image, a Banner Logo, Username hint, etc. We will add a background image (2) and a logo image (1) and then click on Save(3).
After saving the changes, we will see the new overview.

And as you can see, there is a CTA “+ New Language” on the top/middle, which we can use to define different content per language, if needed.
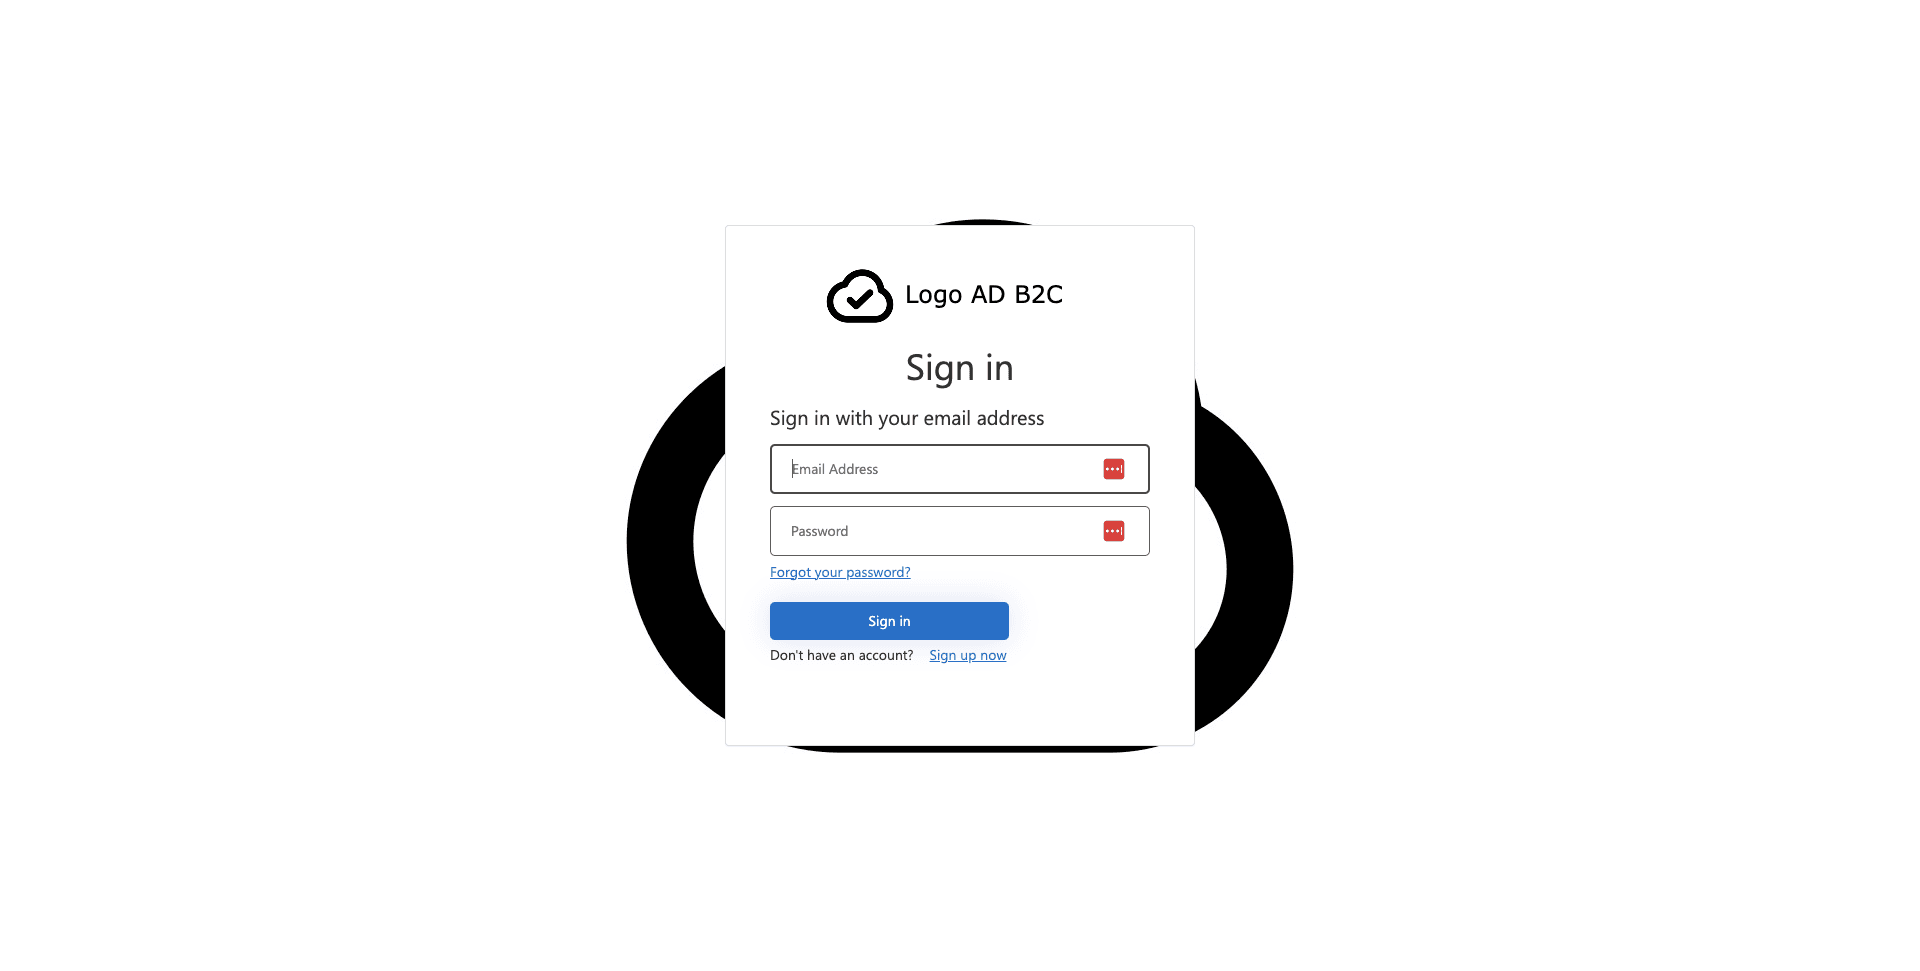
If we now go back to our example blog -> https://nextjs14-auth-azureb2c.vercel.app/
and we click on the User Icon on the top right; we can open the “Login/Register” dropdown, which brings us to the newly styled sign-in/signup page.
Change predefined templates
If you would like to style further, you can go back to your Tenant overview and click on “User flows” and then select your User flow “B2C_1_Webapp_signupsignin_1”. On the left side there is a menu item called “Page layouts”.
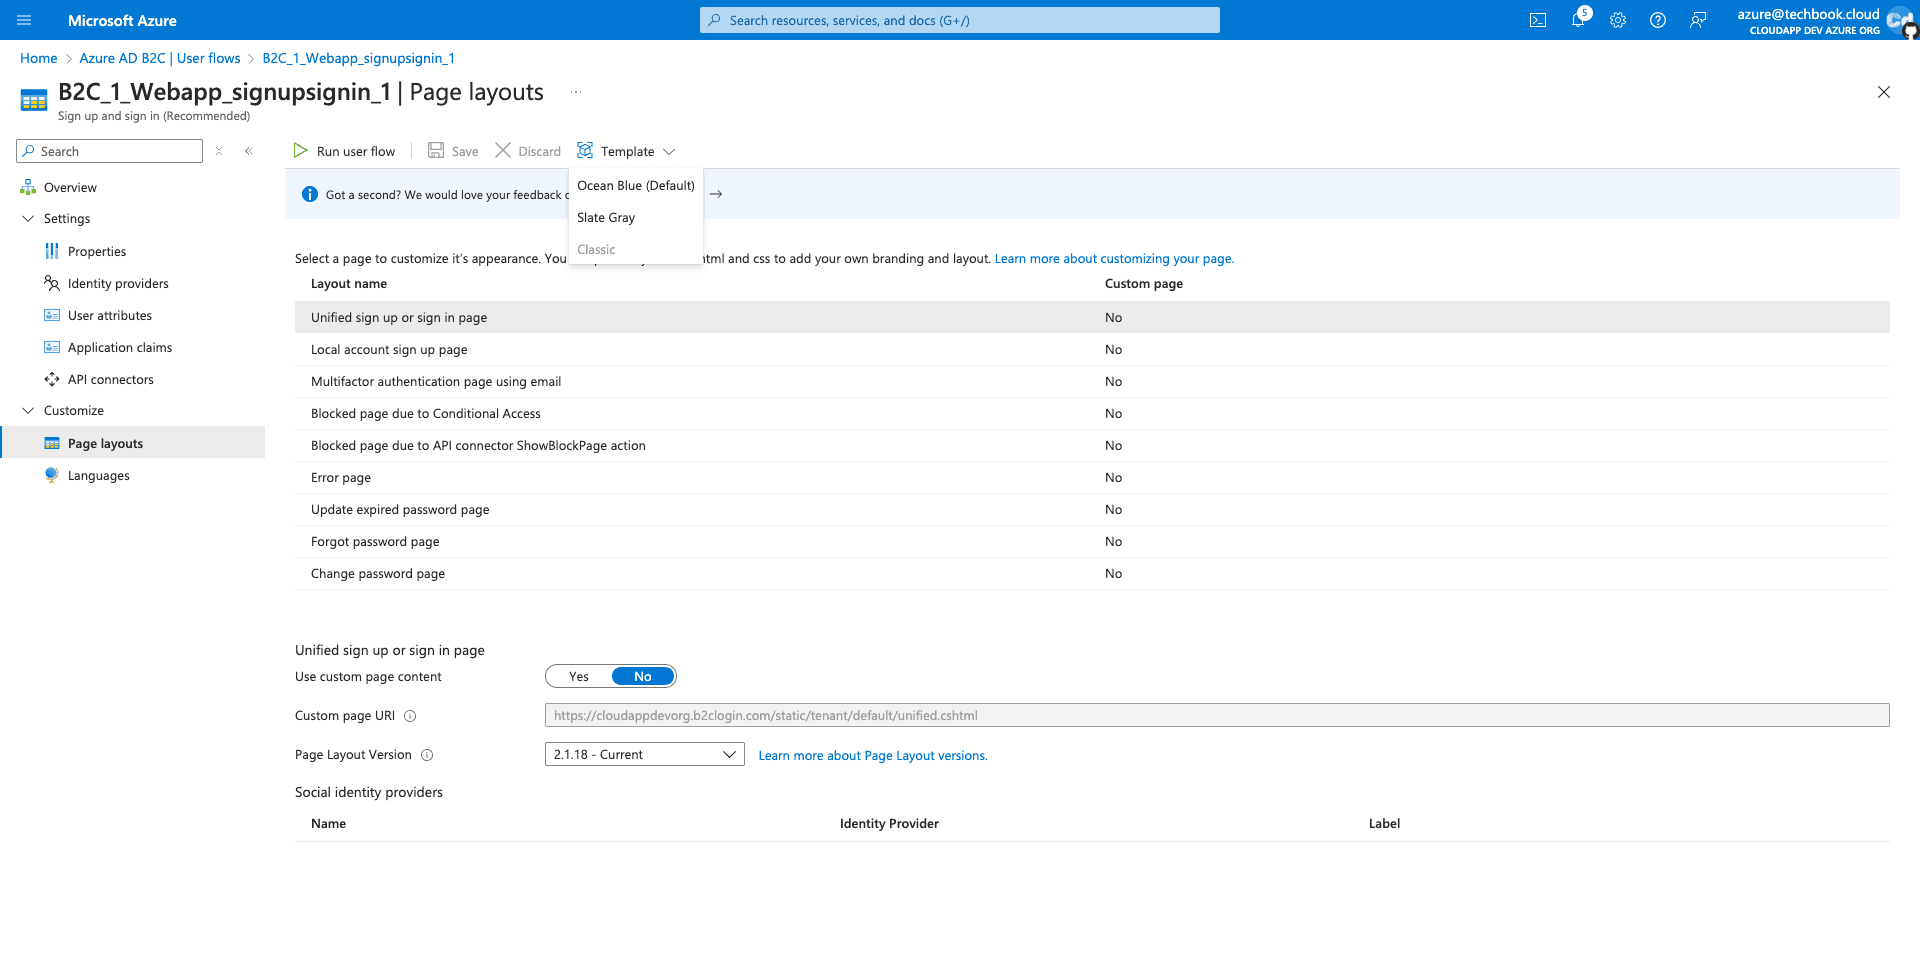
On the top is a CTA “Template,” where you can choose between three options: “Ocean Blue (Default),” “Slate Gray,” and “Classic.”
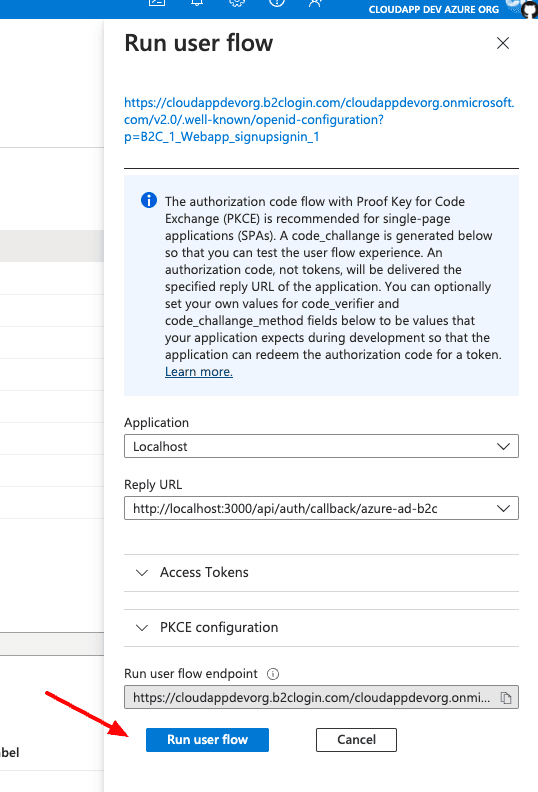
We change to “Classic,” and as soon as Azure has saved it, we click on “Run user flow” at the top left, which opens an overlay on the right.
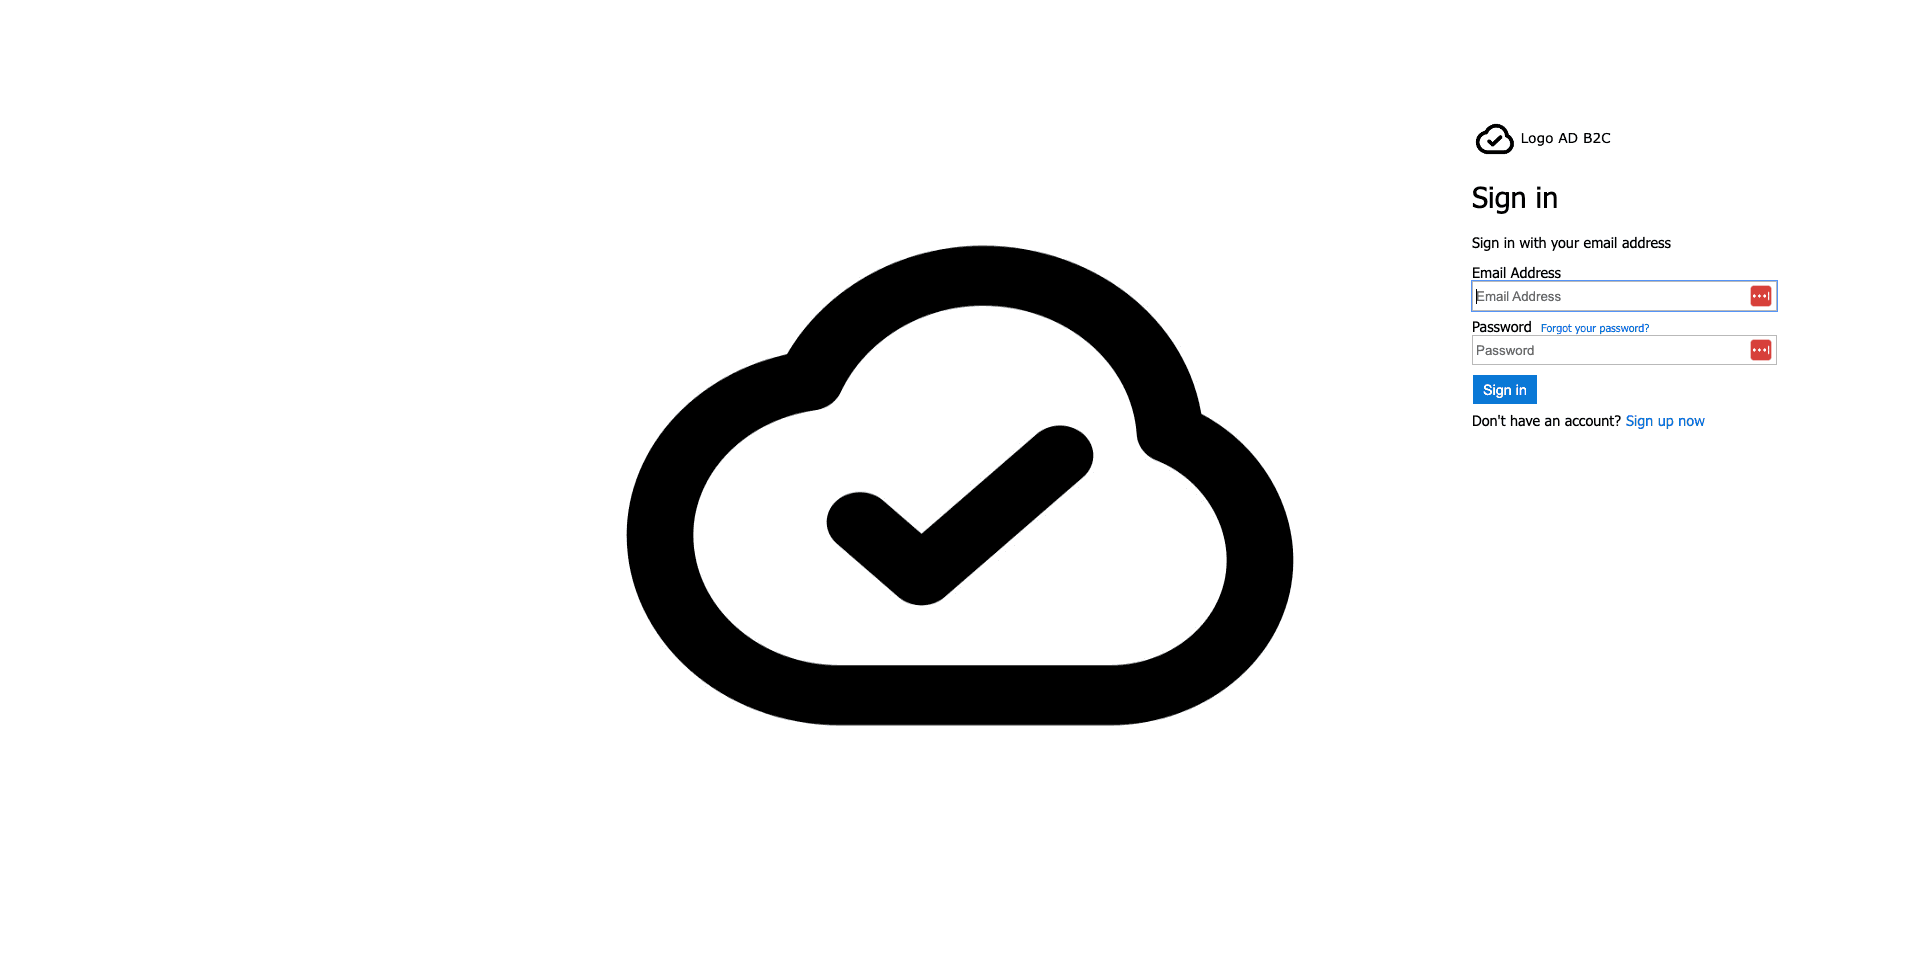
New Layout
And voilà, we see a new layout
If this is still insufficient, you can move the toggle “Use custom page content” to the left (Yes) and define your template file.
Cloudapp-dev, and before you leave us
Thank you for reading until the end. Before you go: