Let's follow up on our project which we created in the previous post Nextjs 14 - Complete Example with Typescript - Contentful - App Router
Review Contentful Content-Types
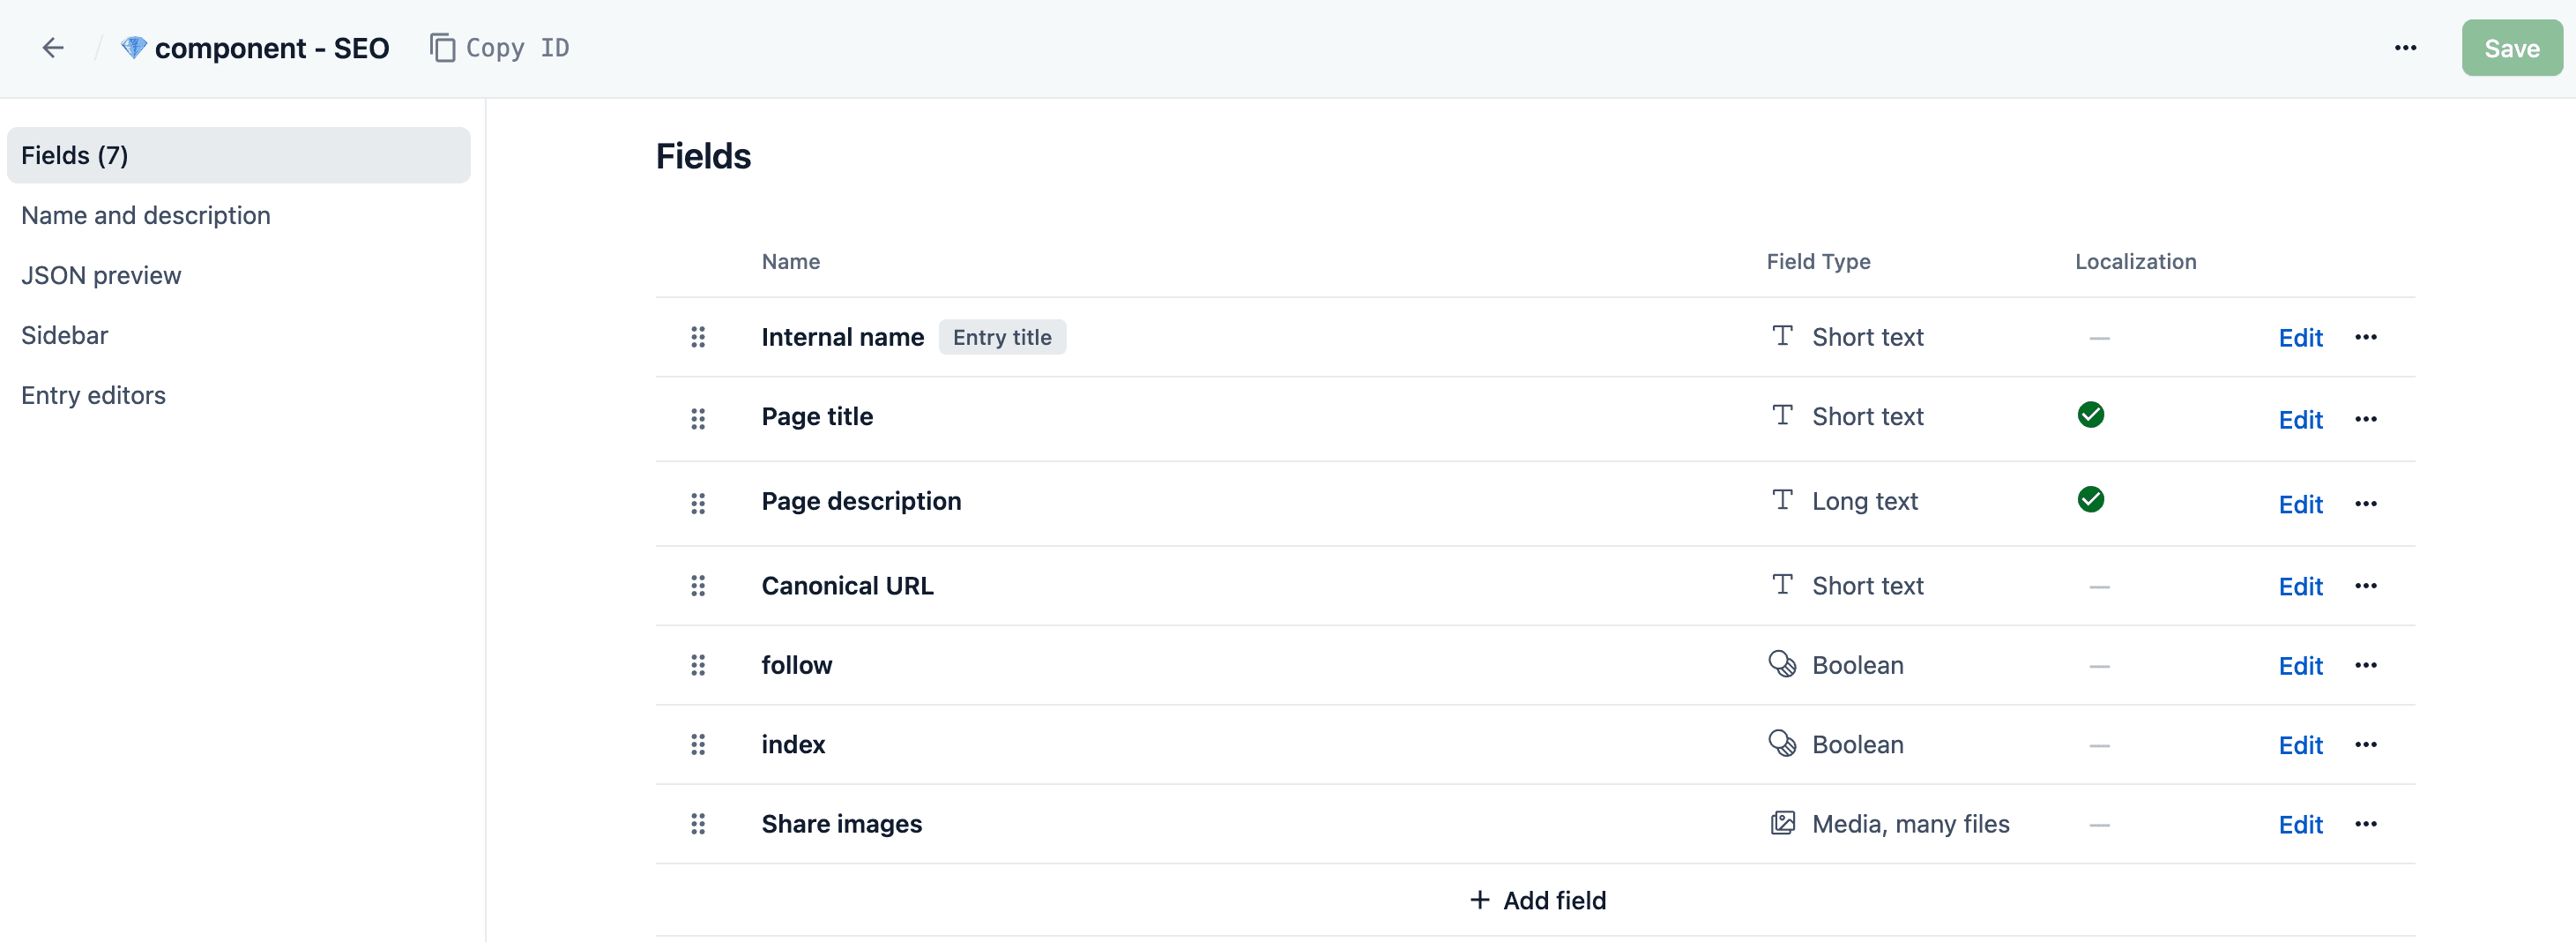
Here is the content from the seoFields.graphql file (folder -> src/lib/graphql)
this screenshot shows the content fields from the content type seoFields within Contentful
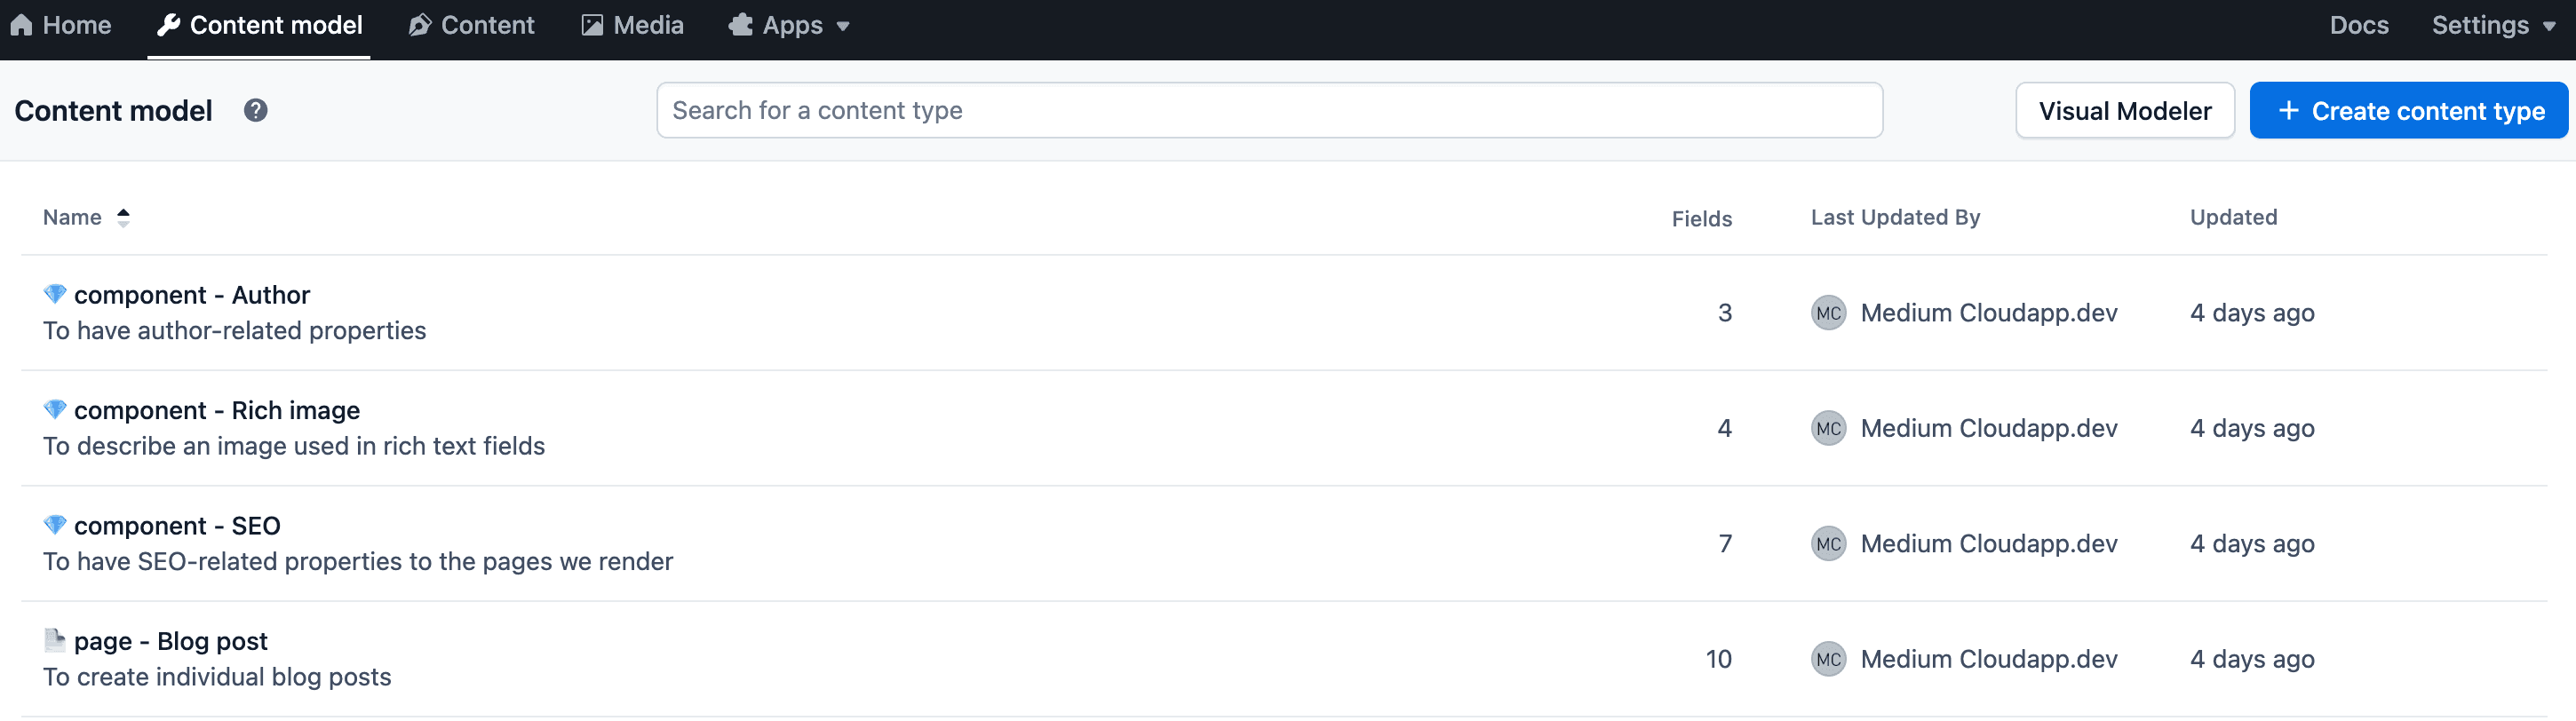
Here is an overview of all content types that we currently have on Contentful
Let's improve the UI of our blog.
First of all, we install/update these npm packages:
Installation needed NPM packages
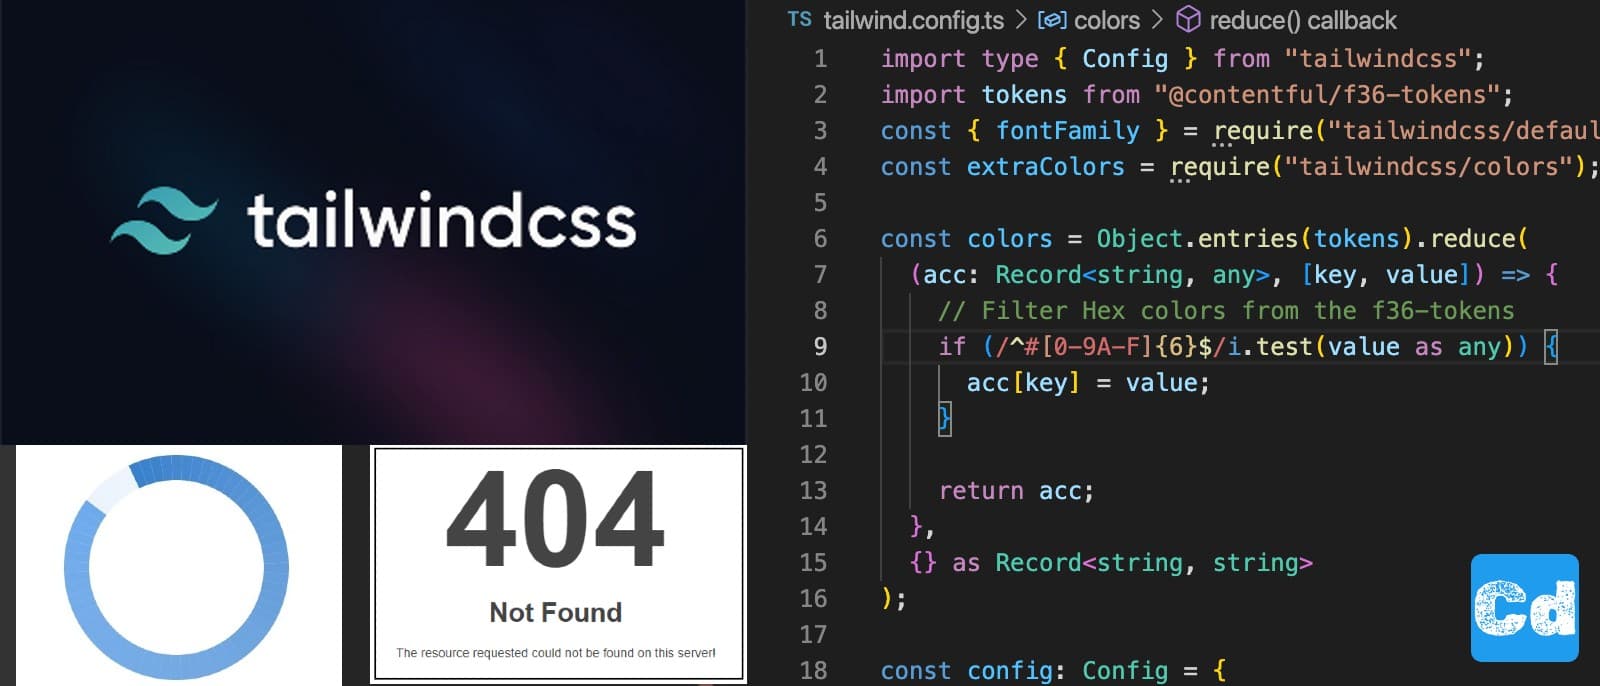
f36-tokens is one part of the F36 Design System from Contentful. Now let's modify the main Tailwindcss config file: tailwind.config.ts in the project root
Before
Changes on tailwind.config.ts
After
First, we import:
then we loop through the tokens (Filtering only the Hex-Colors) and use the new "colors" in the tailwind.config.ts file -> "theme" section.
Changes on global.css
As a next step, we modify the file global.css under src/app. We add a few styles as base layers.
Here is a good explanation regarding base layers from tailwindcss.com https://v1.tailwindcss.com/docs/adding-base-stylesThe file global.css is used in our layout.tsx fileBy using the @layer directive, Tailwind will automatically move those styles to the same place as @tailwind base to avoid unintended specificity issues.
Using the @layer directive will also instruct Tailwind to consider those styles for purging when purging the base layer.
We use @apply to define these styles to avoid introducing new magic values or accidentally deviating from your design system.
We are ready now for the new components that we need to add and the changes on the page.tsx. In total we will add 6 components:
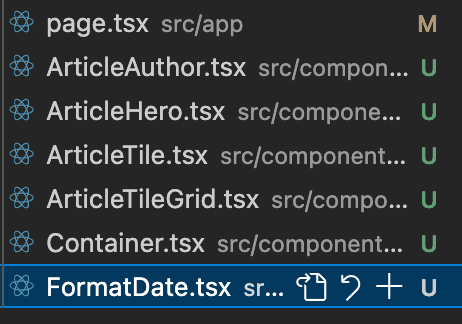
New components and changes on pages
In the file src/app/page.tsx we added these code lines: New Imports New ImportsAfter adding the new imports we have there should be these lines
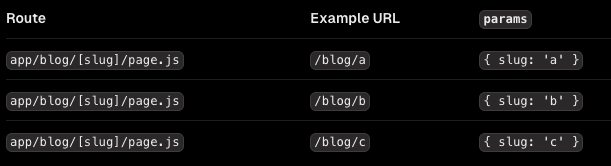
Let’s add a new folder [slug] under src/app. If a folder’s name is wrapped in square brackets, we create a “Dynamic Segment”.
Example
For example, a blog could include the following route app/blog/[slug]/page.tsx where [slug] is the Dynamic Segment for blog posts.
in the new folder [slug] we create a new page.tsx file, where we use our new components as well.
under the Imports, we create our interfaces
Interface is a structure that defines the contract in your application. It defines the syntax for classes to follow. Classes that are derived from an interface must follow the structure provided by their interface.
An interface is defined with the keyword interface and it can include properties and method declarations using a function or an arrow function.
The generateStaticParams function can be used in combination with dynamic route segments to statically generate routes at build time instead of on-demand at request time.
The primary benefit of the generateStaticParams function is its smart retrieval of data. If content is fetched within the generateStaticParams function using a fetch request, the requests are automatically memoized. This means a fetch request with the same arguments across multiple generateStaticParams, Layouts, and Pages will only be made once, which decreases build times.
Below is the new version of our blog after our applied changes. Start the dev server “npm run dev” and open “http://locahost:3000”

Now our blog works, we have a homepage, and if we click on the blog posts below we will land on the corresponding blog post page.
GitHub Repo
Stay tuned for the next posts where we will add new components like Navbar, Footer, etc. and we will also add an Azure Entra ID (formerly known as Azure AD B2C) for the identity management and Algolia as an On-Site Search Engine.
The full code is accessible from my GitHub Repo
Stay tuned and support me with a clap or follow me on medium.com.