Table of Contents
- Prerequisites:
- Prisma changes
- New Env-Variables
- Custom Attributes in AZURE AD B2C
- Access Token API Route
- New NPM Packages
- Modification Tailwind.config.js
- Utils.ts
- Roles Setup Azure AD B2C
- Getting Access Token
- Getting User Data (especially UserID)
- Patch User object with new value for custom attribute “Role”
- Here is the final result
In the previous stories, I created an Azure AD B2C tenant and provided a step-by-step guide regarding the integration into your Next.js 14 project.
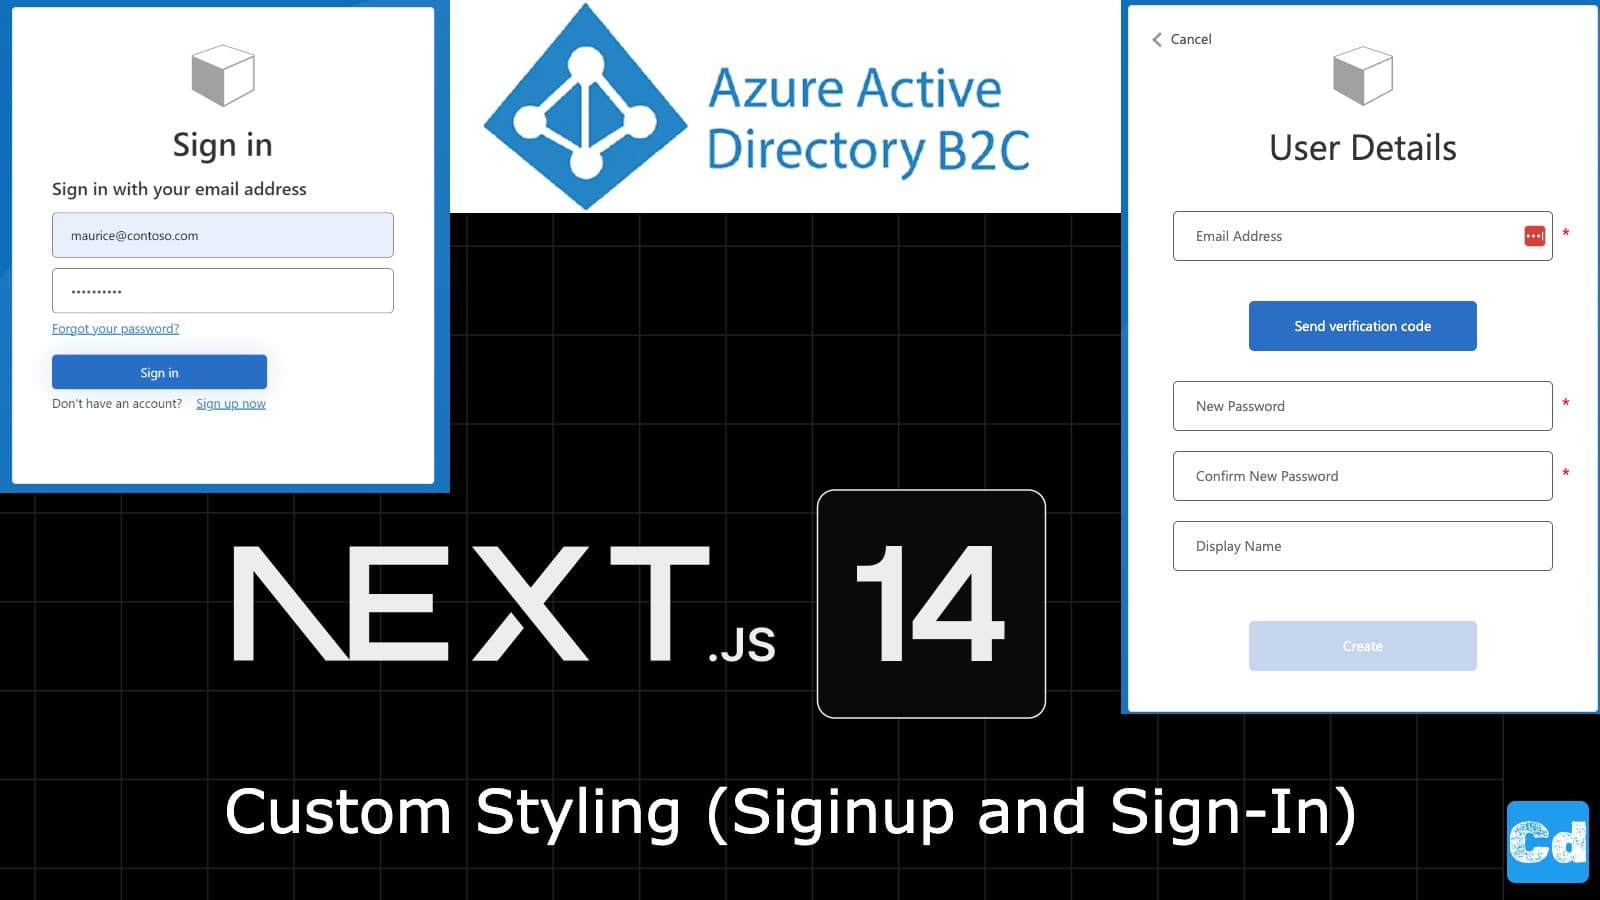
Based on that, I first changed the styling of the sign-in / signup page and, lastly, added three Identity providers (Google, GitHub, and Microsoft) to the AD B2C tenant.
In this story, I will show you how easy it is to access your data in your Azure AD B2C Tenant via REST so that you can integrate it into your Next.js 14 project. We will extend our Prisma schema as well, so that we can save the obtained Access Token from Azure Ad B2C.
Here is the GitHub repo with the full code.
Prerequisites:
GitHub Account (makes it easier to create upcoming accounts via social login)
Neon.Tech Serverless PostgreSQL Account (Free Plan) and Prisma Setup (Step-by-Step Guide)
Prisma changes
As a first step, we will add two new tables to our Prisma Schema under prisma/prisma.schema. We will use these new tables to store the access token, which we will get from Azure AD and the new roles.
Let's run
to push the changes to the connected DB.
Here is the complete prisma.schema file (table “logins”, was added in the last post regarding custom login data tracking).
New Env-Variables
we will add the missing env-variables to our .env.local file.
Login to https://portal.azure.com/#view/Microsoft_AAD_B2CAdmin/TenantManagementMenuBlade/~/registeredApps to get the keys.
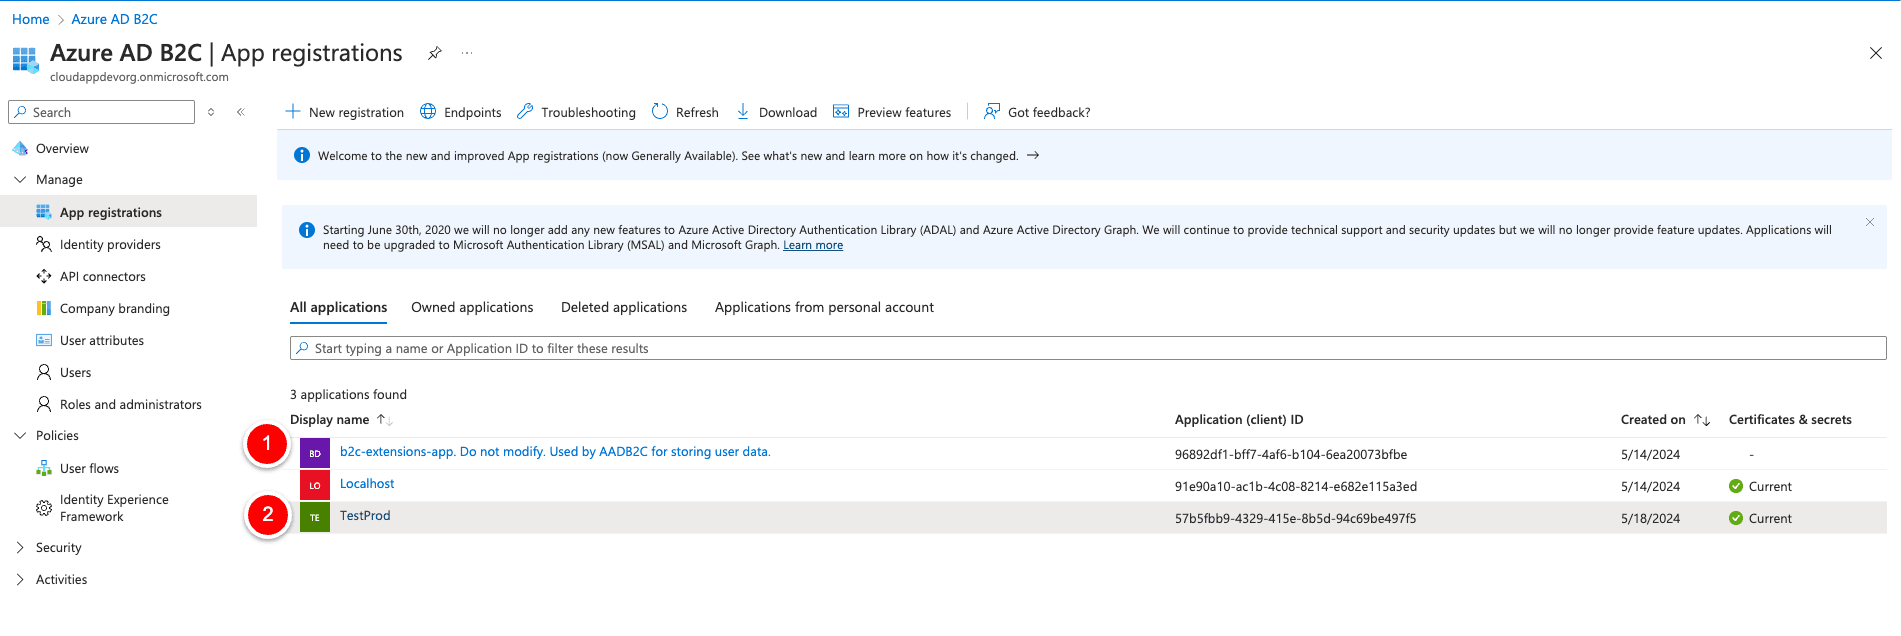
Click on the App registration that you created for the production deployment. In my case, “Testprod.” On the corresponding overview page, you can get the “Application (client) id” for the “AZURE_CLIENT_ID” Env variable, and you can get the “AZURE_CLIENT_SECRET” in the “Certificate & secrets” section on the left side. The “AZURE_TENANT_ID” is also visible on the app registration overview “Directory (tenant) ID”.
Use the AZURE_TENANT_ID for the “AZURE_TOKEN_URL” as well, and replace the “xxxx” in the URL with the Tenant ID.
Custom Attributes in AZURE AD B2C
For the last Env-Variable “AZURE_B2C_EXTENSION_USER” we click on the corresponding “b2c-extensions-app.xxxx” entry, and we copy the “Application (client) id”, then we remove all dashes in the id and we concat “extension_(id without dashes)_custom_attribute” to one string. But stop, what is “Role” in this case?
“Role” is the custom attribute we added during the Tenant Creation.
We need it to get the “Custom Attribute” data from the AD directory.
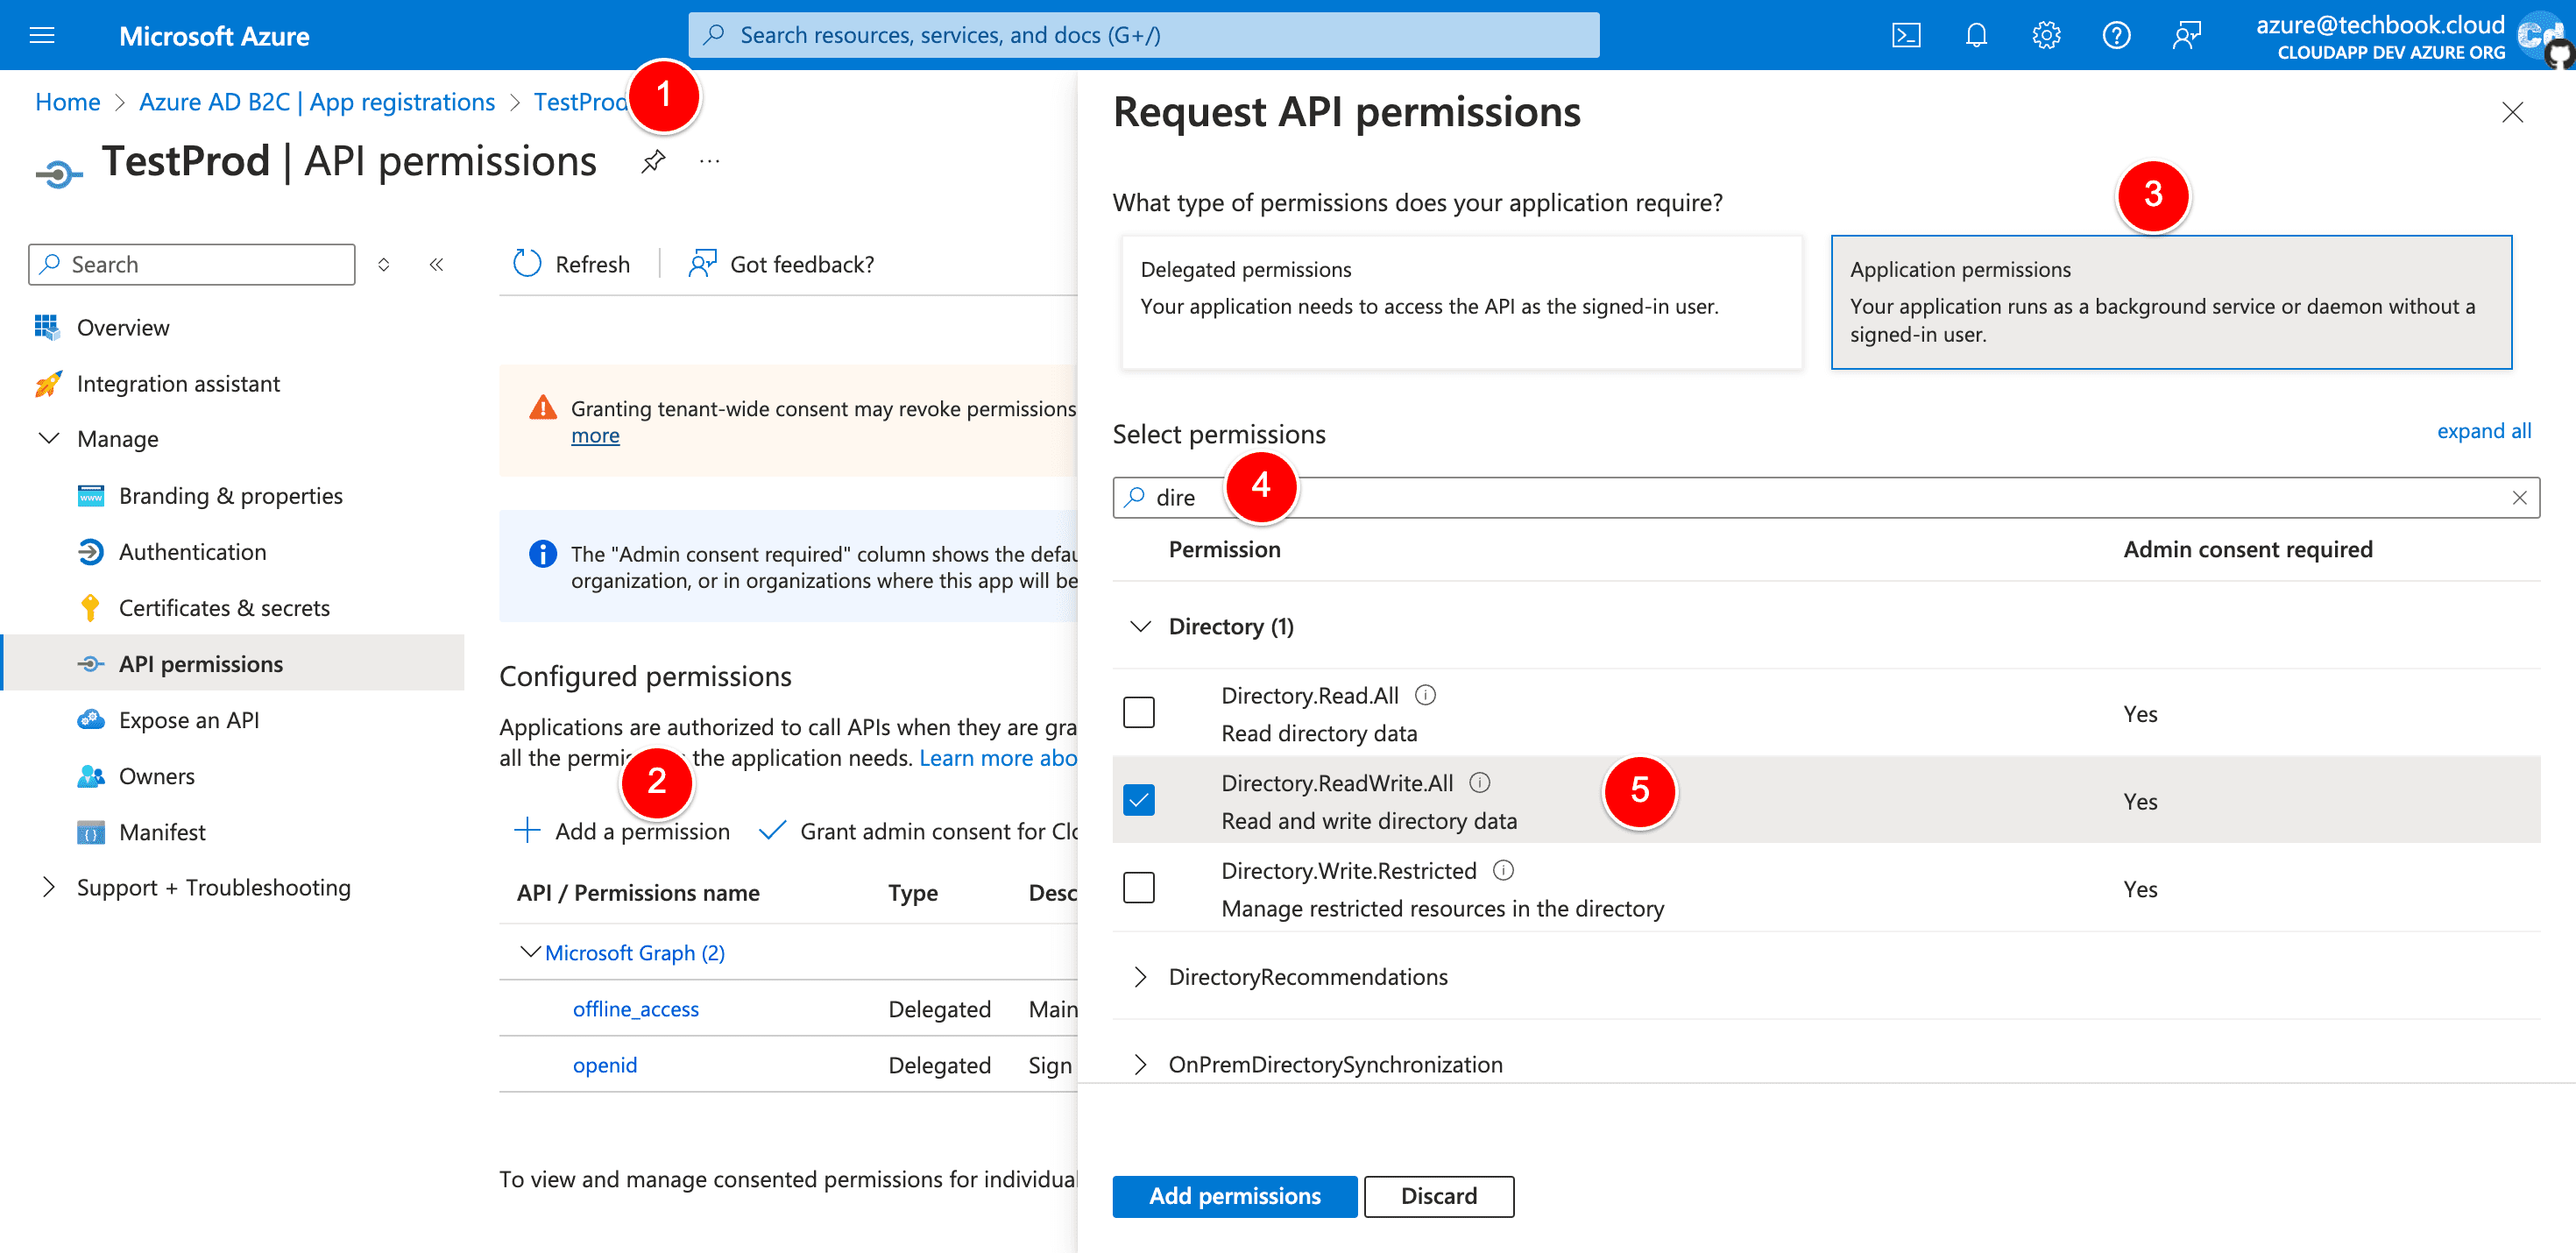
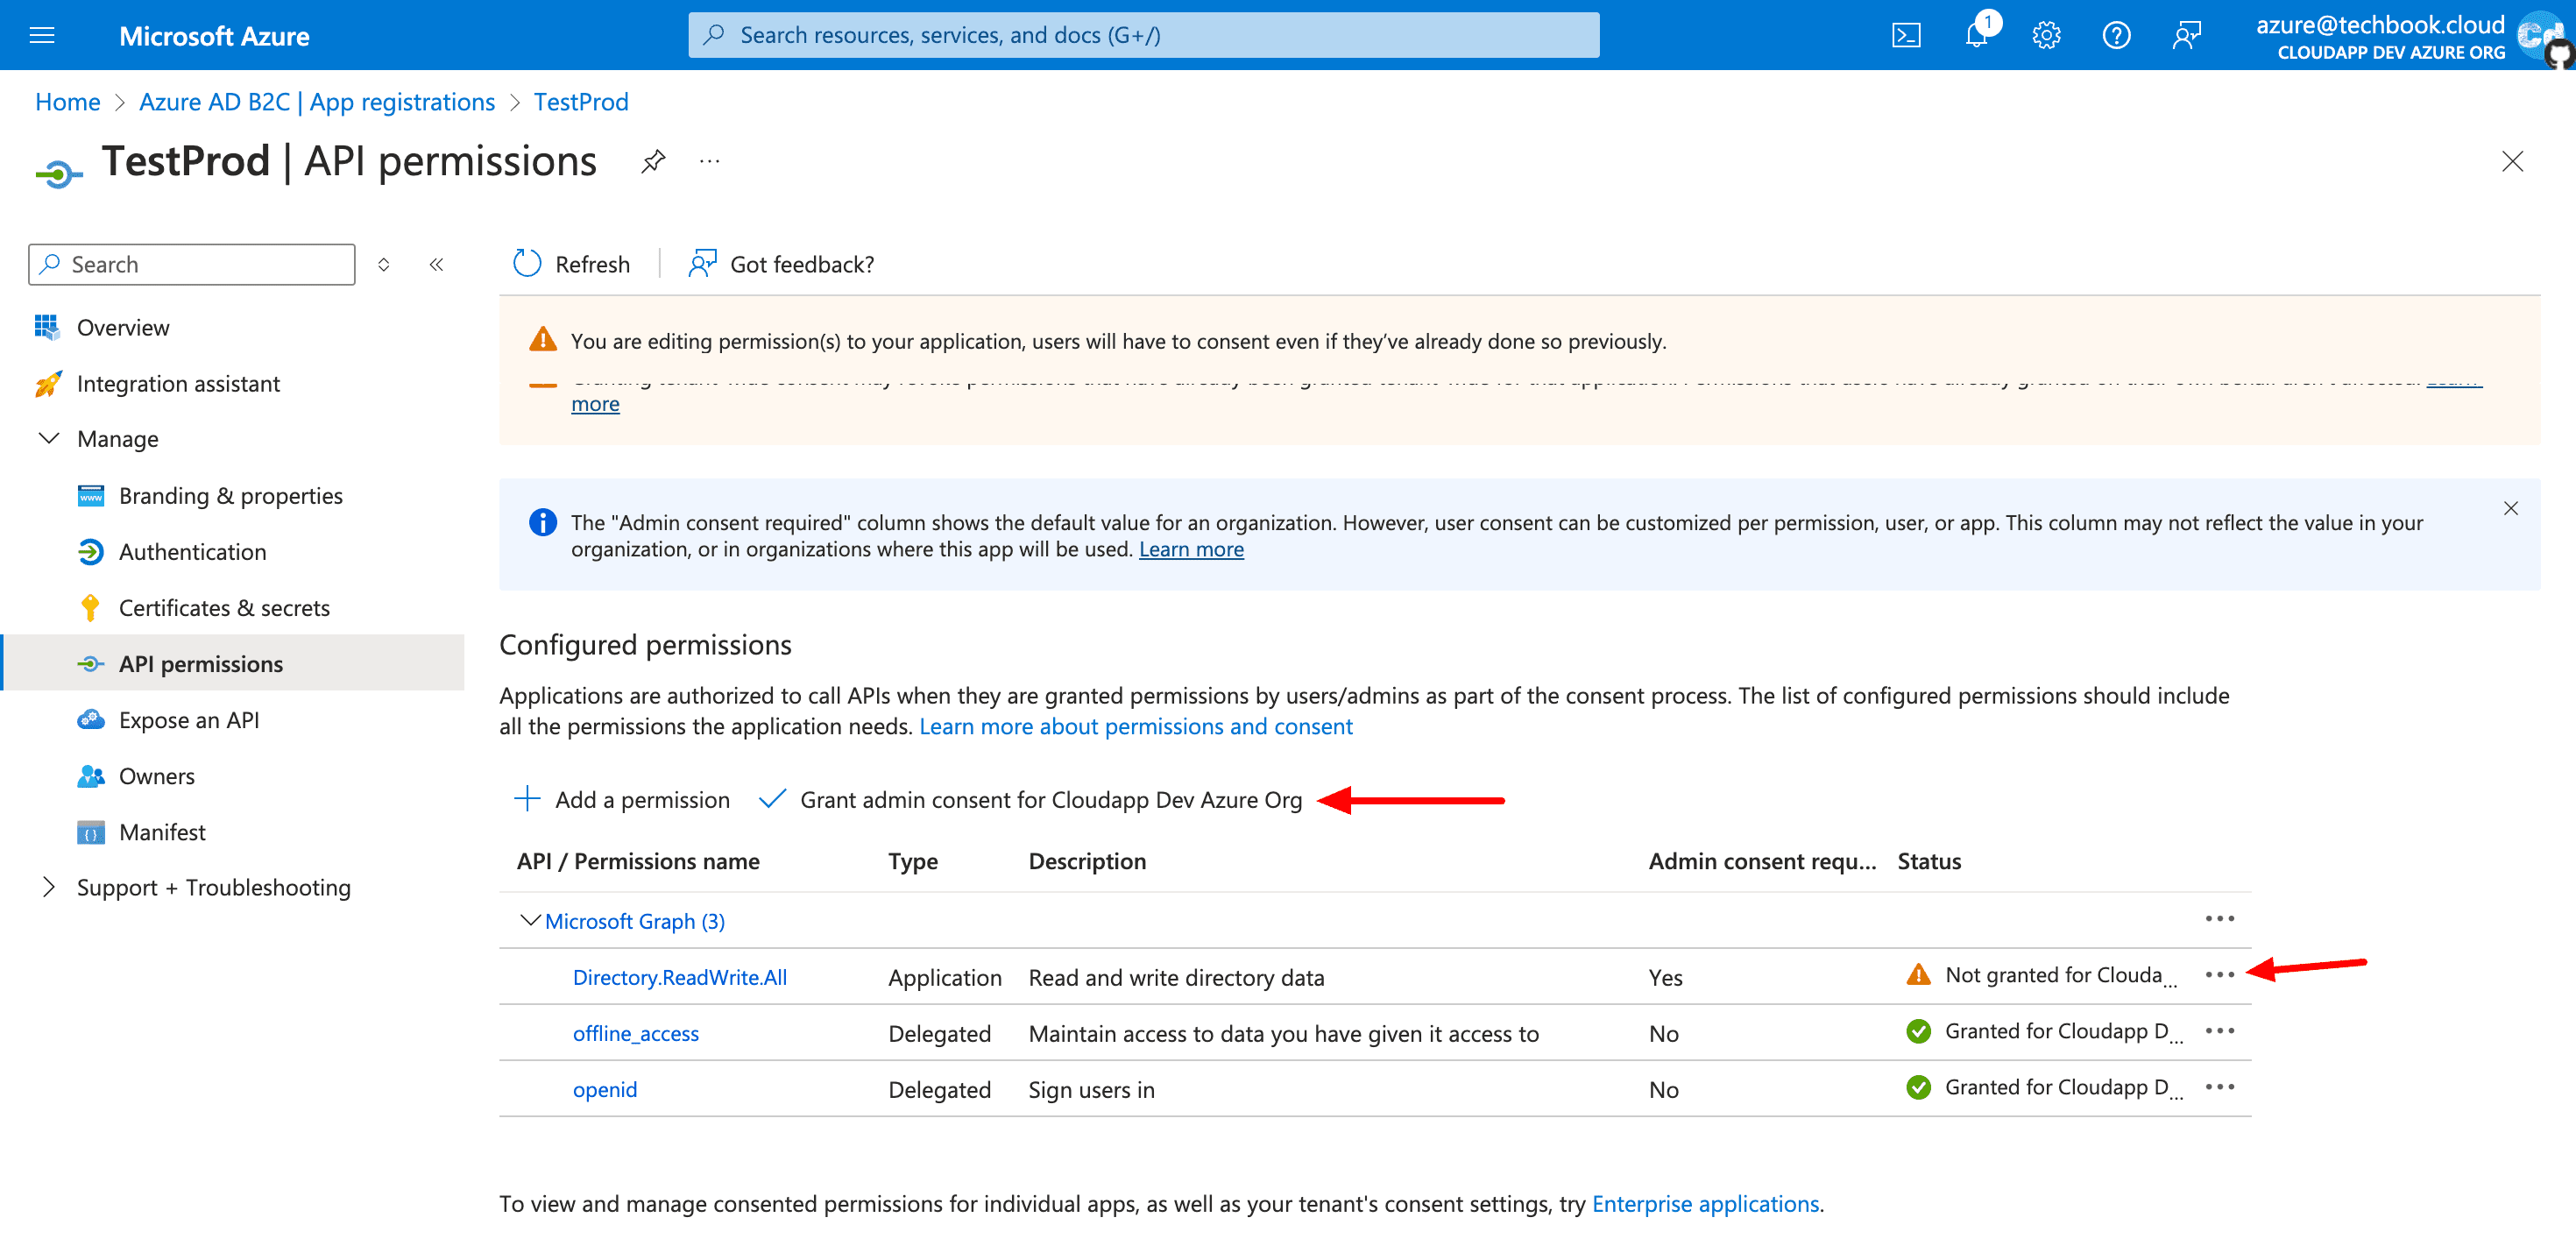
But one important detail is missing. We need to change the access rights for the user “Testprod” so that we can access the AD directory data.
Access Token API Route
Let’s add a new API Route to get first the Access Token and then the Users in the AD directory.
We use Prisma to save the Access Token in the PostgreSQL DB to only get a new token when the old one has expired. So let’s create a new route under src/app/api/azure/user
We need two other routes for “Patching” or Updating the Azure AD Data and adding “role” records to our roles tables in PostgreSQL.
Adding roles
New NPM Packages
We need three new NPM Packages for the new frontend components.
Modification Tailwind.config.js
For styling purposes, we are going to adapt the tailwind.config.ts file.
We added one new line after line 7, which is needed so that Tailwind can access the needed tremor files.
and we added a new “Colorblock” under line 13
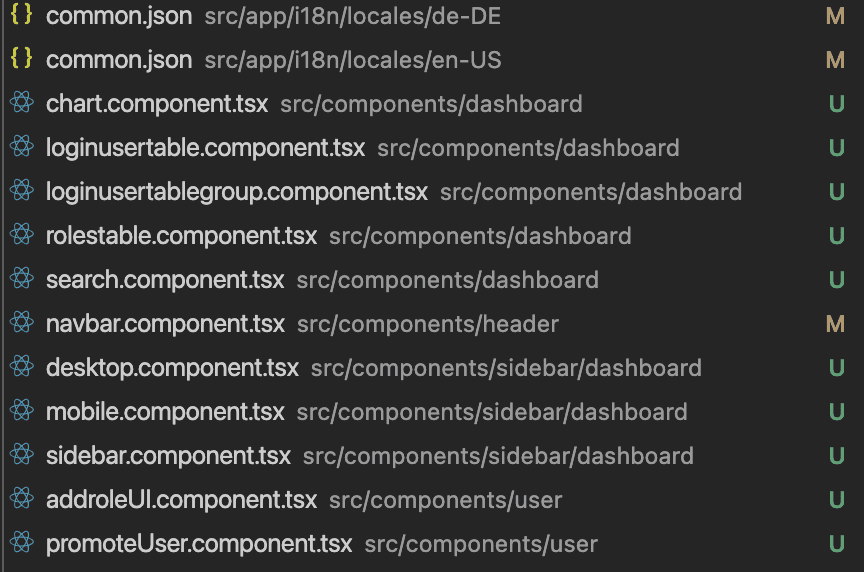
Then, we create three new page.tsx files under src/app/[locale]/dashboard, src/app/[locale]/dashboard/activities, and src/app/[locale]/dashboard/user because we are going to create the backend part for logged-in users with Admin rights. The changes in the common.json files are needed to translate the label/button text. Get a complete overview in the connected GitHub repo, which you will find here.
We add a new type file (src/types/api.ts) for the data coming from the Azure Rest API, and we fix the type file for next-Auth (src/types/next-auth.ts). As a last step, we add a new file under src/lib for Base64 encoding, etc.
Utils.ts
and we adapt the name of our custom Azure AD attribute in src/lib/auth.ts.
Roles Setup Azure AD B2C
Since the roles table is new we don’t have any data in it, but only a User with the value “Admin” in the role attribute can see and access the dashboard section after logging, so how can we solve this?
We must push this information to Azure AD B2C because we can’t add it via the web interface at https://portal.azure.com. You can use Postman, but I prefer the VSCode extension “Thunder Client” for that task because it is already integrated into my IDE Vscode.
To make things easier, I will create three different requests:
Getting Access Token
Request type: POST Url: https://login.microsoftonline.com/xxx/oauth2/v2.0/token (replace xxx with tour tenant ID) Body: Select “Form” and add 4 Form Fields (grant_type, client_id, client_secret, scope). These values should be present in your .env.local file.
Getting User Data (especially UserID)
Request type: GET Url: https://graph.microsoft.com/beta/users?$select=displayName,id,identities,createdDateTime,otherMails,extension_xxxx_Role (replace xxx with the ClientID of the corresponding b2c_extension_user of your AD) Auth: Select “Bearer” and add the Access Token obtained on the first call. Get the id from the Json result.
Patch User object with new value for custom attribute “Role”
Request type: PATCH Url: https://graph.microsoft.com/v1.0/users/xxx (replace xxx with the UserID from the previous request) Auth: Select “Bearer” and add the Access Token obtained on the first call. Body:
After that Patch request, the User object will show the new value, and you can try to log in with that user to see if you can see the new Dashboard.
Here is the final result
A new dropdown with the menu item “Dashboard” if the user has “Admin” rights.

Here the “Activities” page

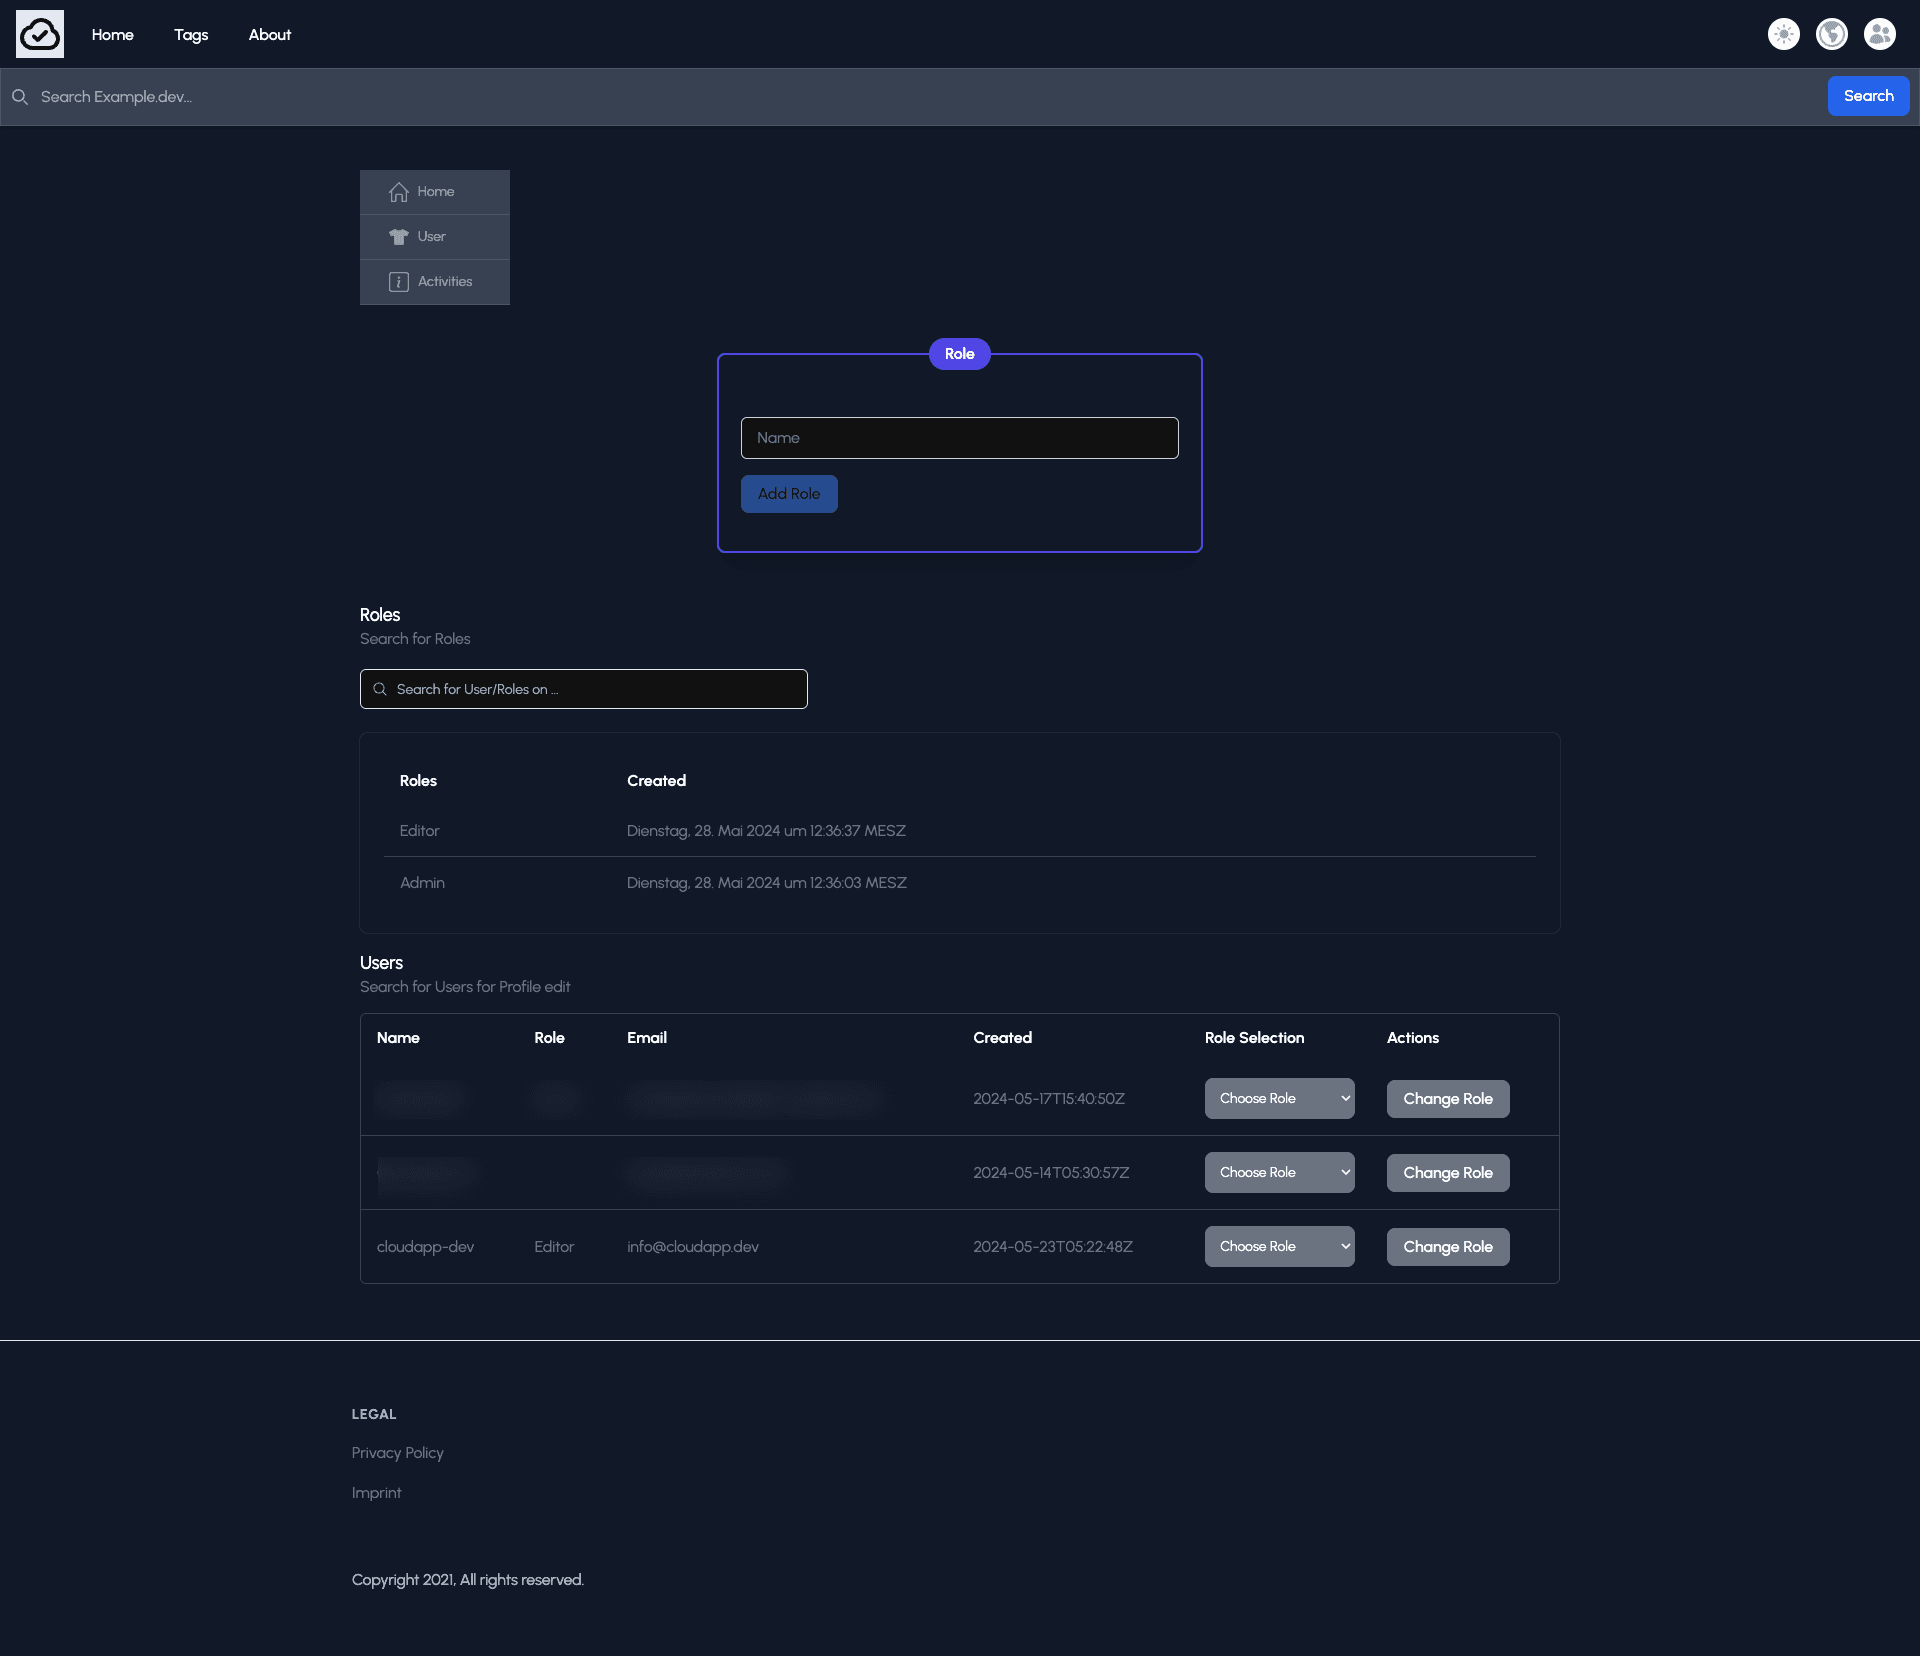
First, you have to create the needed roles “Admin”, “Editor,” or whatever you prefer, and then you can assign them to the users. As soon as you click on the CTA “Change Role,” the user object in Azure AD will be updated.
Cloudapp-dev, and before you leave us
Thank you for reading until the end. Before you go: