In this story, I will show you how fast you can add a clap function to your blog posts. We use Upstash Redis as our serverless DB, Next.js 14 for the App, and Azure AD B2C with Next-Auth so that only logged-in users can clap.
Here is the GitHub repo with the full code.
What is Upstash Redis?
Redis from Upstash is a serverless database service optimized for Redis. It provides scalable and low-latency data storage and offers a pay-per-request pricing model, making it cost-effective for applications with variable workloads. Upstash handles the infrastructure management, allowing developers to focus on building their applications without worrying about server maintenance.
The platform ensures high availability and durability by automatically handling replication and failover. Additionally, Upstash integrates seamlessly with serverless environments, supporting various programming languages and frameworks.
Its ease of use and efficient performance make it suitable for real-time applications like caching, session management, and analytics.
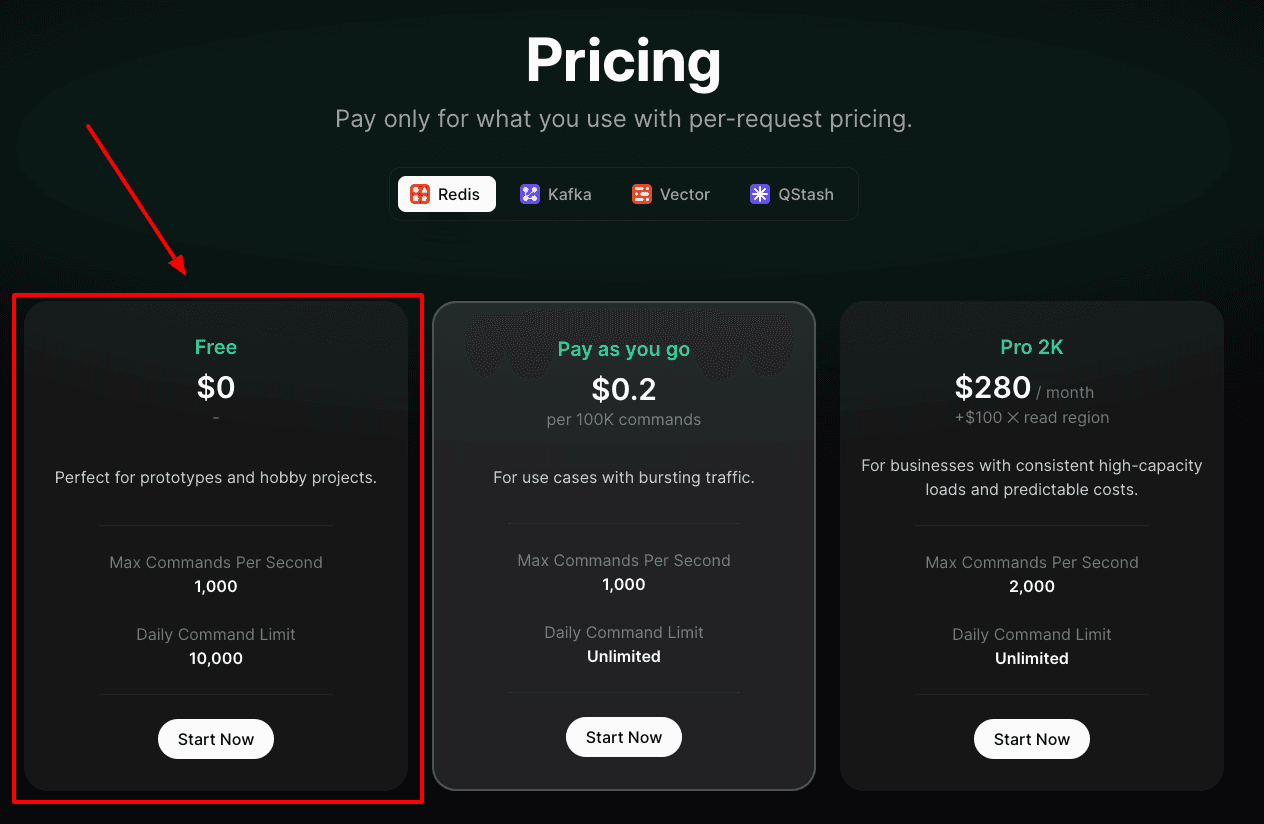
For our project, we will use the generous free plan.
New NPM Package
Let’s install the new Redis NPM package.
Upstash Account Creation
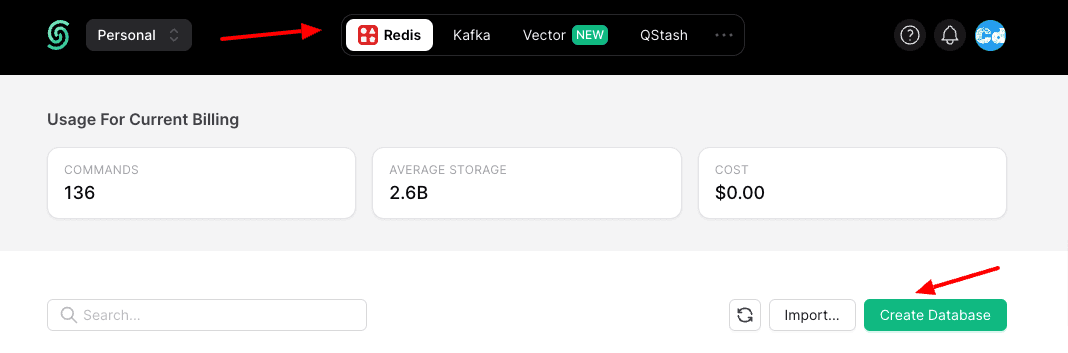
Open https://console.upstash.com/login, log in with your GitHub, Google, or Amazon account, and create a new Redis Database.
Then select the previously created Redis DB and click on the first tab, “Details”, so that you can copy the Endpoint and Password (Token)
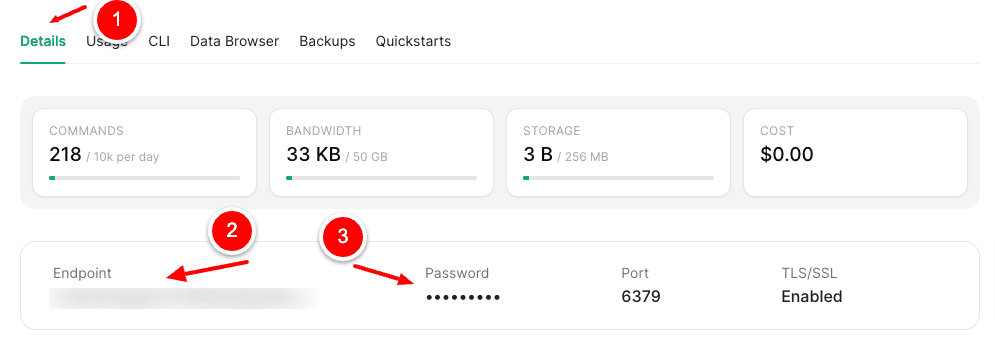
Insert the copied information into your .env.local
Api Route for Redis Operations
Then we create a new Api route within our project.
New Redis Lib File
Now we need a new lib file (src/lib/redis.ts)
New Clap Component
It’s time for the creation of our new Clap Component. Since we limit the Clapping to logged-in users, we must import the useSession from the next-auth/react package.
As the last step, we will import the new component into our page.tsx and pass the “slug” to the component because it’s the key we need for the data storage.
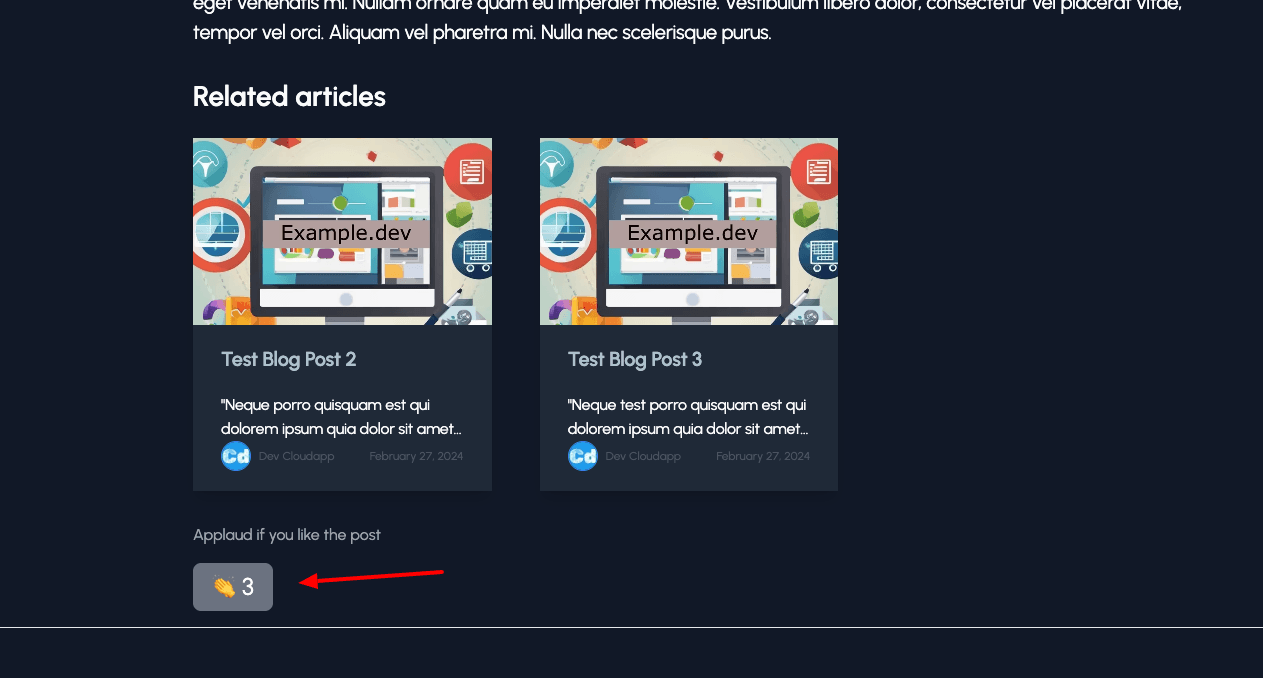
Final Result
Here is a screenshot of the final result
Cloudapp-dev, and before you leave us
Thank you for reading until the end. Before you go: