Table of Contents
- Why Use HACS?
- 1. Expand Home Assistant’s Capabilities
- 2. Stunning Custom Dashboards
- 3. Community-Driven Innovation
- 4. Seamless Updates
- 5. Completely Open Source
- Popular HACS Integrations and Plugins
- How to Install and Use HACS
- 1. Prepare Home Assistant
- 2. Install HACS
- 3. Integrate HACS with Home Assistant
- 4. Start Exploring
- Cloudapp-dev, and before you leave us
Home automation is all about customization and flexibility. For those using Home Assistant, the open-source platform for managing your smart home, you likely already appreciate its powerful integrations and ability to grow alongside your needs. But even with its extensive core capabilities, there’s a way to unlock even more potential: the Home Assistant Community Store (HACS).In this story, we’ll explore HACS, why it’s a game-changer, and how to get started with it.
Why Use HACS?
Here are a few compelling reasons to add HACS to your Home Assistant setup:
1. Expand Home Assistant’s Capabilities
Home Assistant already supports many devices and services, but HACS takes it further by introducing custom integrations. For instance:
Want to integrate niche smart devices or APIs not officially supported? HACS has got you covered.
Do you need a new feature, like advanced analytics or a custom card for your dashboard? HACS is where you’ll find it.
2. Stunning Custom Dashboards
Home Assistant’s Lovelace UI is flexible out of the box, but HACS brings a treasure trove of custom Lovelace cards and themes. With these, you can build sleek, visually appealing dashboards tailored to your preferences.
3. Community-Driven Innovation
The Home Assistant community is packed with talented developers, and HACS is the go-to platform for their creations. You’ll often find cutting-edge integrations or solutions to common challenges here before they’re available in the core platform.
4. Seamless Updates
HACS makes managing custom components simple. With its intuitive interface, you can:
Install new integrations in a few clicks.
Receive notifications when updates are available.
Update integrations directly within the Home Assistant UI.
5. Completely Open Source
True to Home Assistant’s ethos, HACS is 100% open source, ensuring transparency and fostering a collaborative ecosystem.
Popular HACS Integrations and Plugins
Some standout offerings available through HACS include:
Mini Graph Card: Create beautiful graphs for temperature, power usage, and more.
Lovelace Auto-Entities: Dynamically display entities on your dashboard based on filters.
Garbage Collection: Stay on top of your trash and recycling schedule.
Custom Animated Weather Cards: Add visually stunning weather widgets.
UI Themes: Transform the look and feel of your Home Assistant interface with themes like “Dark Mode” or “Google Material Design.”
How to Install and Use HACS
Installing HACS is straightforward, but it requires a few steps. Here’s a quick guide to get you started:
1. Prepare Home Assistant
Before you begin, ensure you’re running Home Assistant Core on a supported platform like Docker, a Raspberry Pi, or a virtual machine.We will continue with the docker installation, which was done in the first step.
How to install Homeassistant via Docker on an Azure Linux VM
2. Install HACS
HACS installation is best done via Home Assistant’s CLI:
Official Documentation: https://hacs.xyz/docs/use/configuration/basic/#to-set-up-the-hacs-integration
SSH into your Home Assistant setup.
Change to your config-volume, which in our case is mounted under /home/xxxUserDirxxx/homeassistant
Run the following command to install HACS:
3. Integrate HACS with Home Assistant
Once installed, restart Home Assistant.
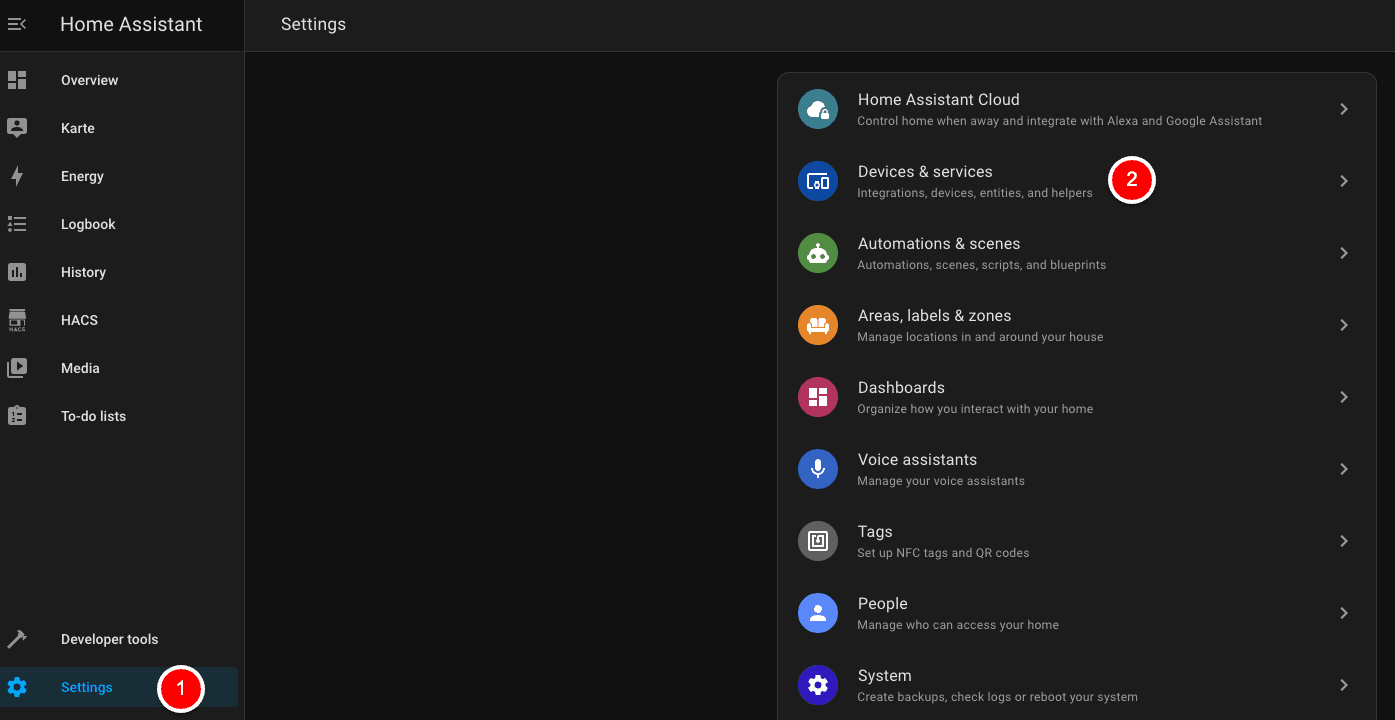
Navigate to Settings > Integrations in the Home Assistant UI.
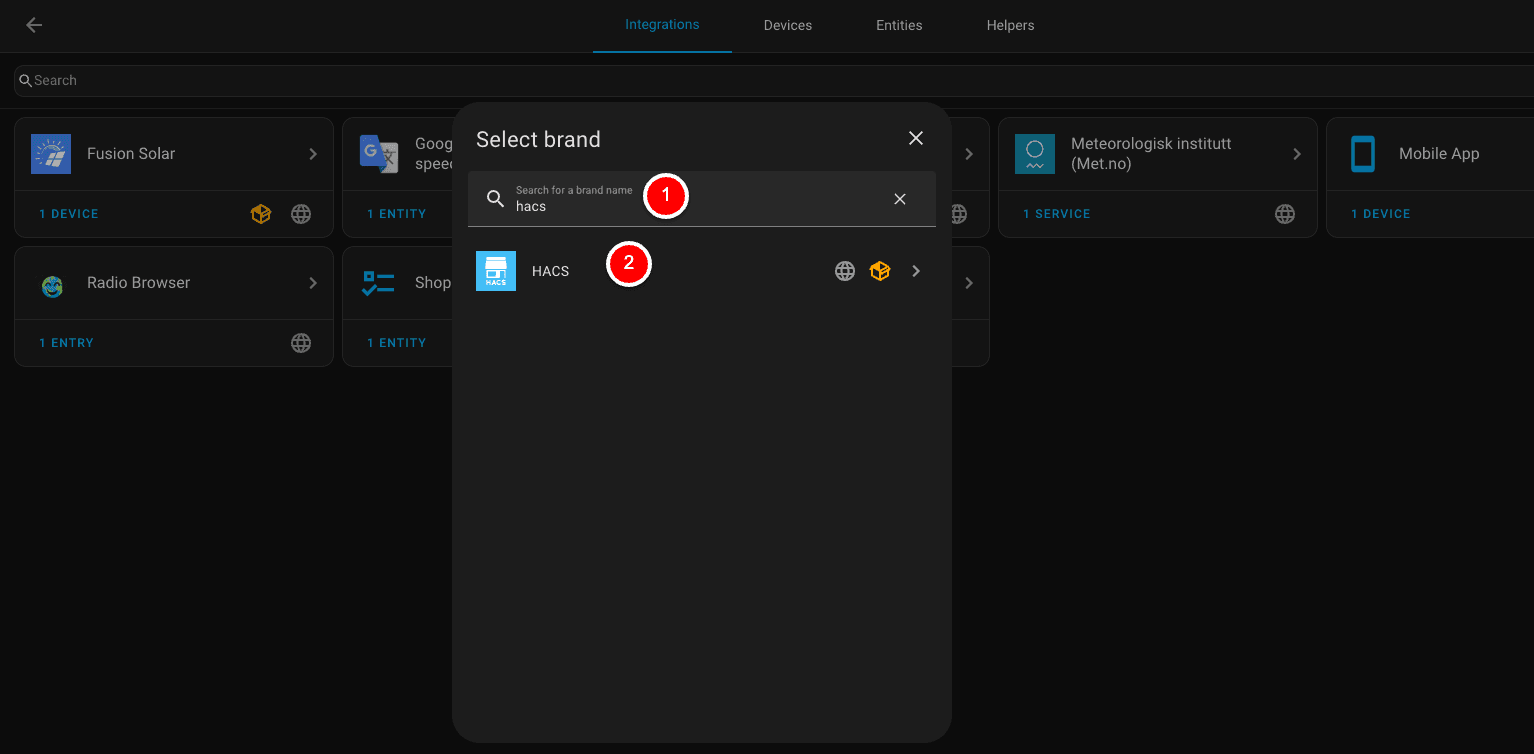
Search for “HACS” and follow the on-screen instructions to complete setup.
Follow this detailed how-to for the final steps ->
https://hacs.xyz/docs/use/configuration/basic/#to-set-up-the-hacs-integration
4. Start Exploring
After setup, HACS will appear in your sidebar. Browse and install custom integrations, themes, and plugins with just a few clicks.
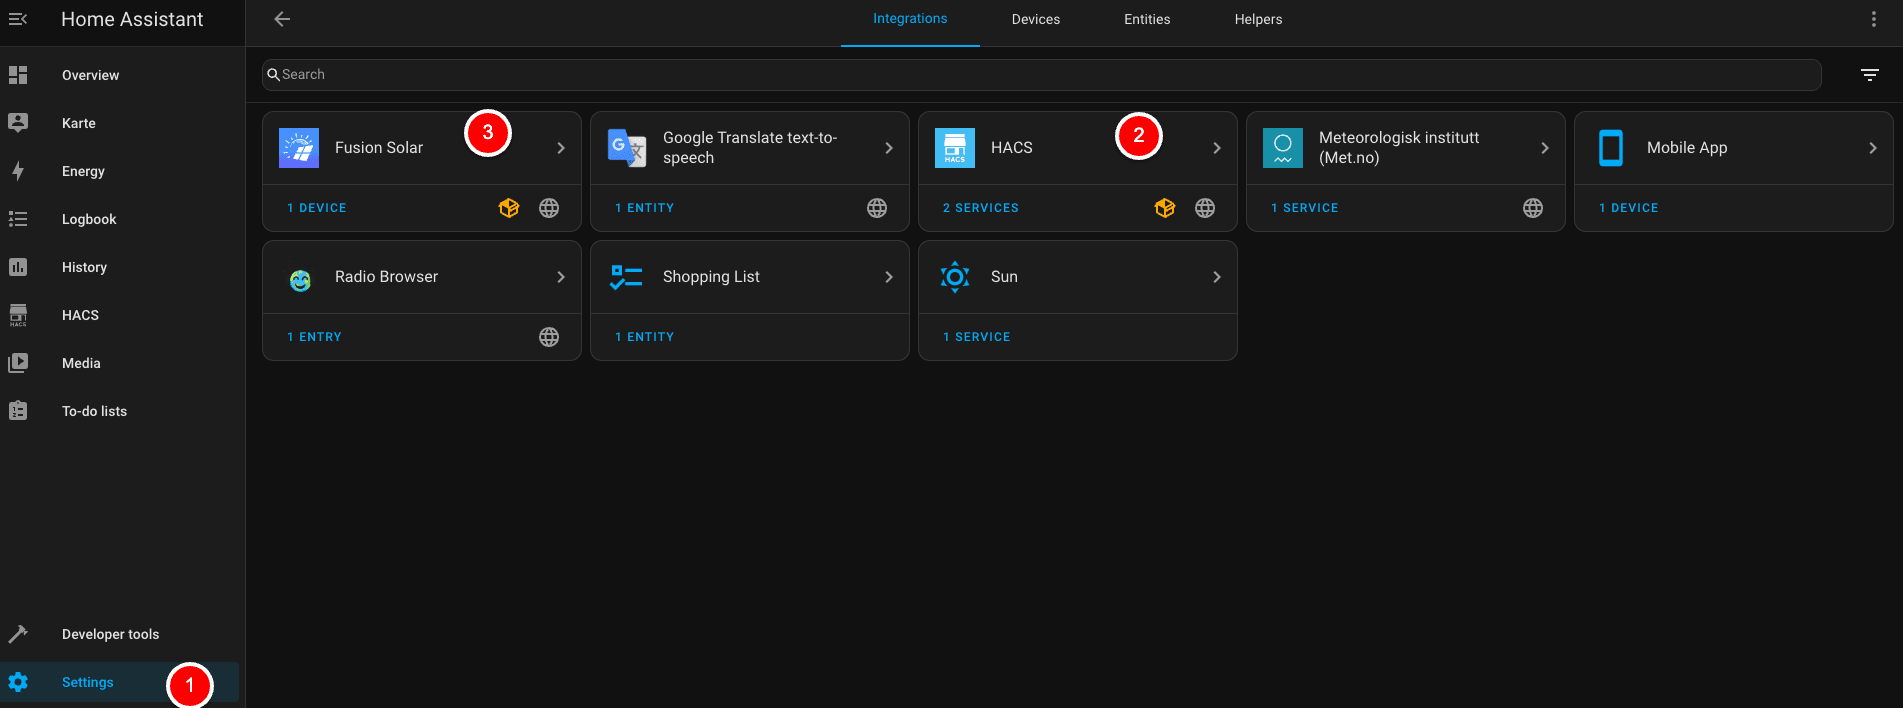
As you can see, I needed the integration “Fusion Solar” to connect my Huawei PV-Solution, and I installed the “Mobile App” as well. The next step will be installing the KNX/EIB solution so that I can interact with my home.
Cloudapp-dev, and before you leave us
Thank you for reading until the end. Before you go: