Table of Contents
- Preparation/First steps
- Max Duration for Vercel Functions
- Possible Solution
- Setup Azure App Service
- Basic Setup
- Creating Azure Resources
- Project Structure
- NPM Packages
- Main Folders
- services
- routes
- controllers
- prisma
- Environment Variables (.env)
- Here is the link to the GitHub Repo with the entire code
- Cloudapp-dev, and before you leave us
In the next stories, I will guide you through the process of building a Saas solution. At the end, we will have a Frontend based on Next.js 14, Azure Services (Blob-Storage, App Services, Azure Functions, Azure AD B2C, etc.), Prisma ORM, Postgres DB (Neon.tech), and Stripe as payment gateway.
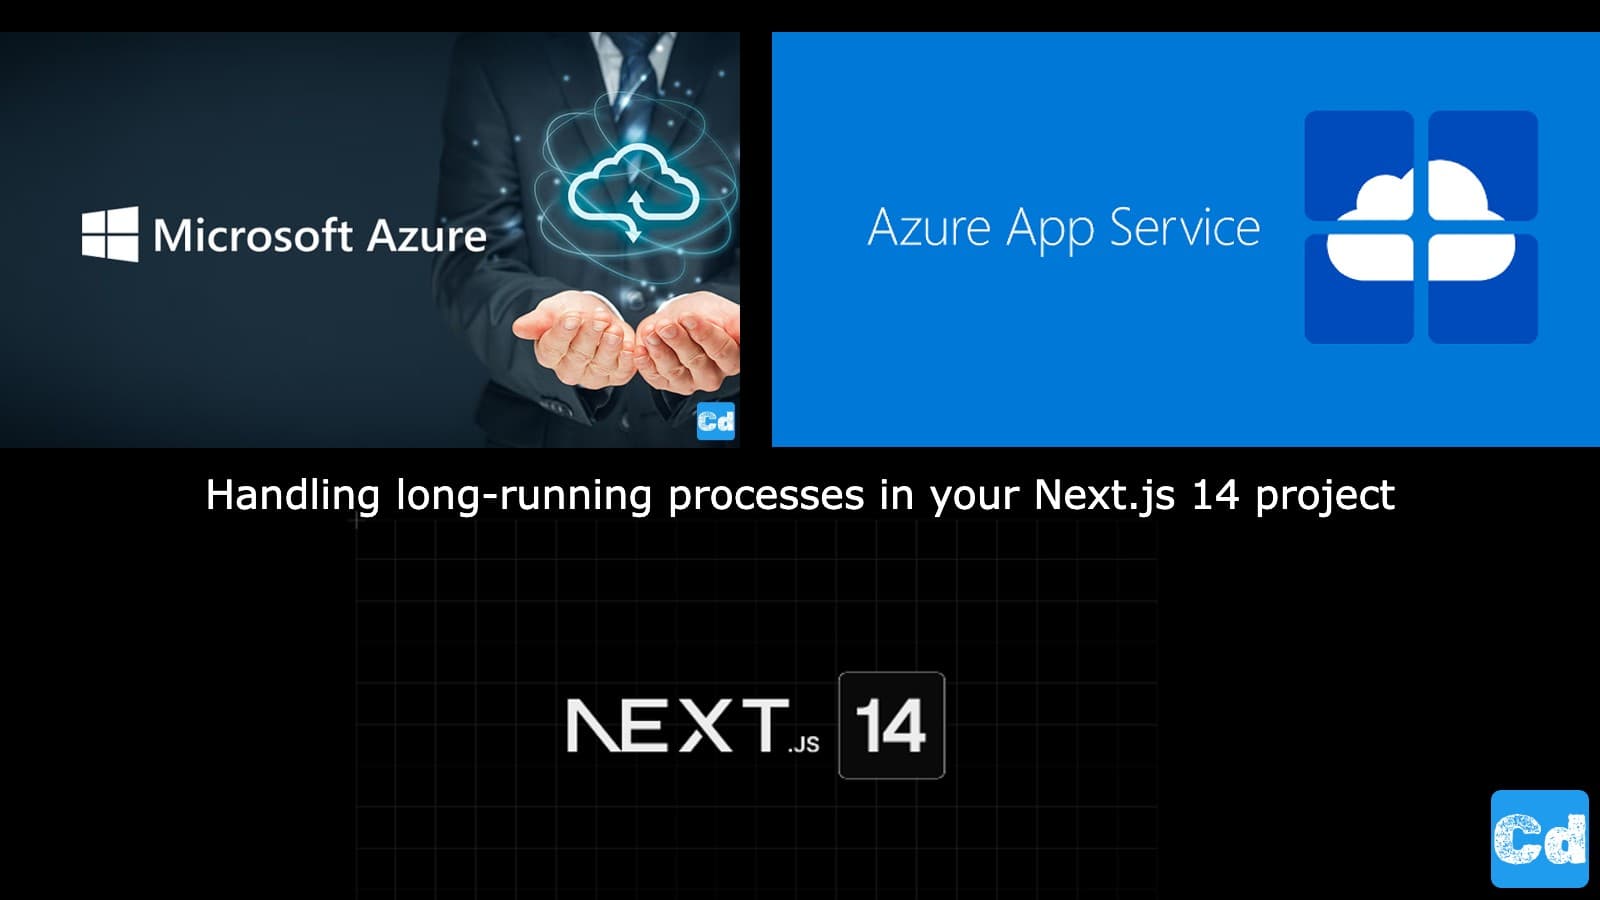
Preparation/First steps
In this first phase of our project, we are gonna prepare the essential services on Azure, and we will start with Azure App Service, which will handle our long-running processes needed for the creation of virtual resources via the Azure CLI.
Max Duration for Vercel Functions
Vercel functions have a 10-second execution limit, making them unsuitable for long-running processes in a Next.js 14 project. Azure App Service, on the other hand, provides more flexibility and scalability by allowing tasks to run without time constraints. With the maxDurationconfig we can extend the 10 seconds to max 60s in the free (Hobby) plan.
Possible Solution
Azure App Service is a great choice for handling long-running processes in a Next.js 14 project because it offers greater flexibility and scalability compared to serverless platforms like Vercel. With Azure, you can deploy full-stack web apps without worrying about the function execution time limits that are imposed by platforms like Vercel. Azure App Service allows you to manage resource scaling, ensuring that long-running tasks don’t time out or fail due to platform constraints. Vercel’s serverless functions execution limits can be a challenge for operations that need more time to complete, such as data processing or background tasks.
Setup Azure App Service
I am using Vscode as my favorite IDE, so I open a Terminal on my Mac, and with the following commands, we can set up the new App Service (I assume that you already have a valid Azure Account/Subscription).
Basic Setup
Creating Azure Resources
As you can see in the code block above, I am using this startup command:
npm i && npx prisma generate && npx ts-node index.ts
I would like to install the needed NPM packages, and I would like to generate the Prisma Client, which I am using for connections to my Postgres DB.
Now we have an App Service Instance up and running. To get the public URL of the app service, we can use this command:
What should return something like:
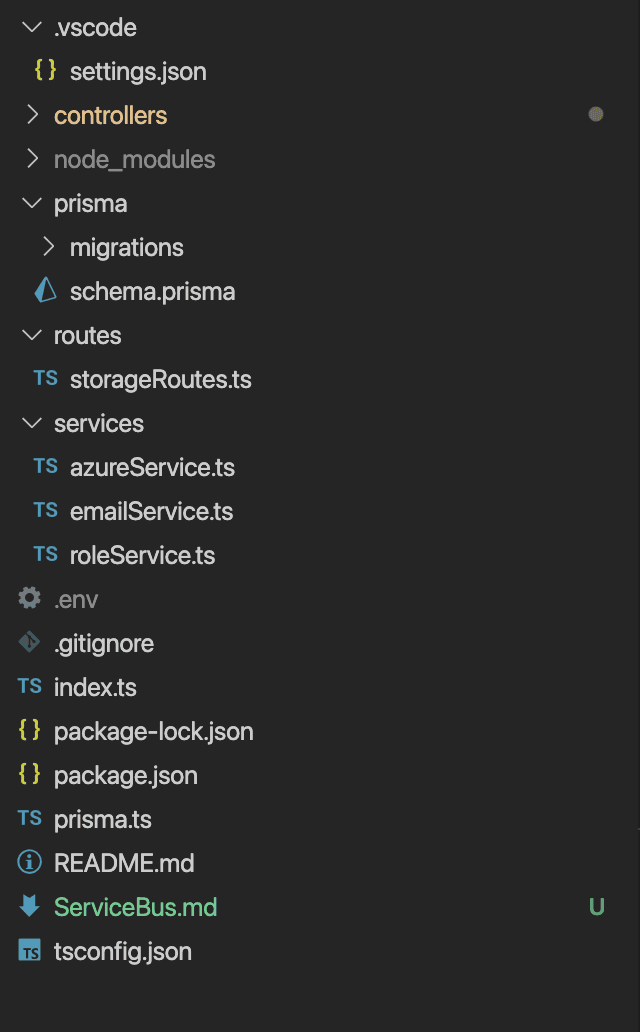
Project Structure
Below, you can see the project structure
NPM Packages
Here is the package.json, so that you know the needed packages.
Main Folders
There are four main folders in the project.
services
azureService.ts
emailService.ts
roleService.ts
routes
storageRoutes.ts
controllers
storageController.ts
prisma
schema.prisma
Environment Variables (.env)
There is an .env file needed with these variables:
Here is the link to the GitHub Repo with the entire code
https://github.com/cloudapp-dev/azure-app-service-iac
Push the code to your App Service and the first step is done.
In Part 2 I will guide you through the Authentication process with Azure AD B2C (Oauth2). We will create an App Registration and connect the App Service to our Next.js 14 project.
Cloudapp-dev, and before you leave us
Thank you for reading until the end. Before you go: