Table of Contents
- Registration/Installation Piwik Pro
- Piwik Container Installation
- Getting Piwik ID
- Component PiwikPro.tsx (Basic Container)
- Integration into Layout.tsx
- CMP Administration
- Adding Tracking Services to Piwik Tag Manager with Consent Settings
- Alternative approach
- GA4 - googleAnalytics.tsx
- Component microsoftClarity.tsx
- Cloudapp-dev, and before you leave us
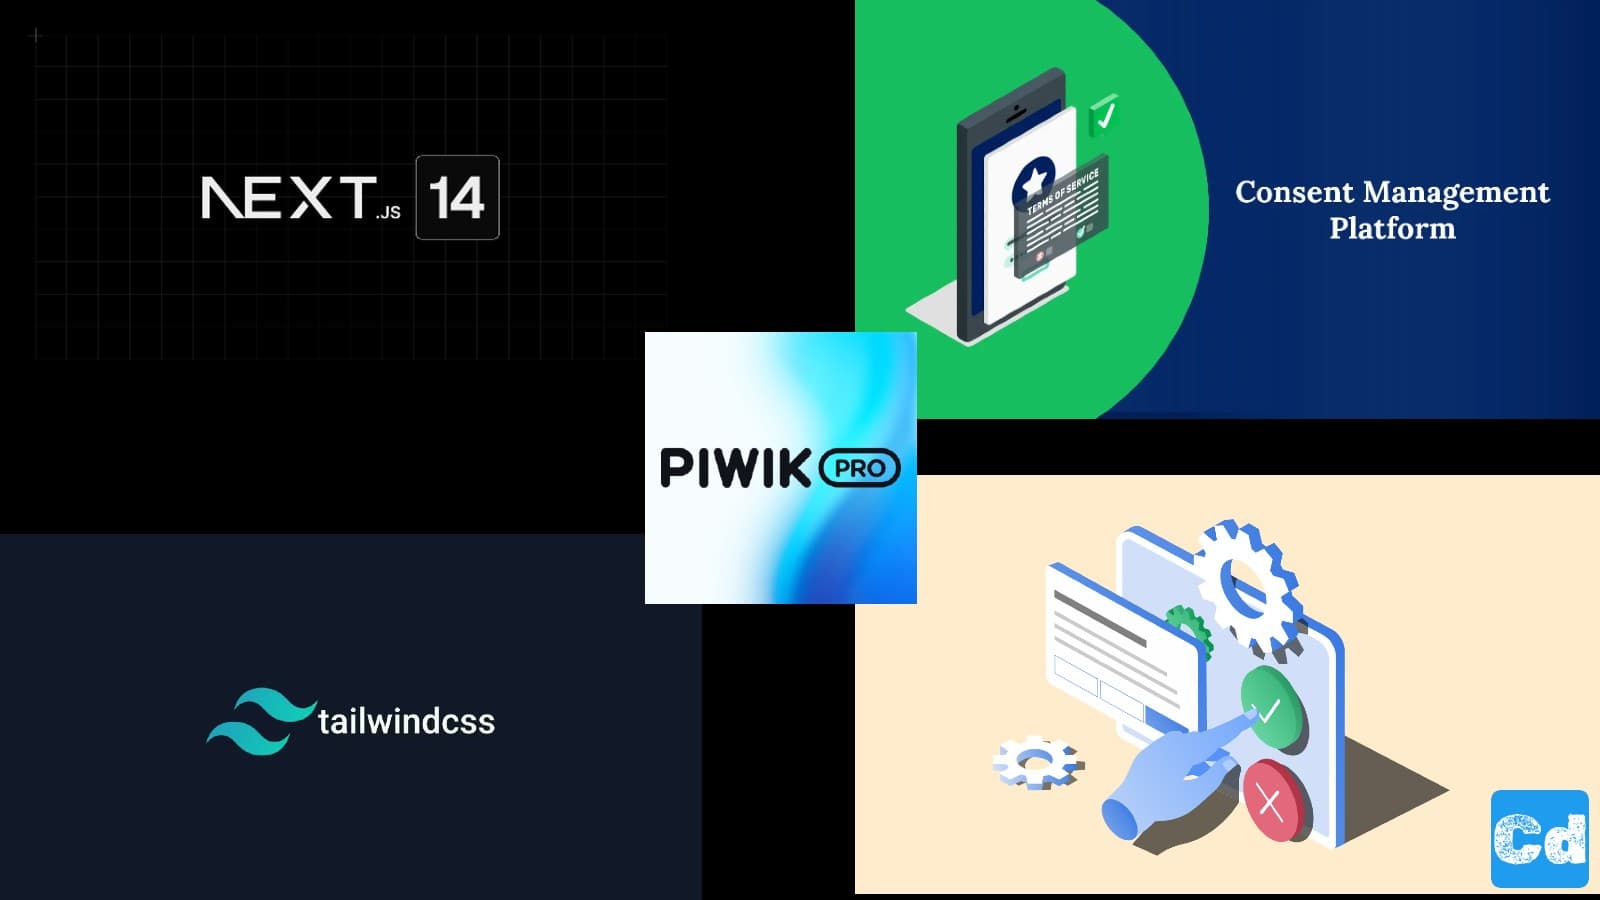
Consent Management can be expensive and complex, but with the right tools and guides, it's a no-brainer. This story will guide you through the setup and implementation of the Piwik Pro platform.
If your website processes the data of EU residents, obtaining user consent when is one of the key requirements to comply with the GDPR. Regardless of where your organization is based (in the EU or otherwise), your website must meet this requirement to avoid non-compliance.
I evaluated several CMPs; it depends on whether you need them for your enterprise or blog.
Here is a list from the Google CMP Partner Program -> Unlocking the full value of Consent Mode with partner support
I used Cookiebot or Usercentrics for enterprise customers, but their free plan offerings are limited/reduced, or unavailable.
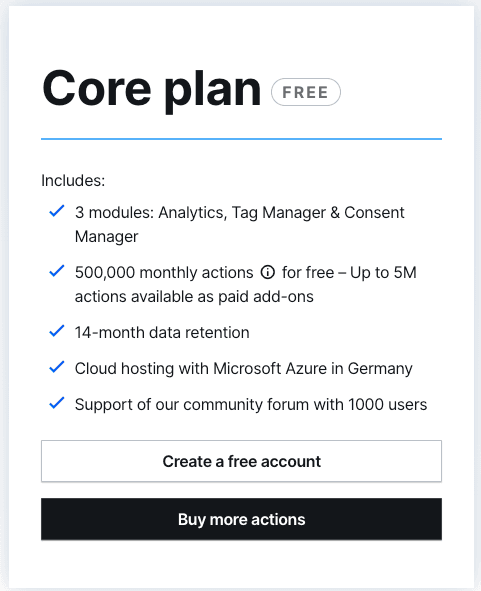
I decided to go for Piwik, a solution for CMP and/or analytics/tag management that offers a generous free plan, which is more than enough for a blog, and as soon as you have reached the 500k actions a month, you can afford a different solution ;-)
The complete code is in this Github repo.
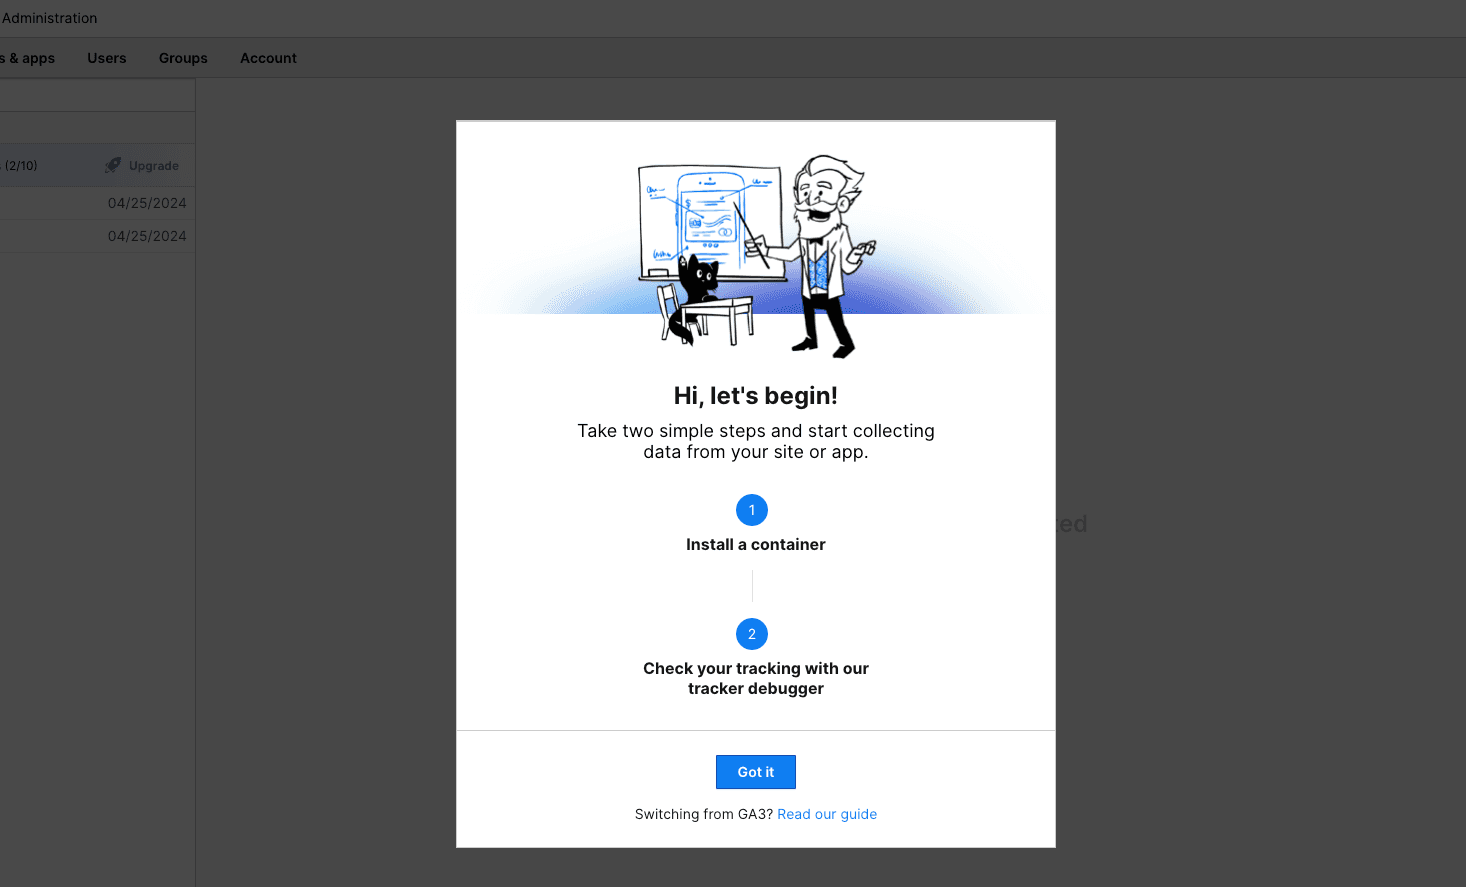
Registration/Installation Piwik Pro
We register a new free account and will see this screen after the first login.
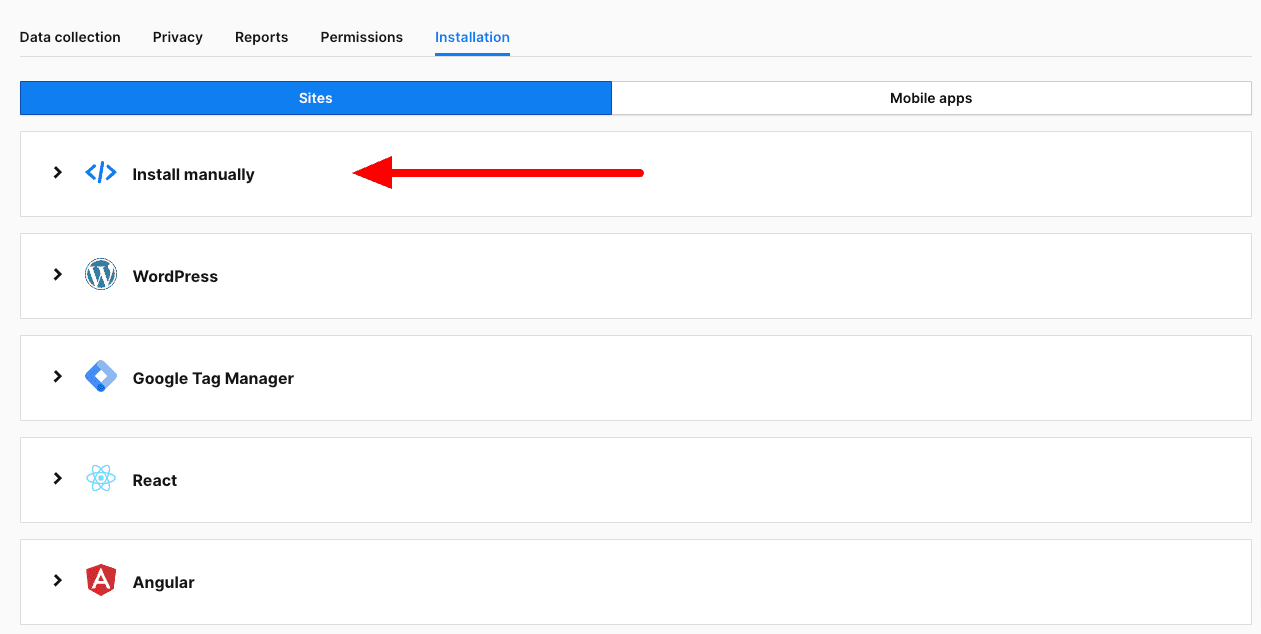
During registration, we already provided the URL of our website, and now we have to install the container/tracking code. There are many options, but I will choose “Install manually.”
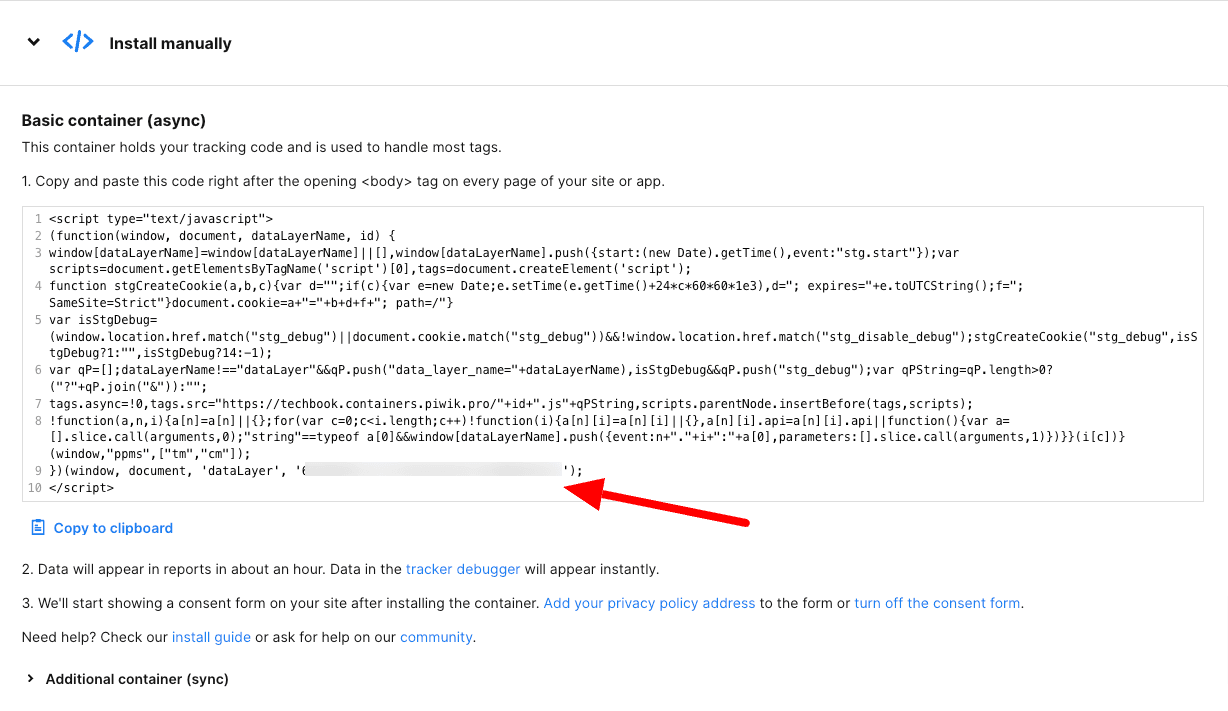
Piwik Container Installation
Now, we head over to our Next.js 14 project, and before we create a new component for the tracking code, we add a new variable to our .env.local file.
You can get the ID from the above screen by opening the “Install manually” accordion.
Getting Piwik ID
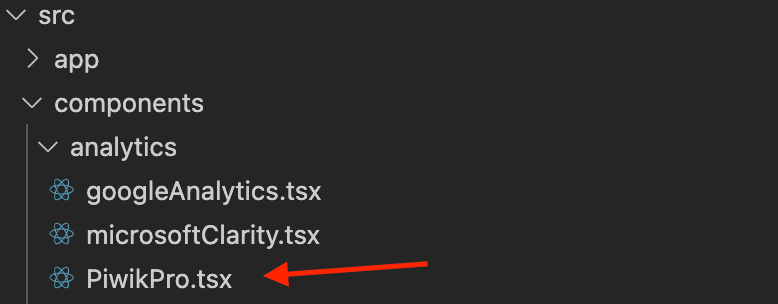
With the ID in place (I used “NEXT_PUBLIC” for the new variable because I will use it on the public-facing blog front end), we can create a new component in our Next.js 14 project under src/app/components/analytics
Component PiwikPro.tsx (Basic Container)
I added a condition that the tag will not be fired if we are on localhost.
Integration into Layout.tsx
In the next step, I modify the layout.tsx under src/app/[locale].
I import the new Piwik Pro Component, which is then used below {children} in the return.
And here is the final result
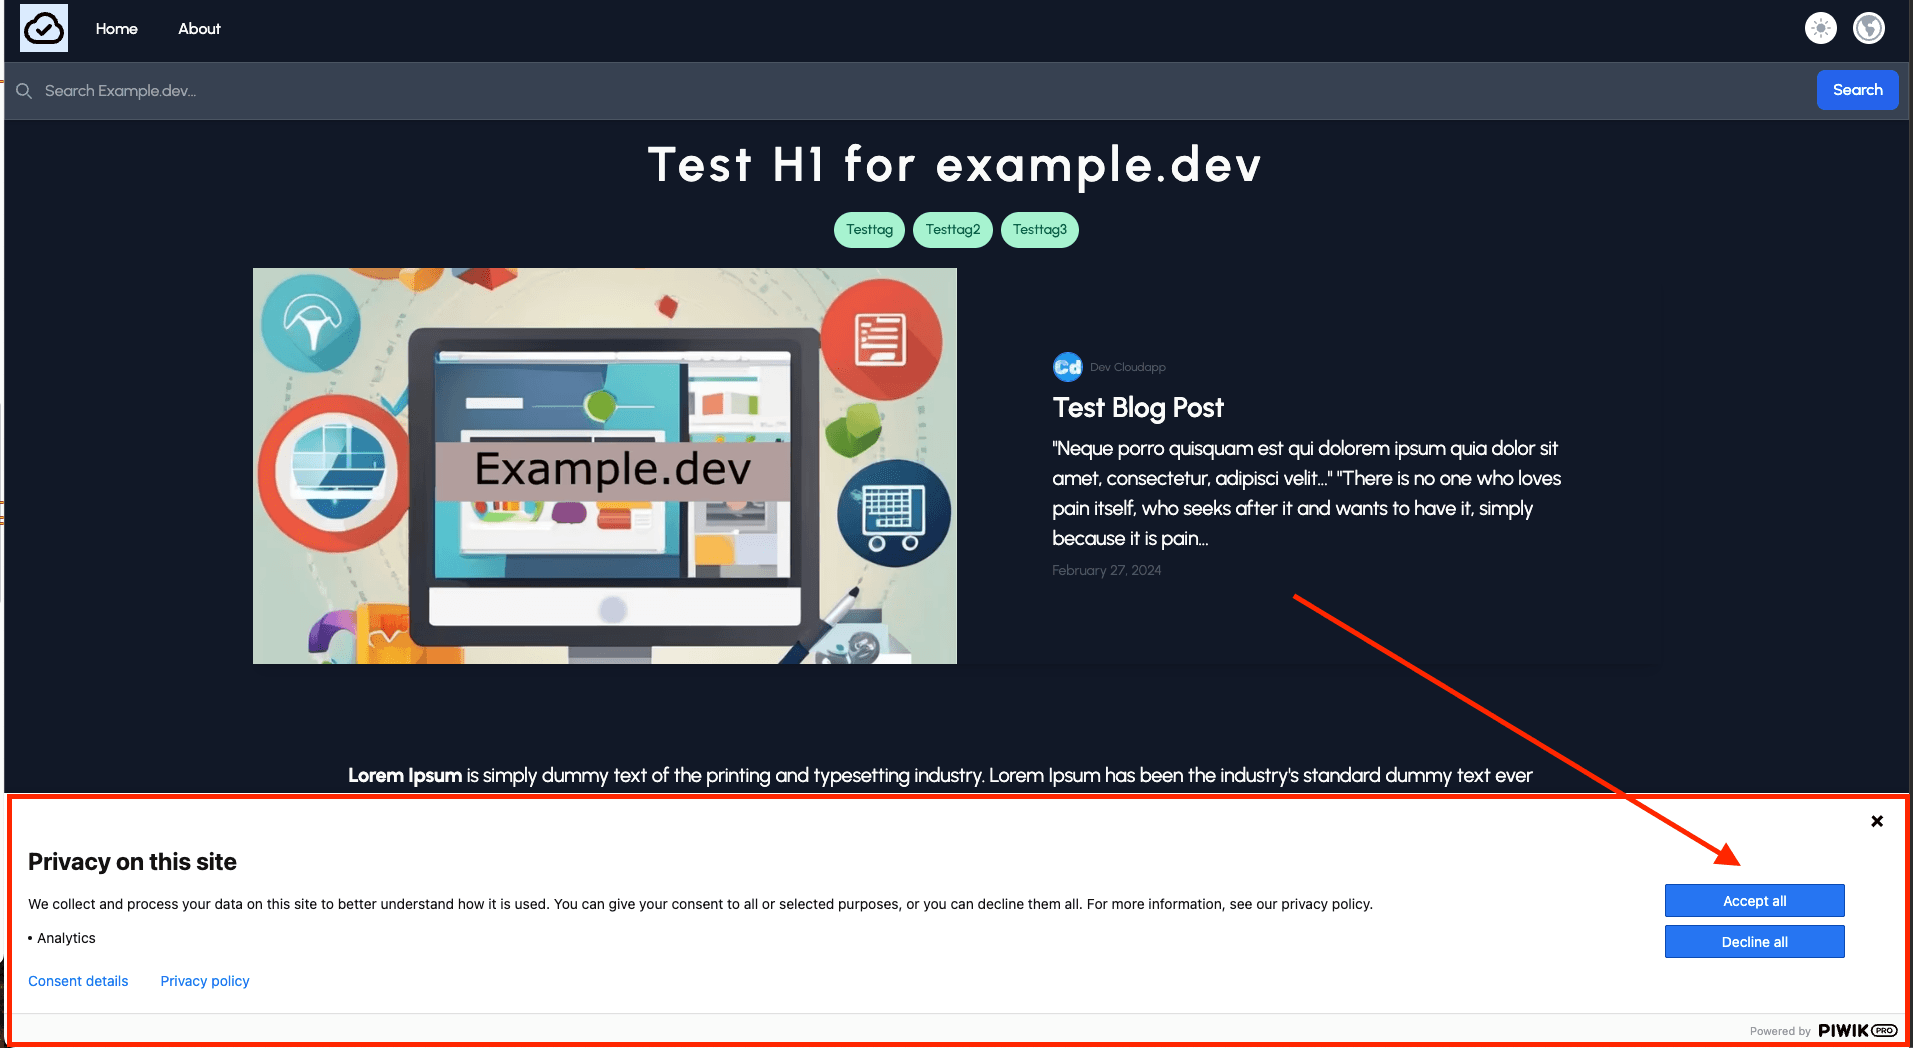
You can modify the content of the CMP banner in the Piwik Backend
CMP Administration
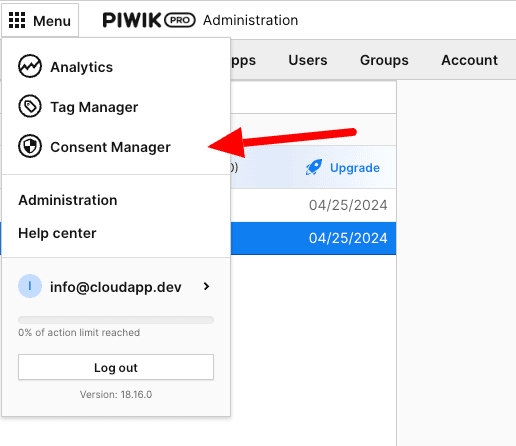
Adding Tracking Services to Piwik Tag Manager with Consent Settings
Now, you can add your preferred tracking services like GA4 and/or Microsoft Clarity.
Step1: Tag Manager
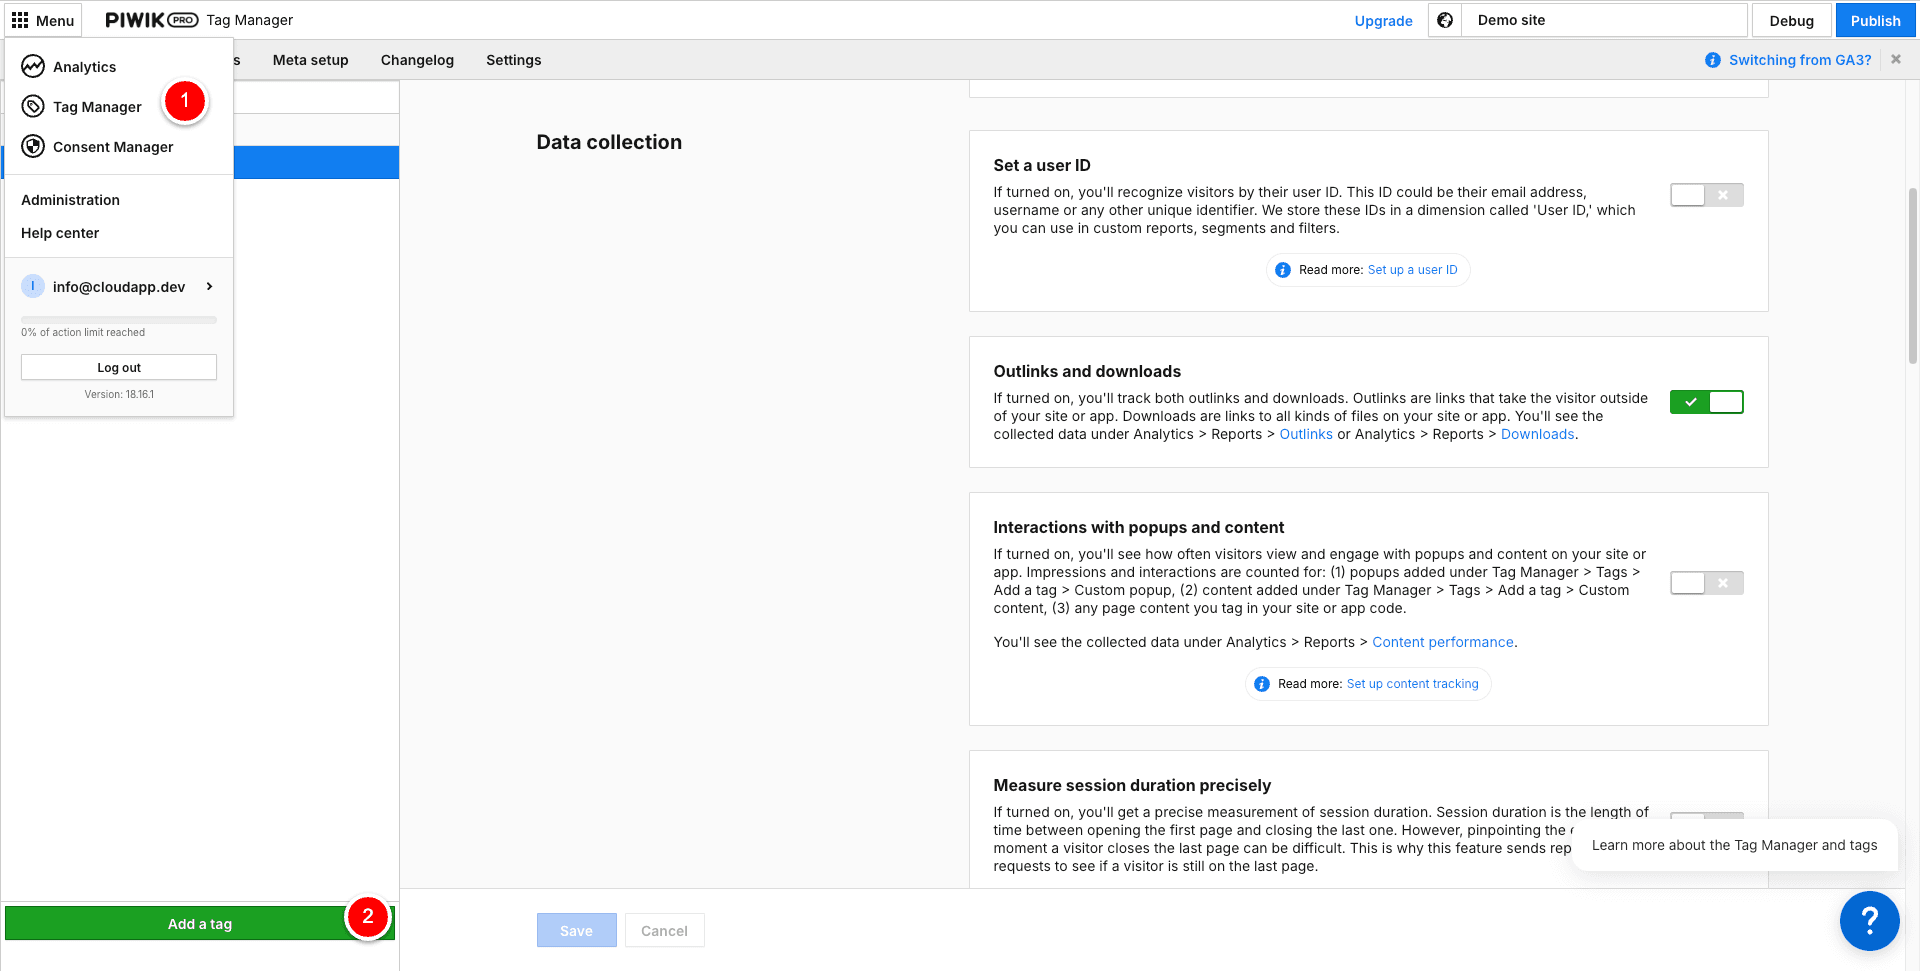
Step2: New Tag
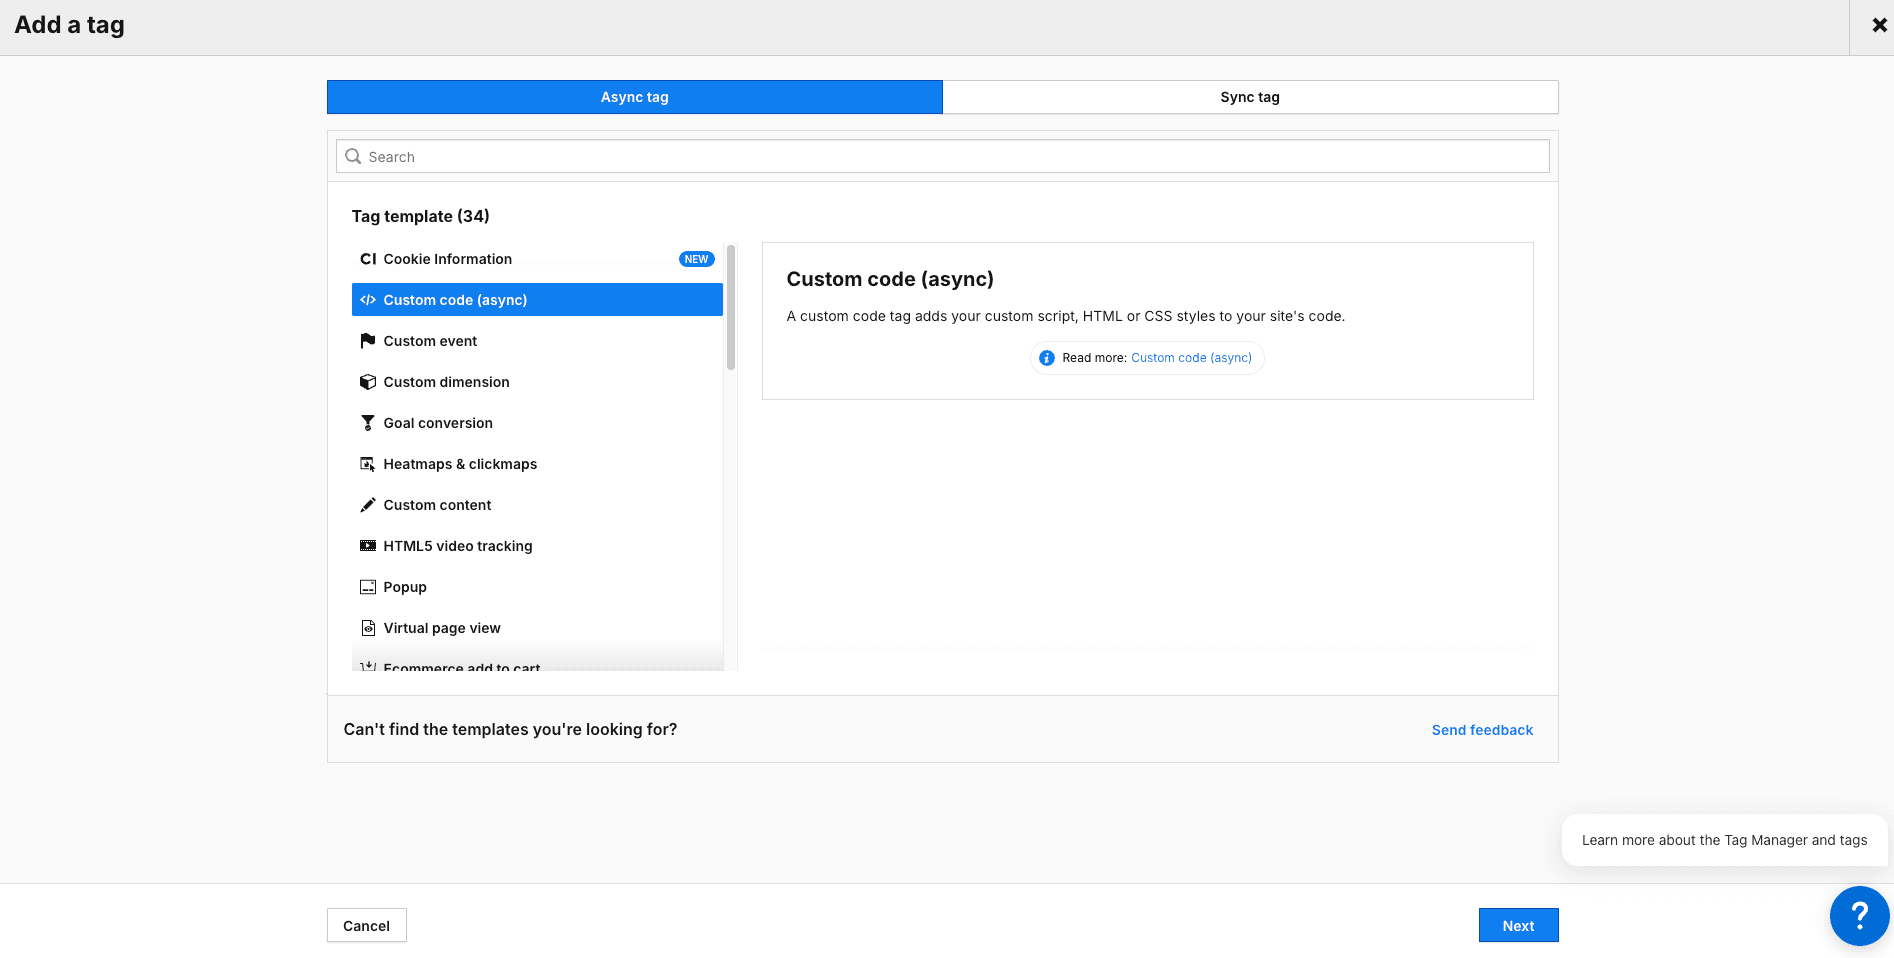
Step3: Title/Tracking Code and advanced settings like “Consent Required.”
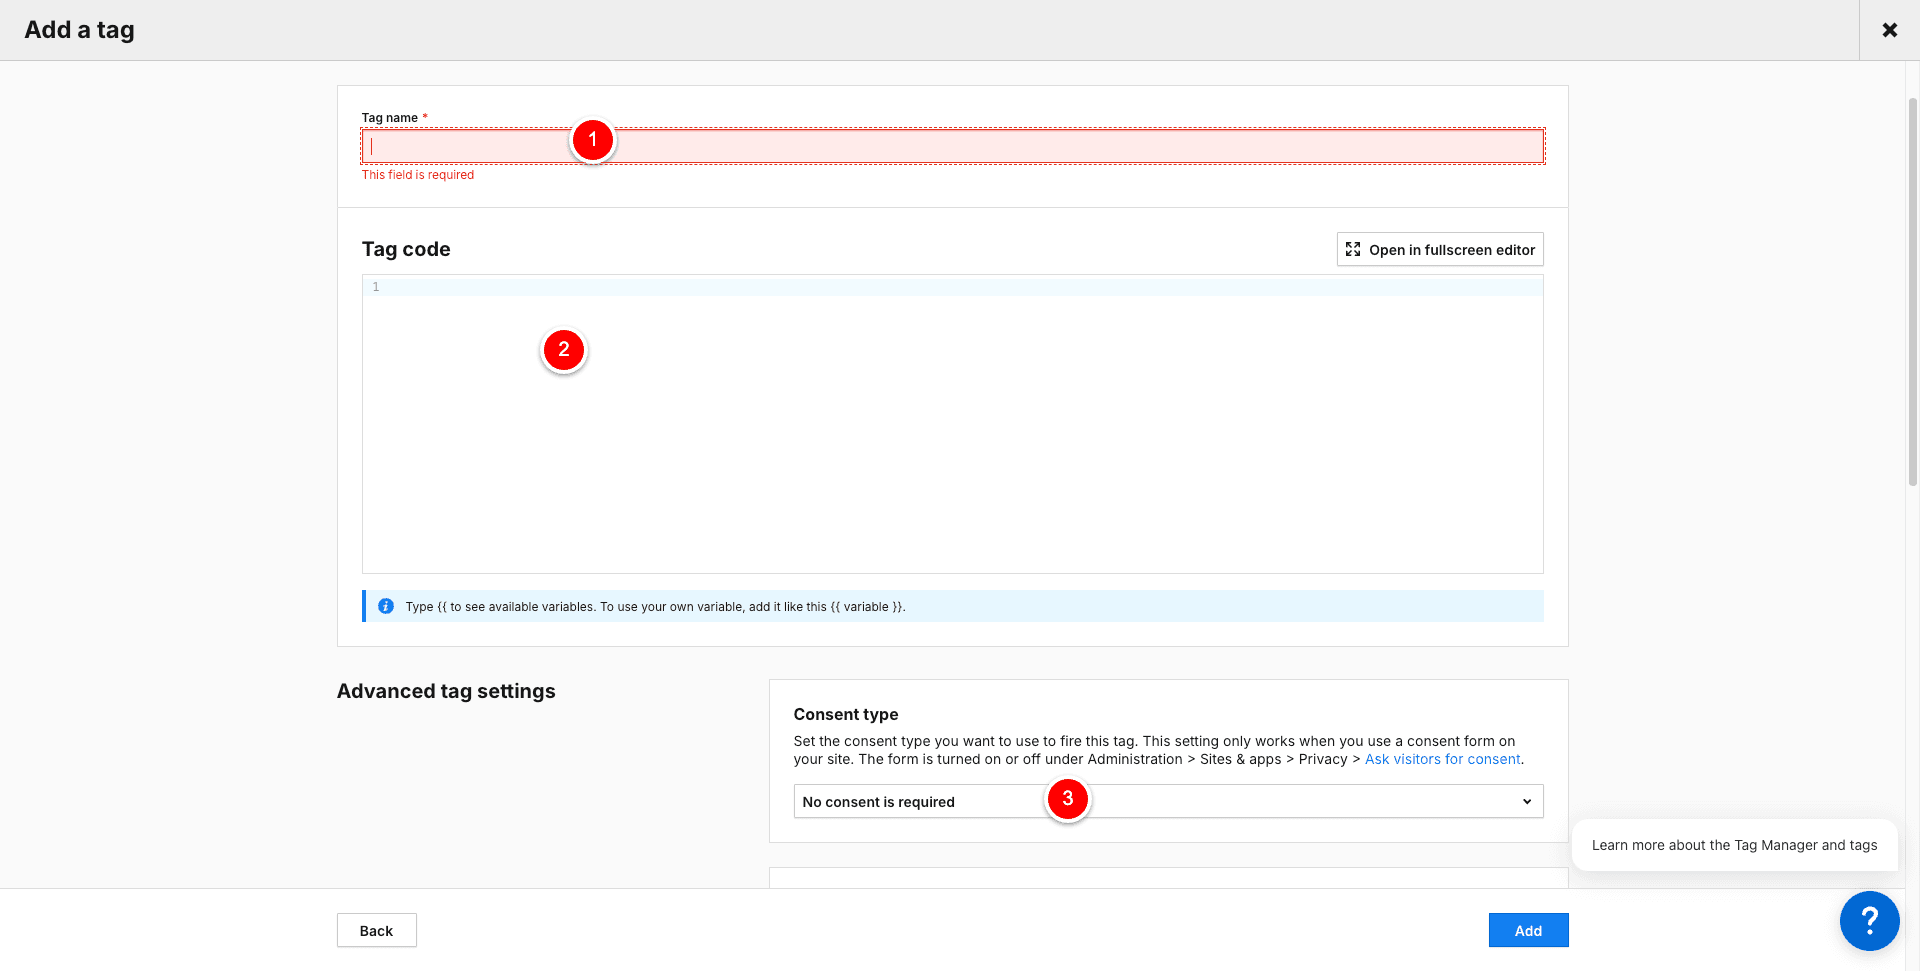
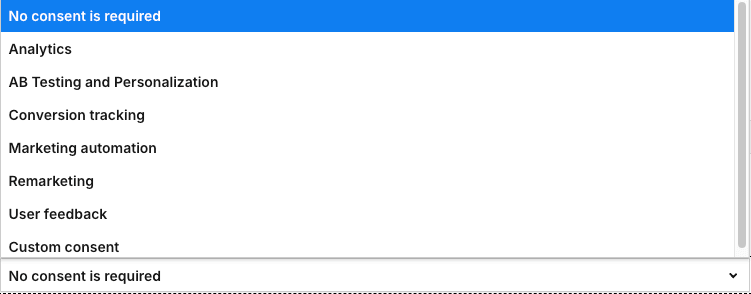
You can select the needed category, like “Analytics,” so the tag will only fire if consent is given.
Now, we scroll down to the ”Tag triggers” section and select “All page views.” Then, we click “Save” and, at the top right, “Publish.”

A “Green Ball” should be on the left side of the tag if all is fine.
Alternative approach
I also added a “GA4” and “Microsoft Clarity” component in the GitHub repo, so you can add the components below to your layout.tsx and bypass the CMP solution. However, I have to point out that the Piwik CMP solution works very well and is way more flexible than a direct integration via components in layout.tsx because you can disable/enable the different tracking codes within seconds in the Piwik backend.
GA4 - googleAnalytics.tsx
(new env variable NEXT_PUBLIC_GOOGLE_ANALYTICS needed)
Component microsoftClarity.tsx
(new env variable NEXT_PUBLIC_MICROSOFT_CLARITY needed)
Cloudapp-dev, and before you leave us
Thank you for reading until the end. Before you go:
Please consider clapping and following the writer! 👏 on our Medium Account