Let’s assume you plan to integrate an On-Site-Search on your website/blog and you don’t know what could be a viable solution for you in terms of easy implementation and at no cost.
Have you already heard about the headless CMS Contentful and the AI-Serach Algolia?
As already explained in my previous posts (Step-by-Step Guide for the whole project -> Next js Content Management, Quo Vadis ? ) there is a very generous free plan for Contentful and luckily for Algolia as well.
Algolia — Build Plan (Free)
Up to 10k search requests/month
1m records included
AI features to test
Contentful — Free Plan
5 users
2 locales
1M API calls/month
Community-based support
Structured content
Developer tools
1 Intro Space
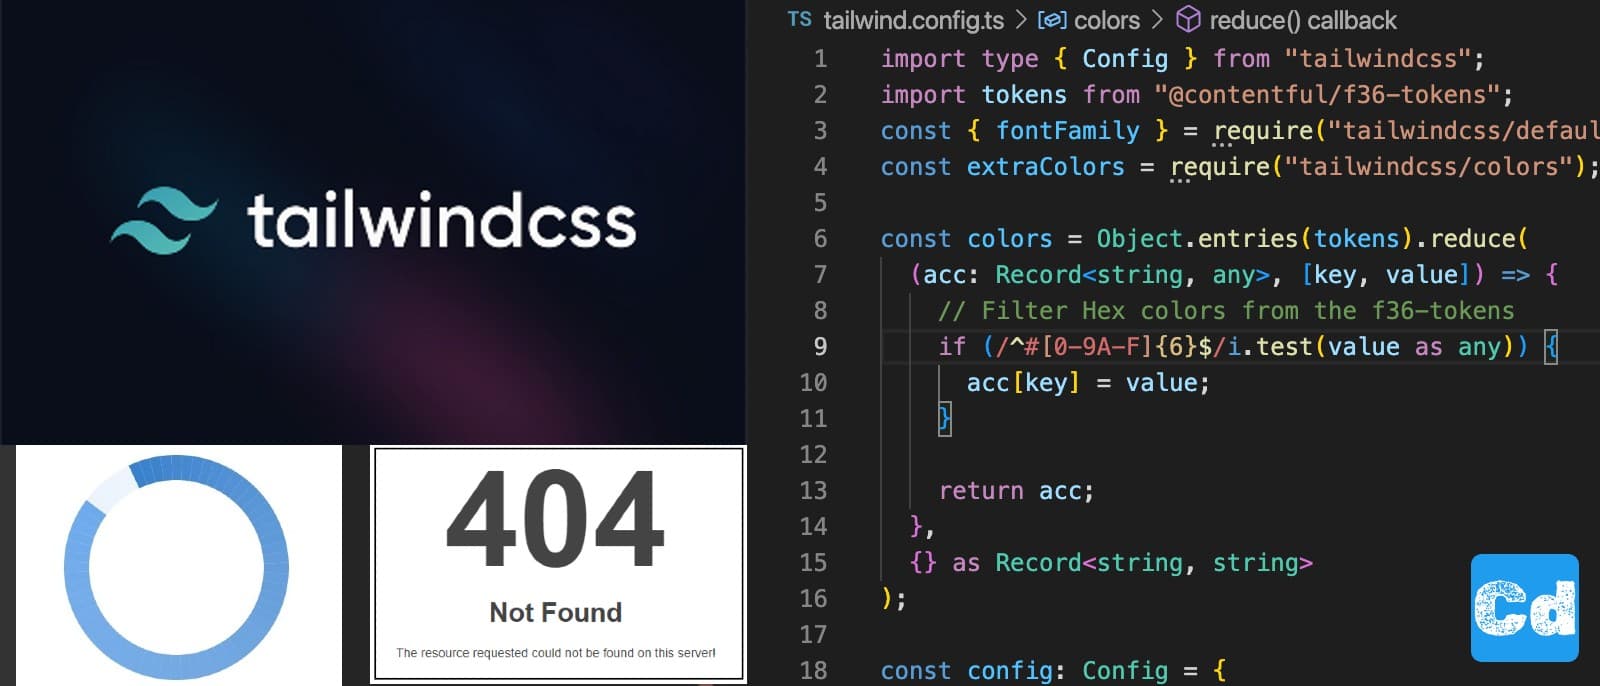
Next.js 14 — Route
Built-in API feature from Next.js
Let’s start with registering a new Contentful account (if not already done). Here are two posts with a step-by-step guide:
Contentful account registration
Nextjs 13.5.6 — Complete Example — Typescript / App Router / Contentful and a lot more
Additional information regarding GraphQL and Content Types
Next.js 14 — Complete Example — Typescript / Tailwindcss / Contentful — Part 2
Now we have to complete the registration of an Algolia account
Sign Up for an Algolia account
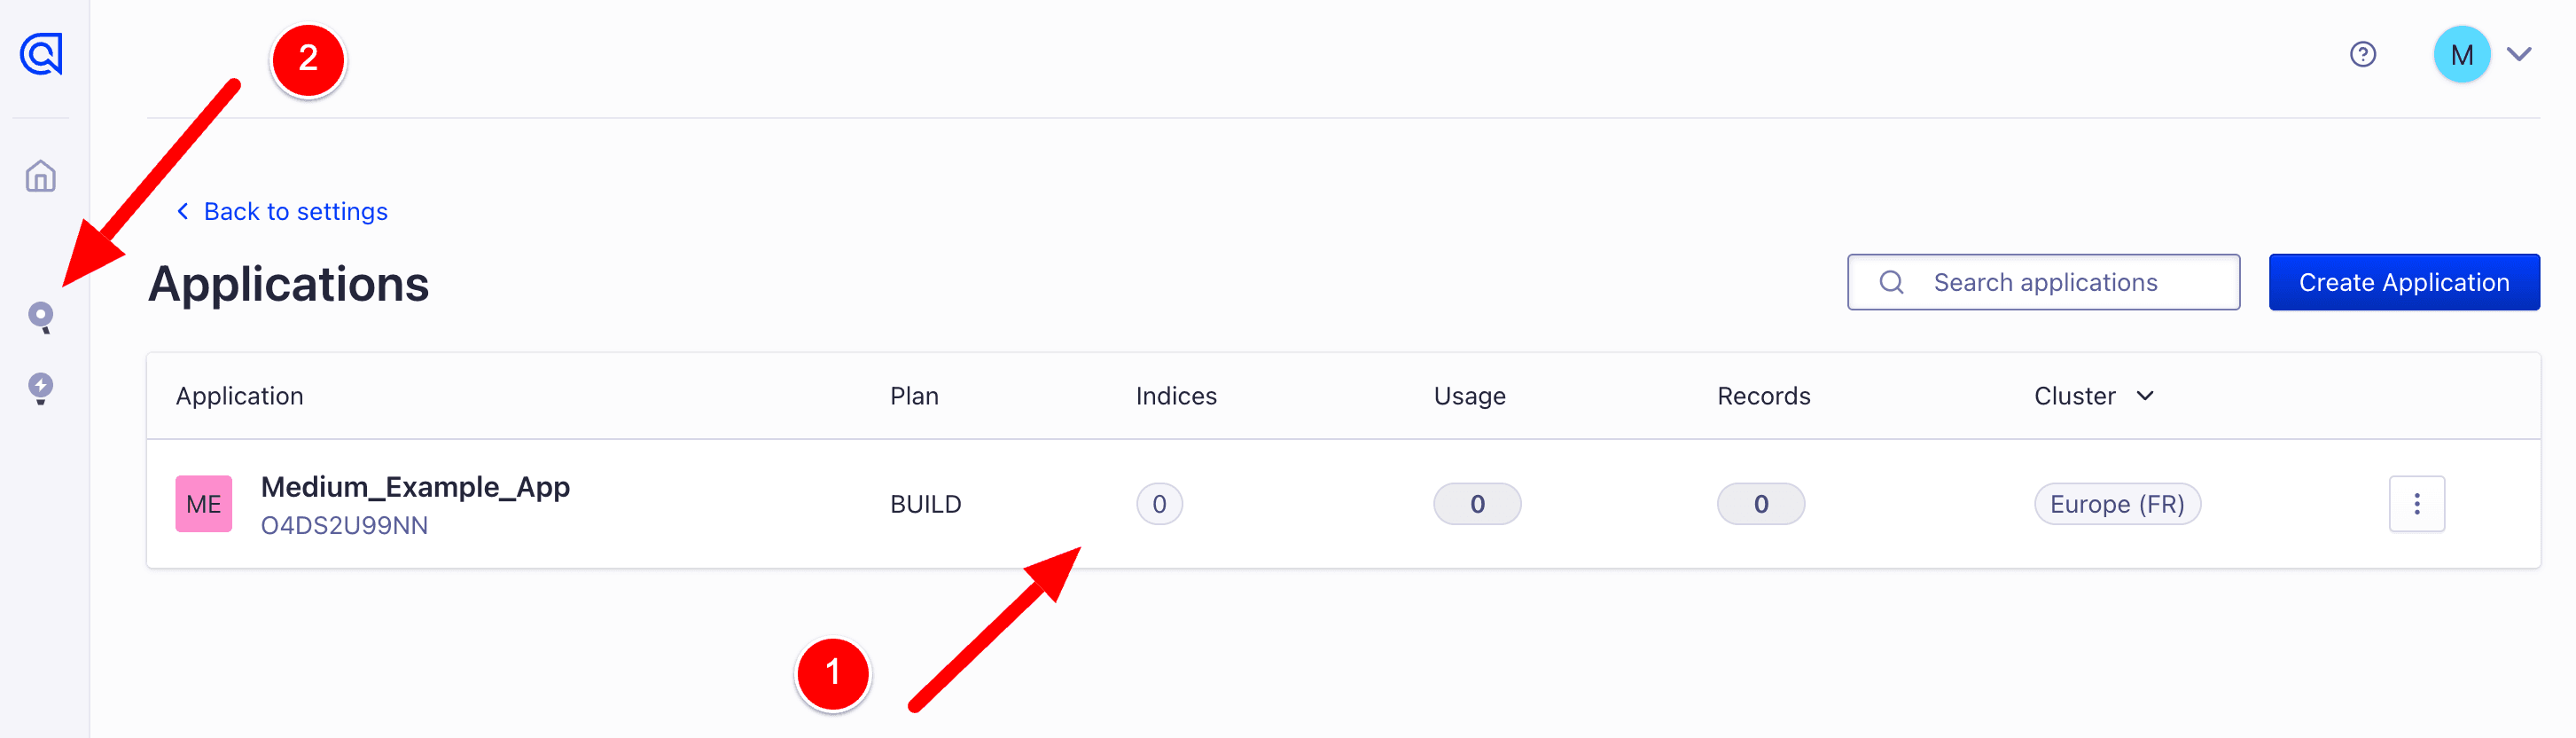
Where you can do a social login or via your work email. After you are logged in you have to create an application (Algolia creates a default application after the first login). First click on (1), so that you open the settings page and then on (2) to open the application overview page.

Now you can see the application overview page and there is one application without any index (1).
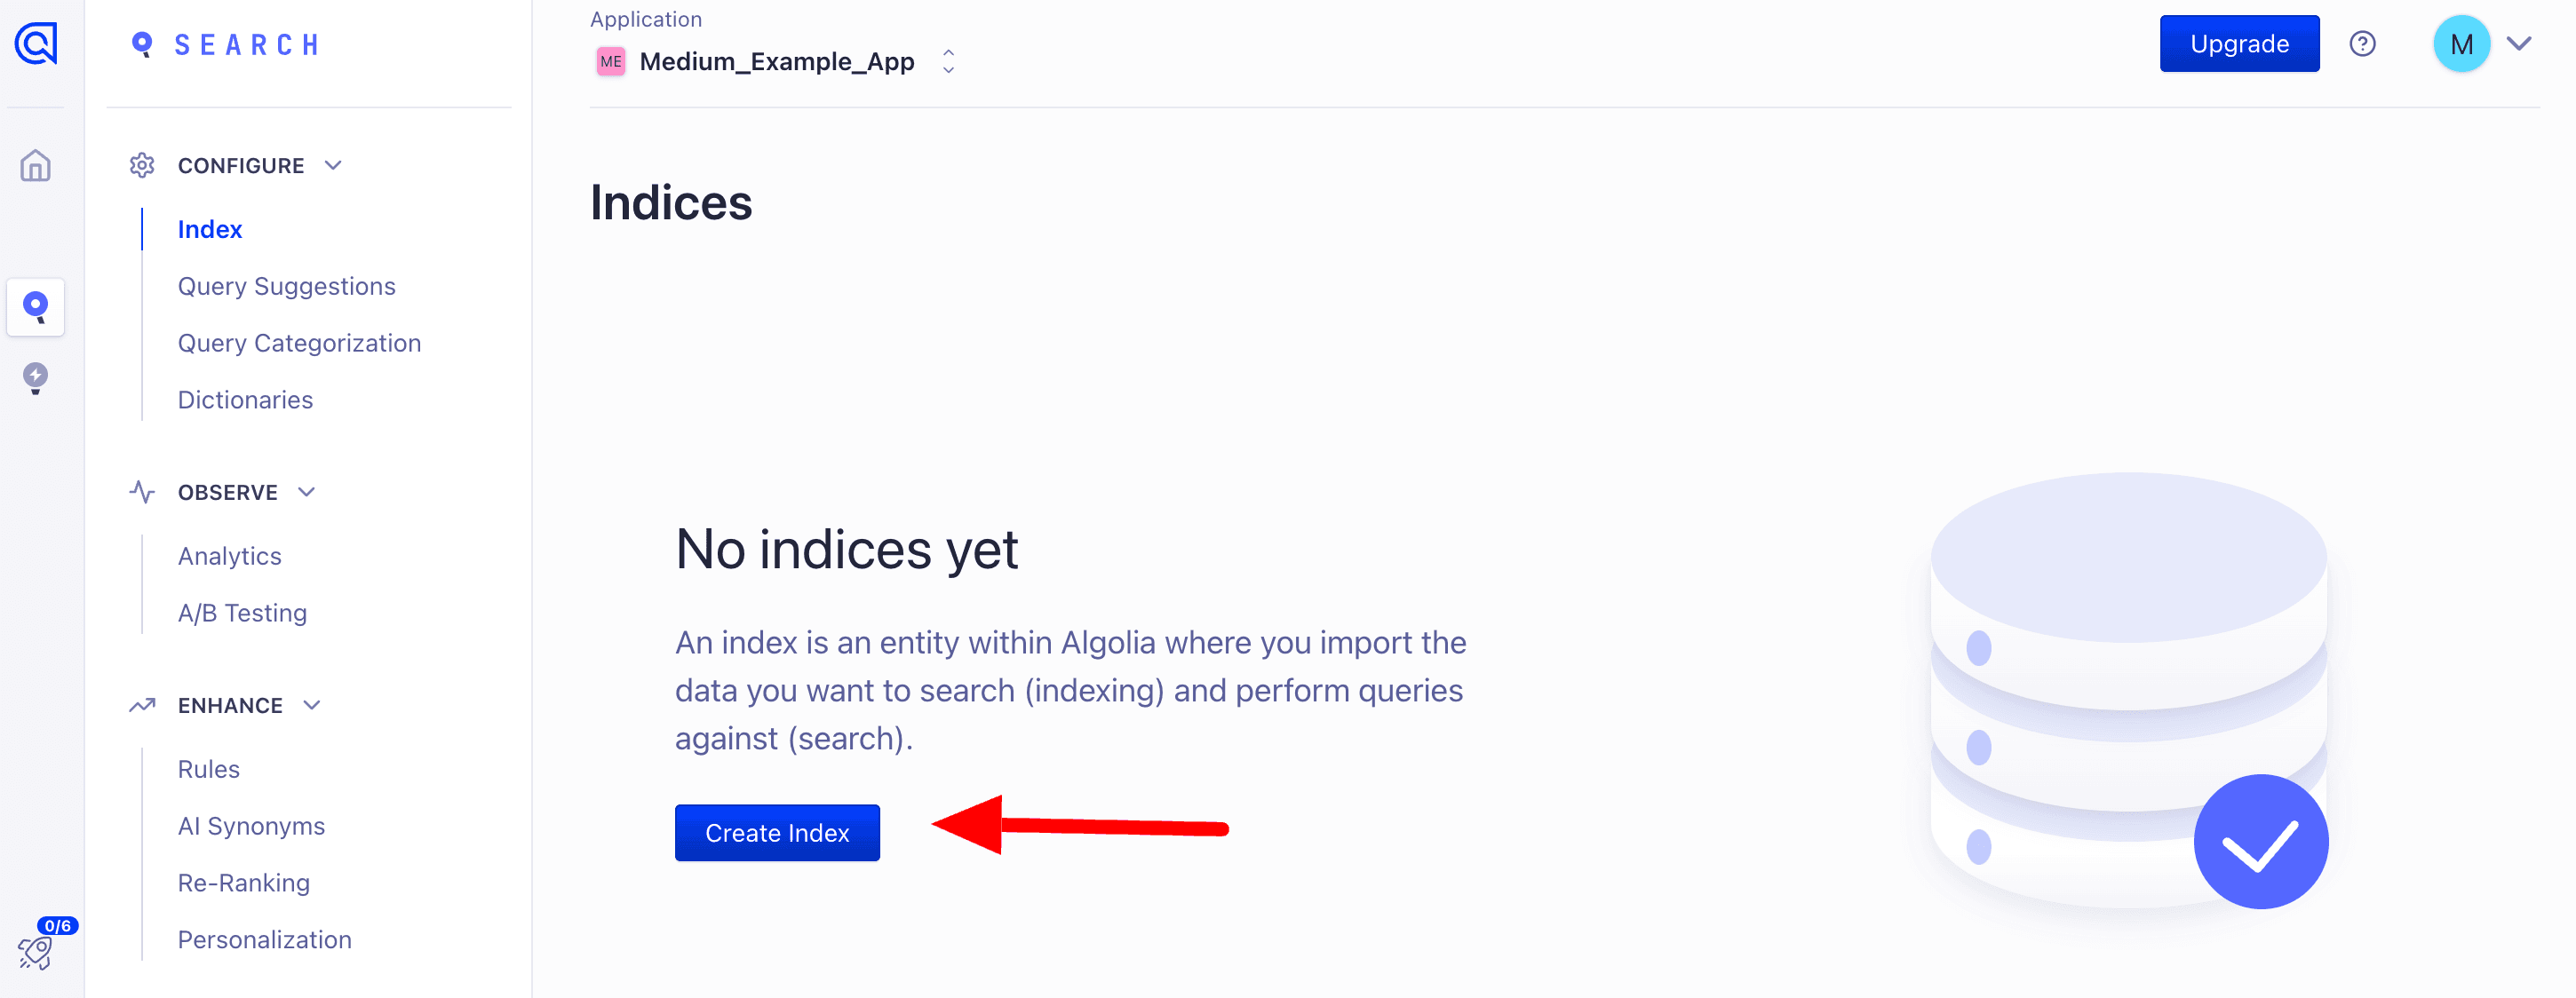
Let’s click on (2) to open the search overview page and then we click on the CTA “Create Index”. We will call it “example_dev”

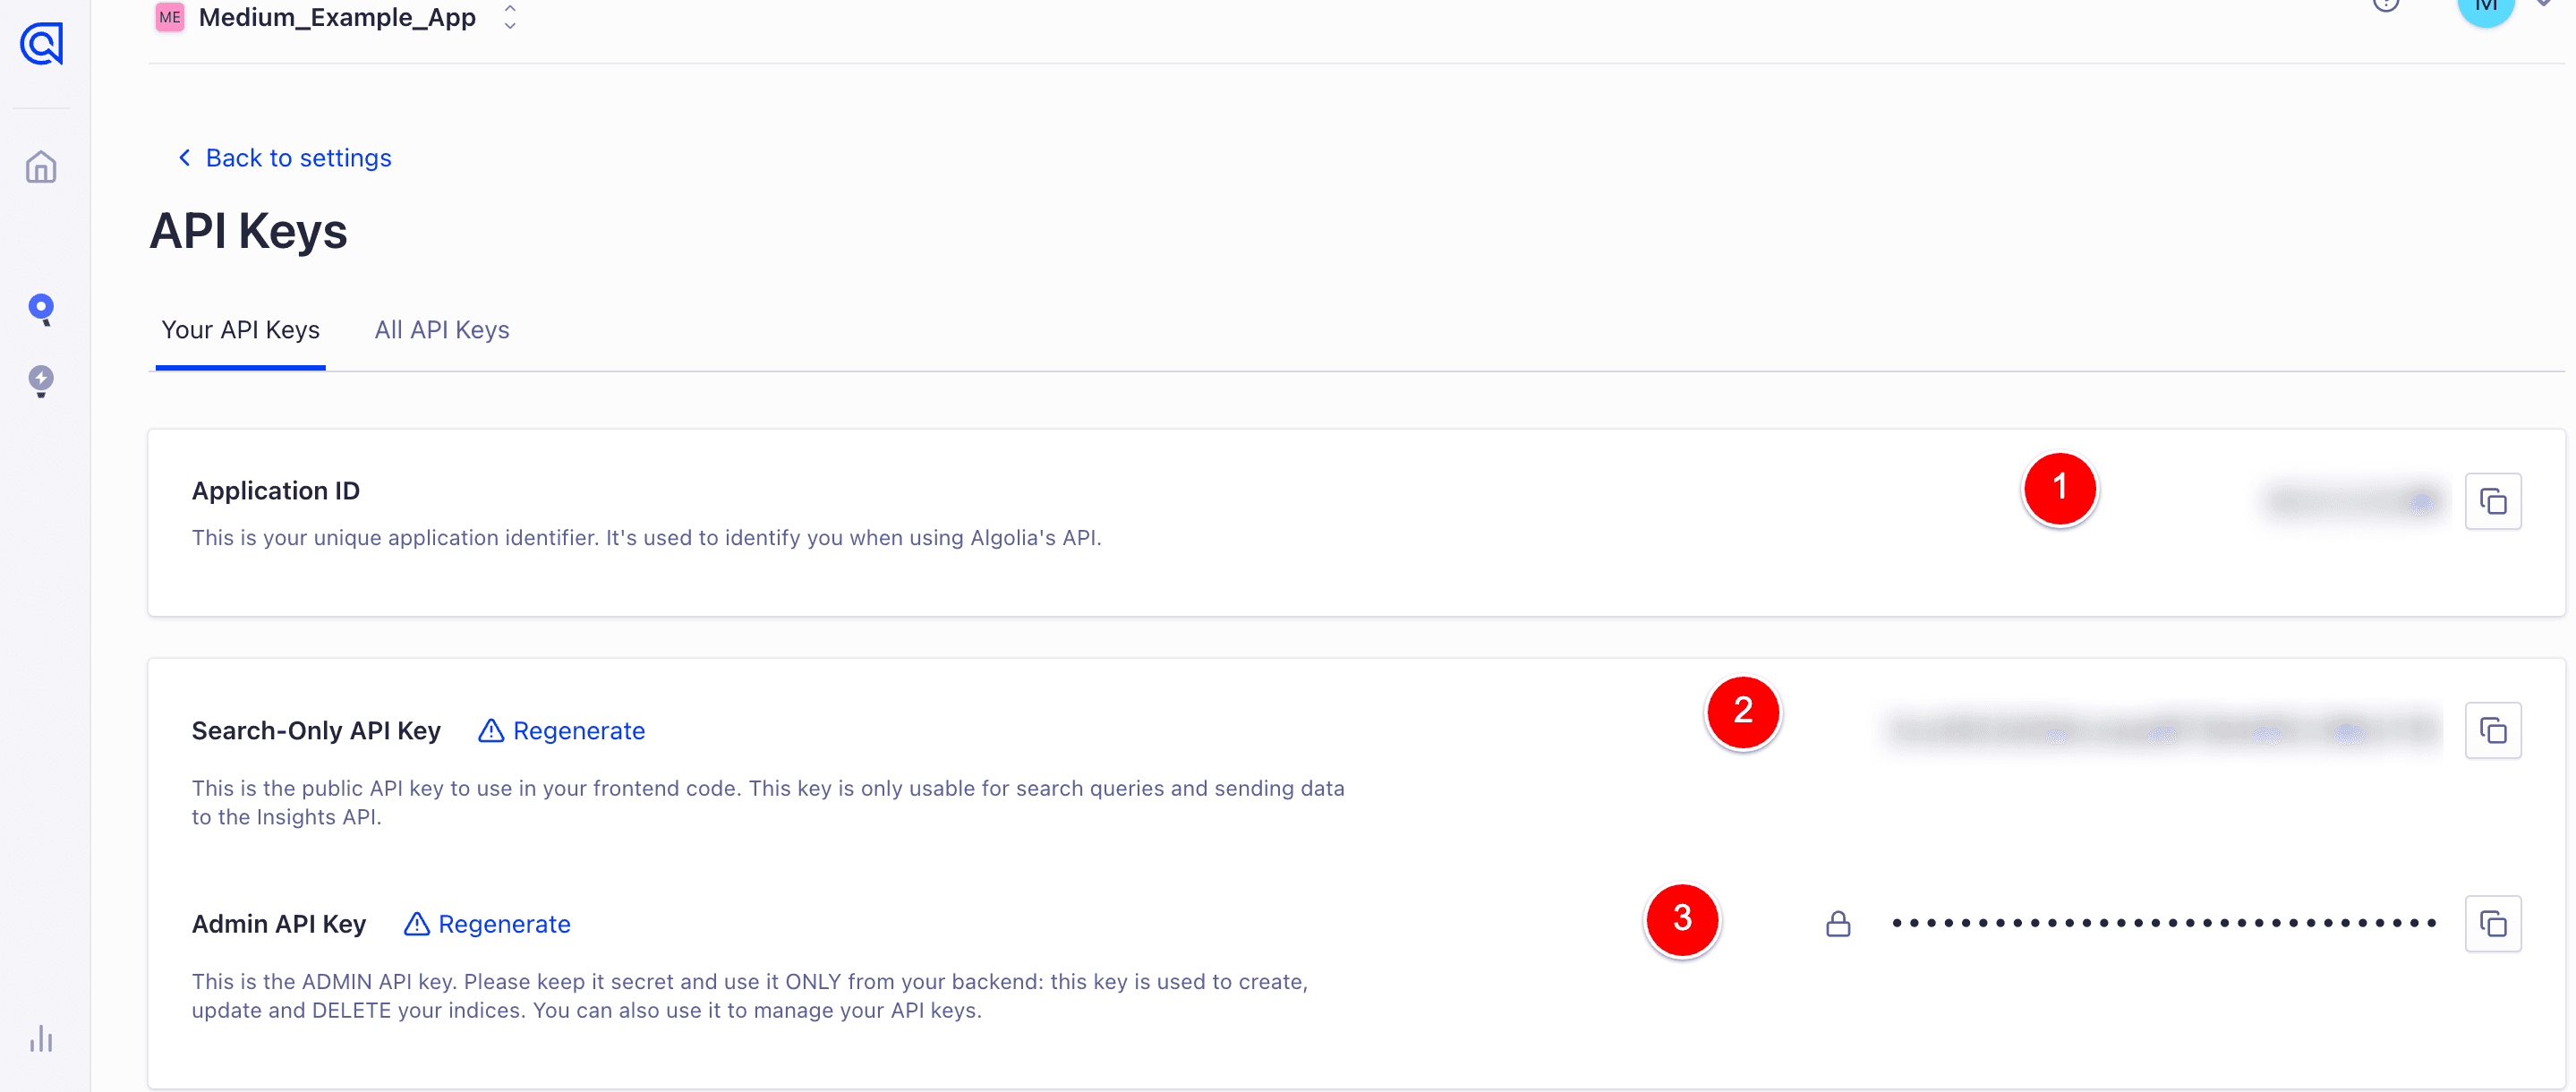
Now let’s go back to the settings overview page (left bottom symbol -> as shown in the first Algolia screenshot), but now we click on “API Keys” in the left section “Team and Access”. We land on the API Keys overview page, where we need three values (“Application ID”, “Search-Only API Key” and ”Admin API Key”). The Search-Only API Key will be used in the next post, during the frontend implementation of Algolia. Now we need the Admin API Key because we have to write/push data to the previously created index “example_dev”.
We have both accounts (Contentful and Algolia) ready and have started creating a new Next.js API route for the sync process. If you want you can directly clone this repository
Here is the GitHub link -> GitHub - cloudapp-dev/nextjs14-SEO
which already includes all 6 previous steps (overview here) + the additional SEO topic regarding creating a complete Next.js 14 project from scratch.
We add the following env-variables to our .env.local file
You can use this command for the creation of a new API key
Endpoint creation in Next.js
For the new API endpoint, we create a new folder under /src/app/api called “algoliasync” with this route.ts file in it.
At the top, we import the needed packages
The second step is the security check with the API Key
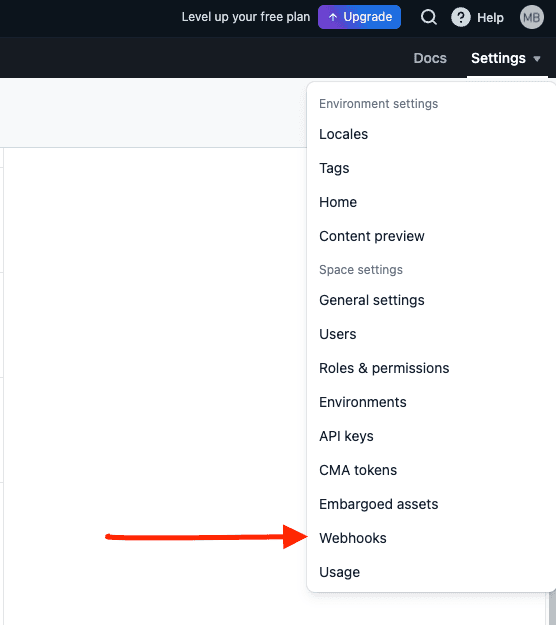
Webhook creation in Contentful
The last step is setting up the new webhook within Contentful so that we push changes/deletions to the newly created index “example_dev”.

Here now are all the details for the webhook creation regarding the creation and updates of our data in Algolia

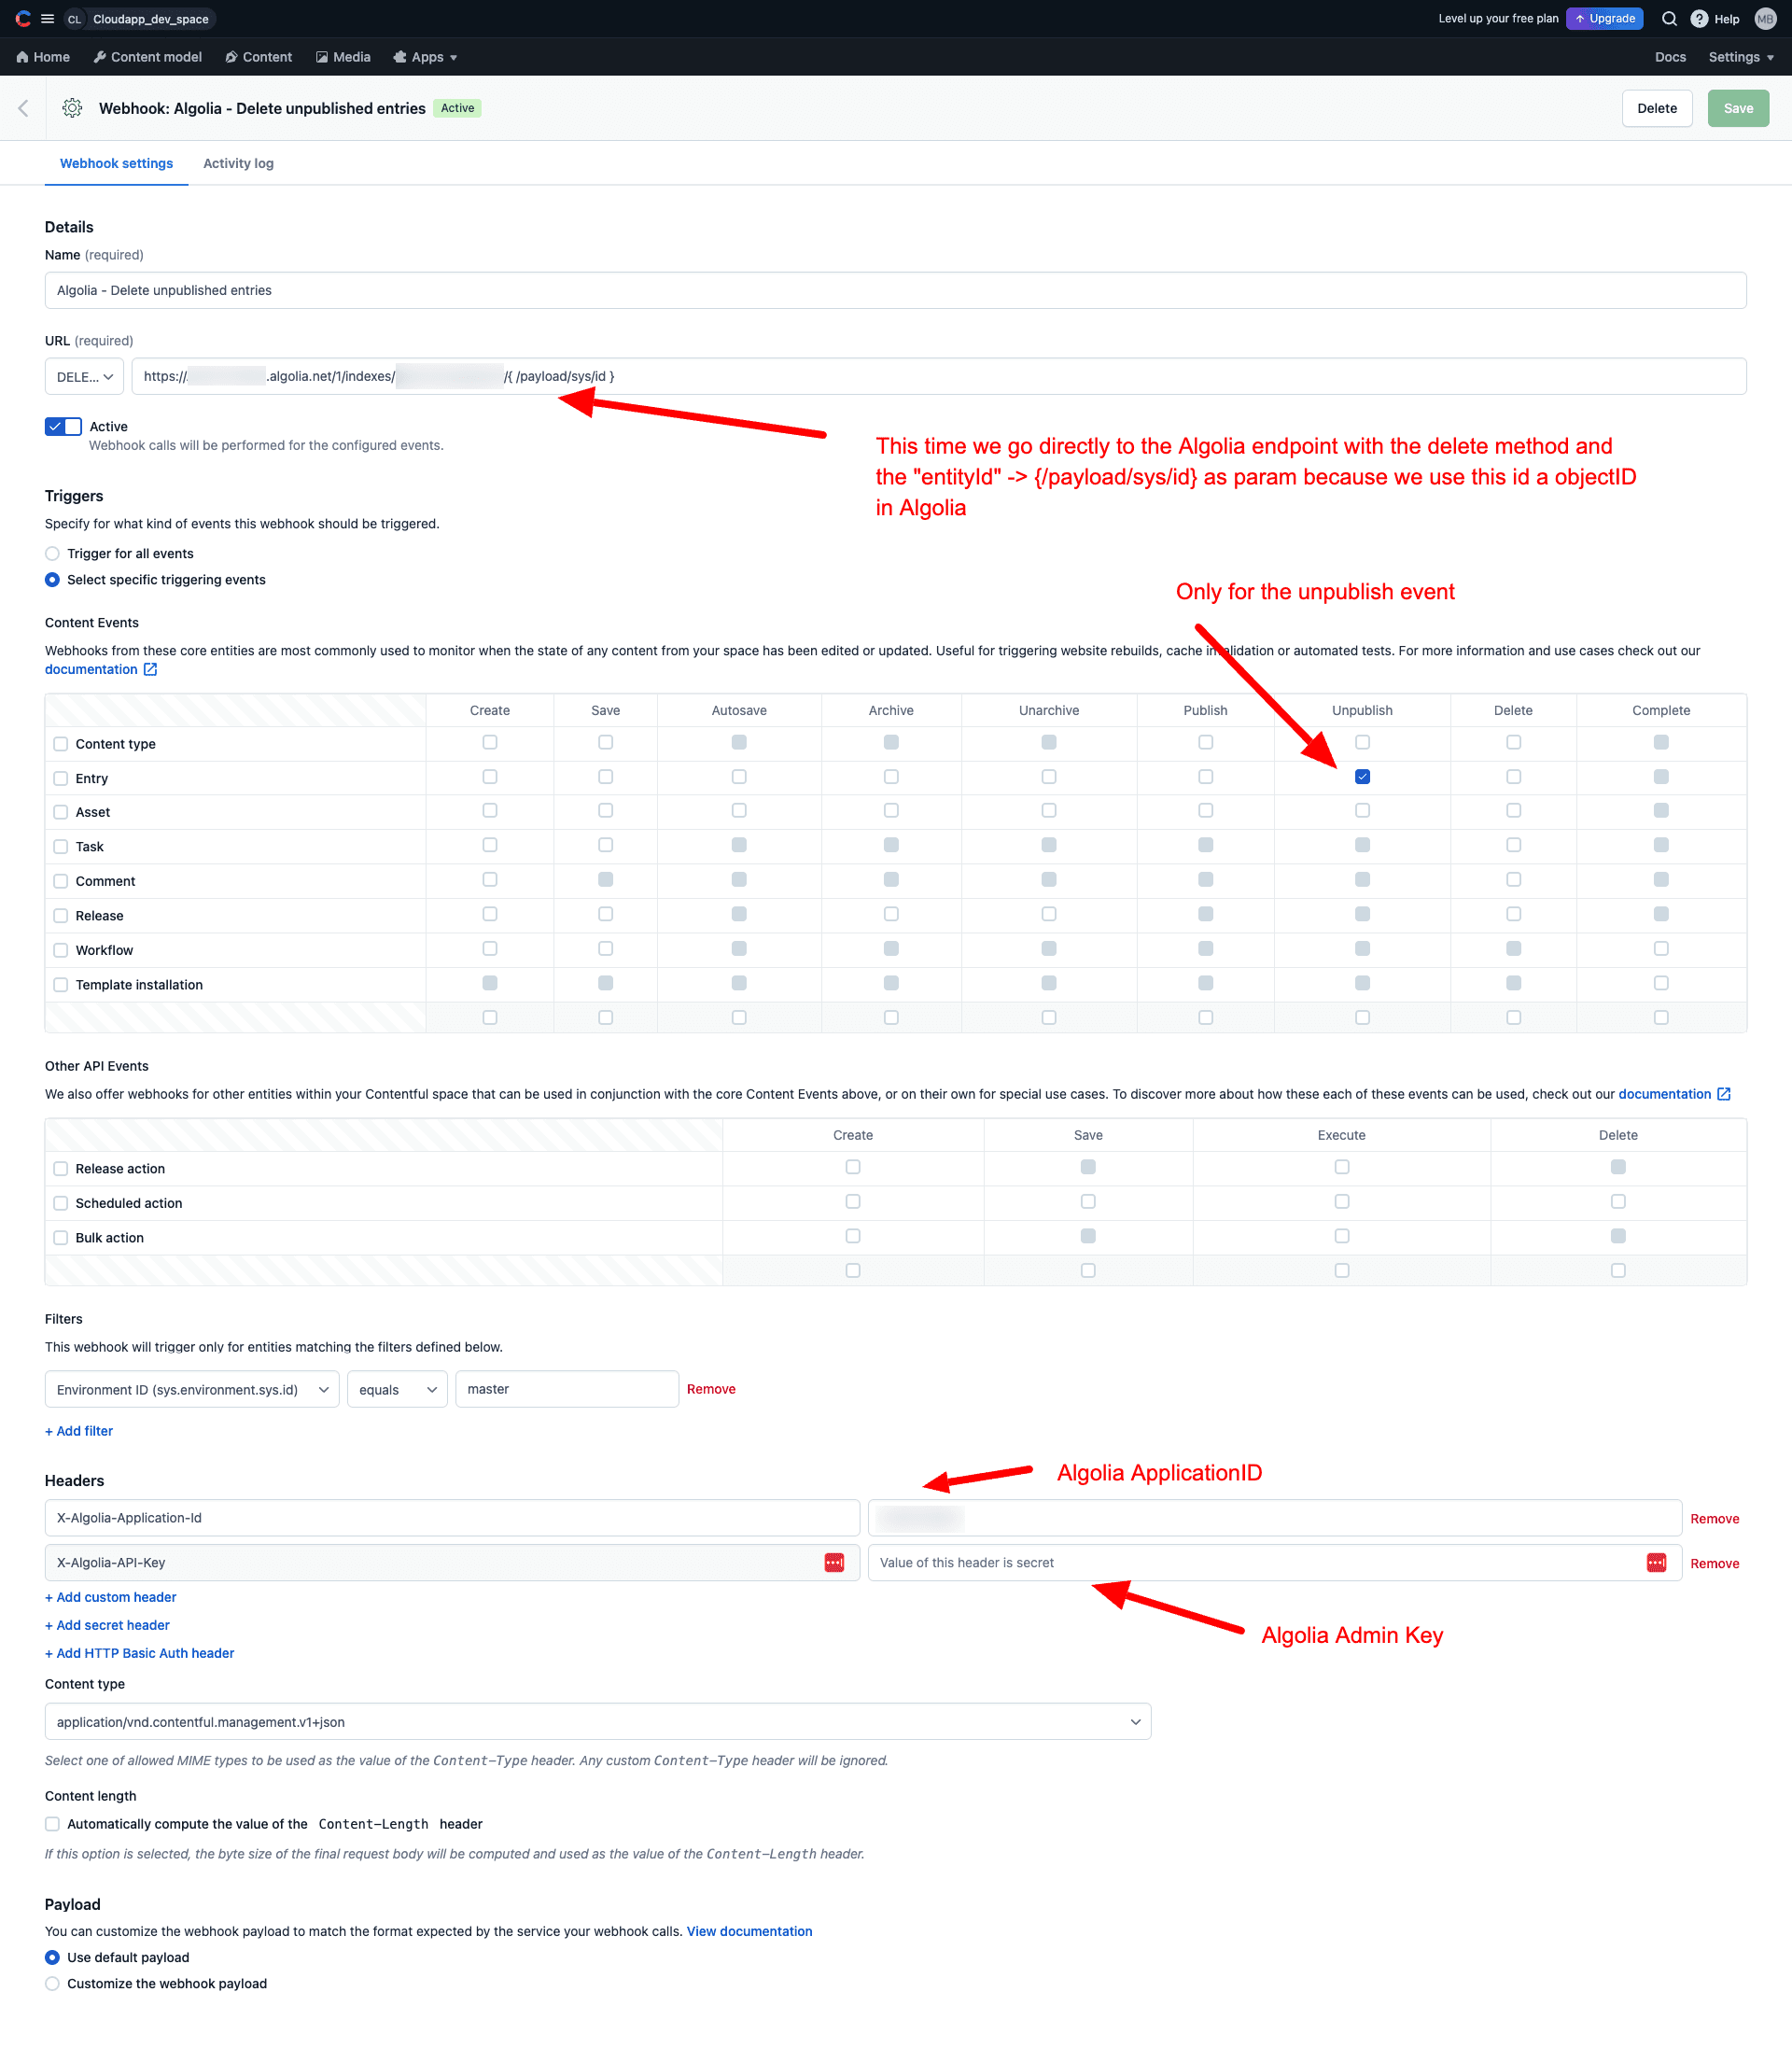
and here are the second webhooks for removing unpublished blog posts in Contentful from the Algolia index.
In this tutorial, I used the project, that I created in the previous steps as a foundation and then the Contentful—Algolia sync was built on top.
Cloudapp-dev and before you leave
Thank you for reading until the end. Before you go:
Please consider clapping and following the writer! 👏 on our Medium Account