Table of Contents
- Used Stack
- New and updated NPM Packages
- Tinybird platform (BUILD Plan)
- Register/Login and create a new workspace
- Tinybird JS-Snippet
- New Tinybird tracking component
- Tinybird workspace with collected data
- Creating new Components/Types/Hooks/Types and Themes.
- Creating Dashboard Page
- Dashboard — Visualization and commented sections
- Final dashboard with base widgets
- Cloudapp-dev, and before you leave us
In this story, we will introduce Tinybird (https://www.tinybird.co/), a data platform for user-facing analytics. We will integrate the provided Javascript Snippet for the data collection and then integrate the Analytic Dashboard in our existing Nextjs 14 project.
Here is the GitHub repo with the entire code. Below, you will find the link to the example page.
Example page hosted on Vercel -> https://nextjs14-kafka-tracking.vercel.app/
Used Stack
I will start with my default stack:
Next.js 14 as the web framework, and I will use the provided middleware edge function
TailwindCss for Styling
Contentful CMS (Free Plan)
Tinybird for Data Collection and Analytics
Vercel for hosting
New and updated NPM Packages
We need to install the new “swr — Stale while revalidate” package
Tinybird platform (BUILD Plan)
We will use the free “Build Plan”, which is great for testing and small projects. Below are the plan details.
Up to 1000/req. per day
1 Copy Pipe
Unlimited processed GB
10 GB max storage
Per Workspace, per month
Register/Login and create a new workspace
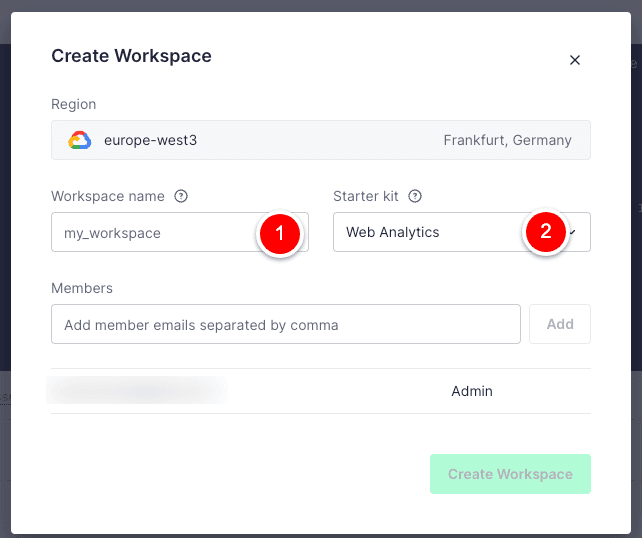
Choose a workspace name.
Select the “Starter kit” Web Analytics so that Tinybird prepares the data sources and the pipelines.
Tinybird JS-Snippet
As soon as the workspace is ready, you will see the JS snippet, which we must integrate into our project.
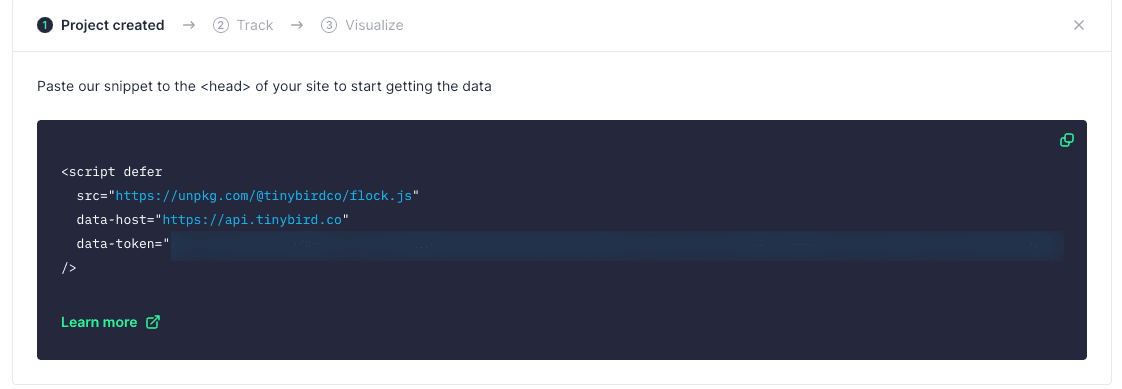
The integration can be done via a Tag-Manager (Google, Piwik, etc.) or directly with a new component.
New Tinybird tracking component
I decided to do it with a new component. To make it work, you have to create a new environment variable with the name “NEXT_PUBLIC_TINYBIRD_AUTH_TOKEN” and copy and paste the token from the Js snippet.
With the new tracking component in place we can go to our layout.tsx (src/app/[locale]/) and import the component
Tinybird workspace with collected data
When the code is deployed, you will see data flowing into your Tinybird workspace.
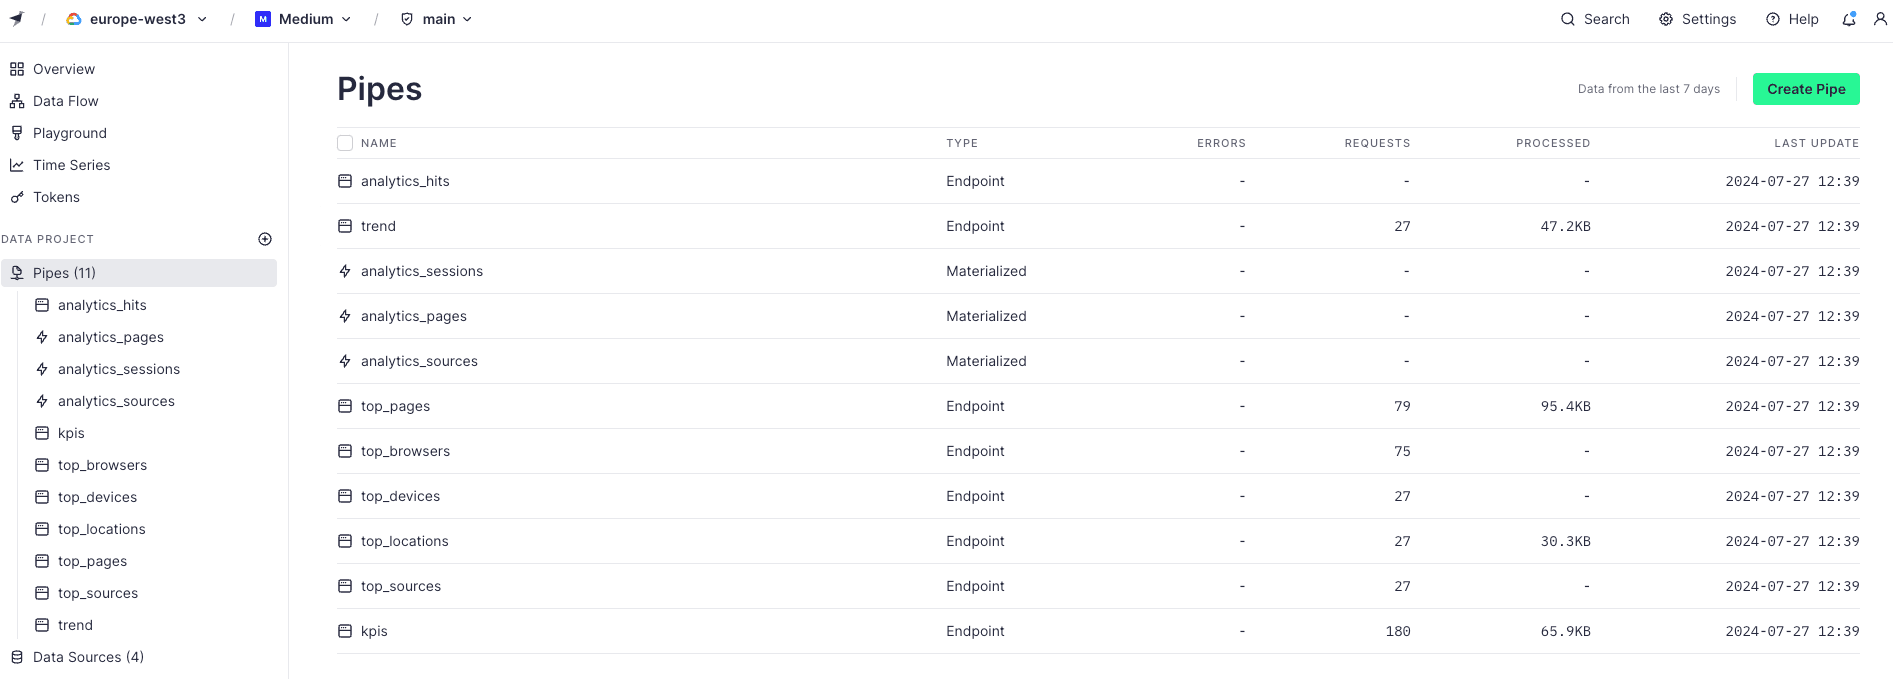
With this step, the data collection part is done, and we can move over to the dashboard creation part.
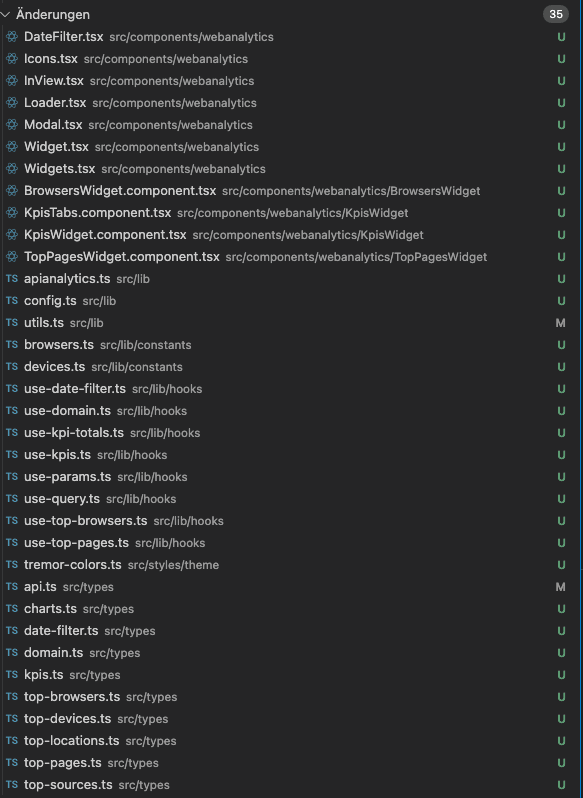
Creating new Components/Types/Hooks/Types and Themes.
We create a new folder called “webanalytics” under src/components/ and put there all the new components. Under src/lib we place three new libraries (config, apianalyitcs and utils). Two new constants are now present under src/lib/constants. New hooks are present under src/lib/hooks, new types under src/types, and a new theme file under src/styles/theme.
Creating Dashboard Page
We already have a dashboard page (src/app/[locale]/dashborad/) which is only accessible with an authenticated user and the corresponding rights. We import two new components.
Dashboard — Visualization and commented sections
As you can see, there are comment sections, which I will explain in the next story. In this story, the focus is on the base integration.I basically load two components, the date filter and the widgets component, which dynamically loads the remaining component.
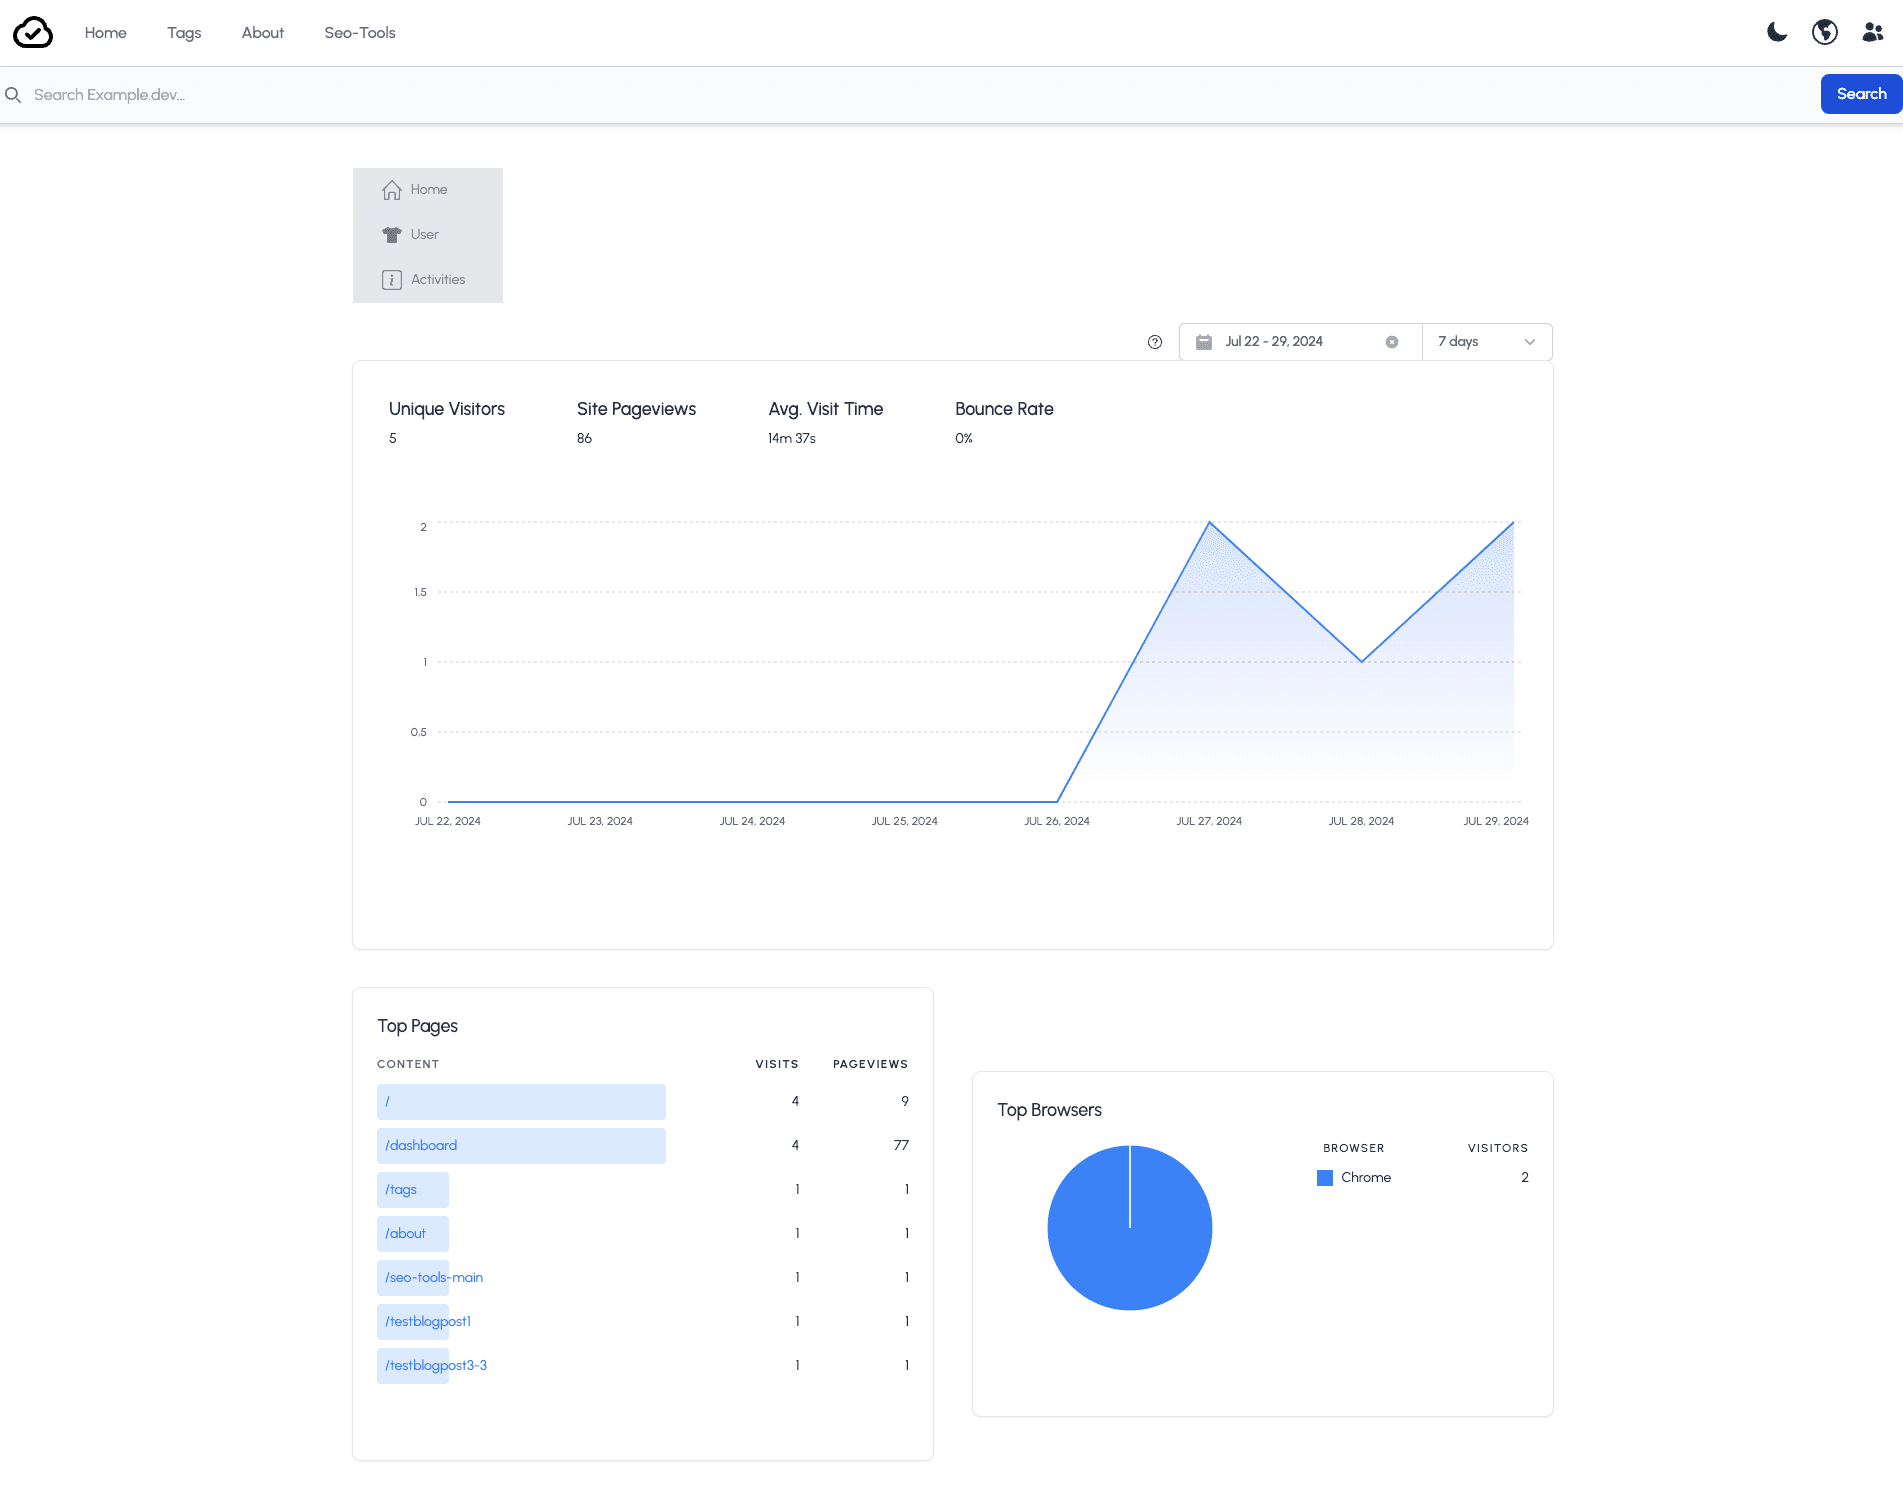
Final dashboard with base widgets
Below you can see a screenshot with the base widgets (KPI’s, Top Pages and Top Browsers). In the next story I will add more widgets to complete the dashboard.
Cloudapp-dev, and before you leave us
Thank you for reading until the end. Before you go: