In this story, I will show you how to use Contentful Environments and Aliases in your Nextjs 14 project. Environments are a great way to change your project's data structure, test it, and use it for the production system without being scared to break something on production during development.
Here is the GitHub repo with the entire code. Below, you will find the link to the example page.
Example page hosted on Vercel -> https://nextjs14-advanced-algoliasearch.vercel.app/
Used Stack
I will start with my default stack:
Next.js 14 as the web framework
TailwindCss for Styling
Contentful CMS (Free Plan)
Vercel for hosting
What is an environment in Contentful?
Environments are container entities within a space that allow you to create and maintain multiple versions of your content types, and make changes to them in isolation. Whenever you add a space, it comes with a default “master” environment. Additionally, multiple sandbox environments can be created in the space. To create a new sandbox environment, you clone either the “master” environment or one of the sandbox environments.
New Env Variable
to handle the different environments flexibly, I opted for a new env variable. On my dev system, I use “dev” and “master” for production.
Adapting main connection logic in codegen.ts
In the next step, I adapt the code in my codegen.ts file, located in the project root. I add the part “/environments/${process.env.CONTENTFUL_ENVIRONMENT}/” at the end of my endpoint (string) const. That allows me to switch between the environments.
In one of my first blog posts, I explained the basic setup of a Next.js 14 project combined with the powerful contentful CMS.
Next.js 14 - Complete Example - Typescript / App Router / Contentful with GraphQL - Part 1
Next.js 14 - Complete Example - Typescript / Tailwindcss / Contentful - Part 2
Next.js 14 - Complete Example - Header / Footer / Tailwindcss / Contentful - Part 3
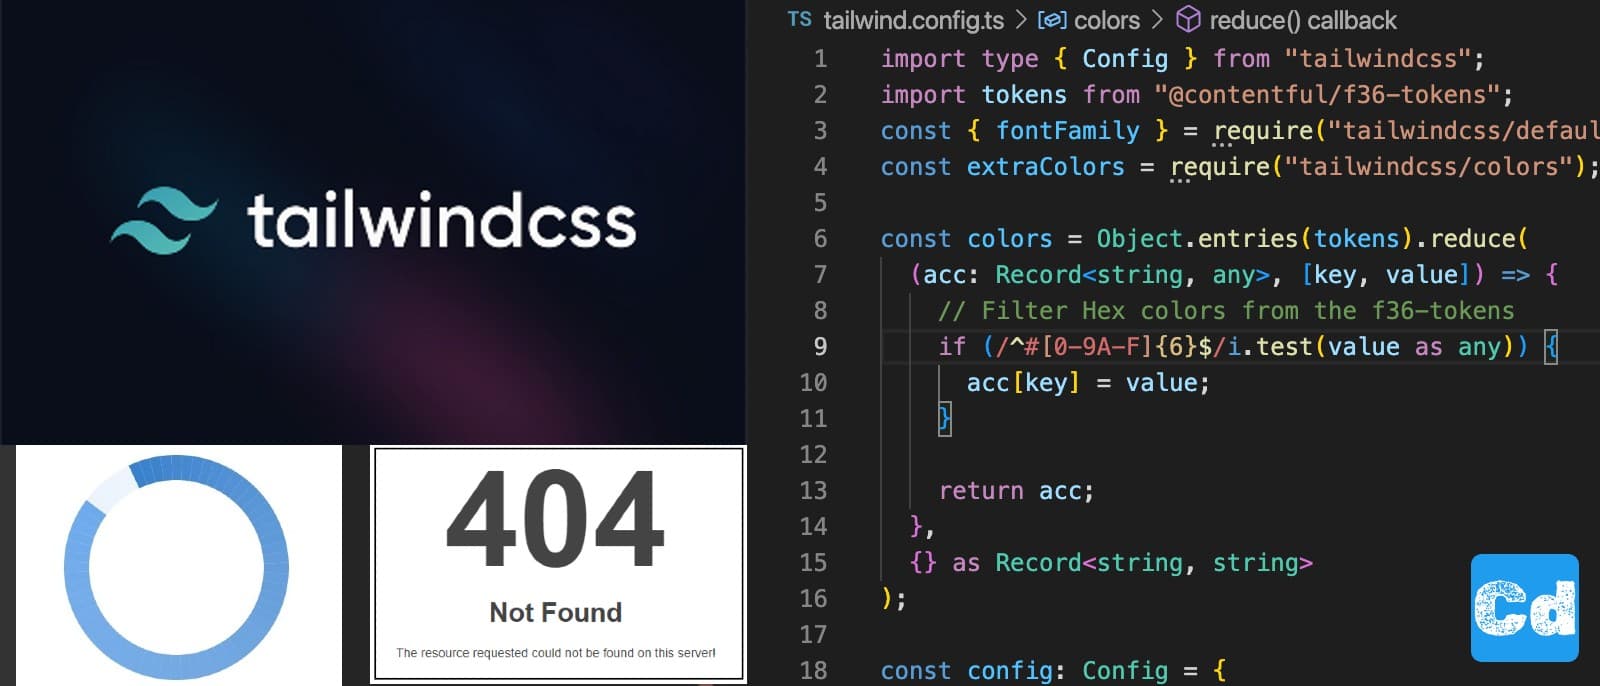
Next.js 14 - Complete Example - Custom 404 Page / Loading UI / TailwindCss (ExtraColors) — Part 4
Don’t forget to add this new env variable on Vercel (or where you would like to deploy your project) as well.
Contentful Setup for Environments and Aliases
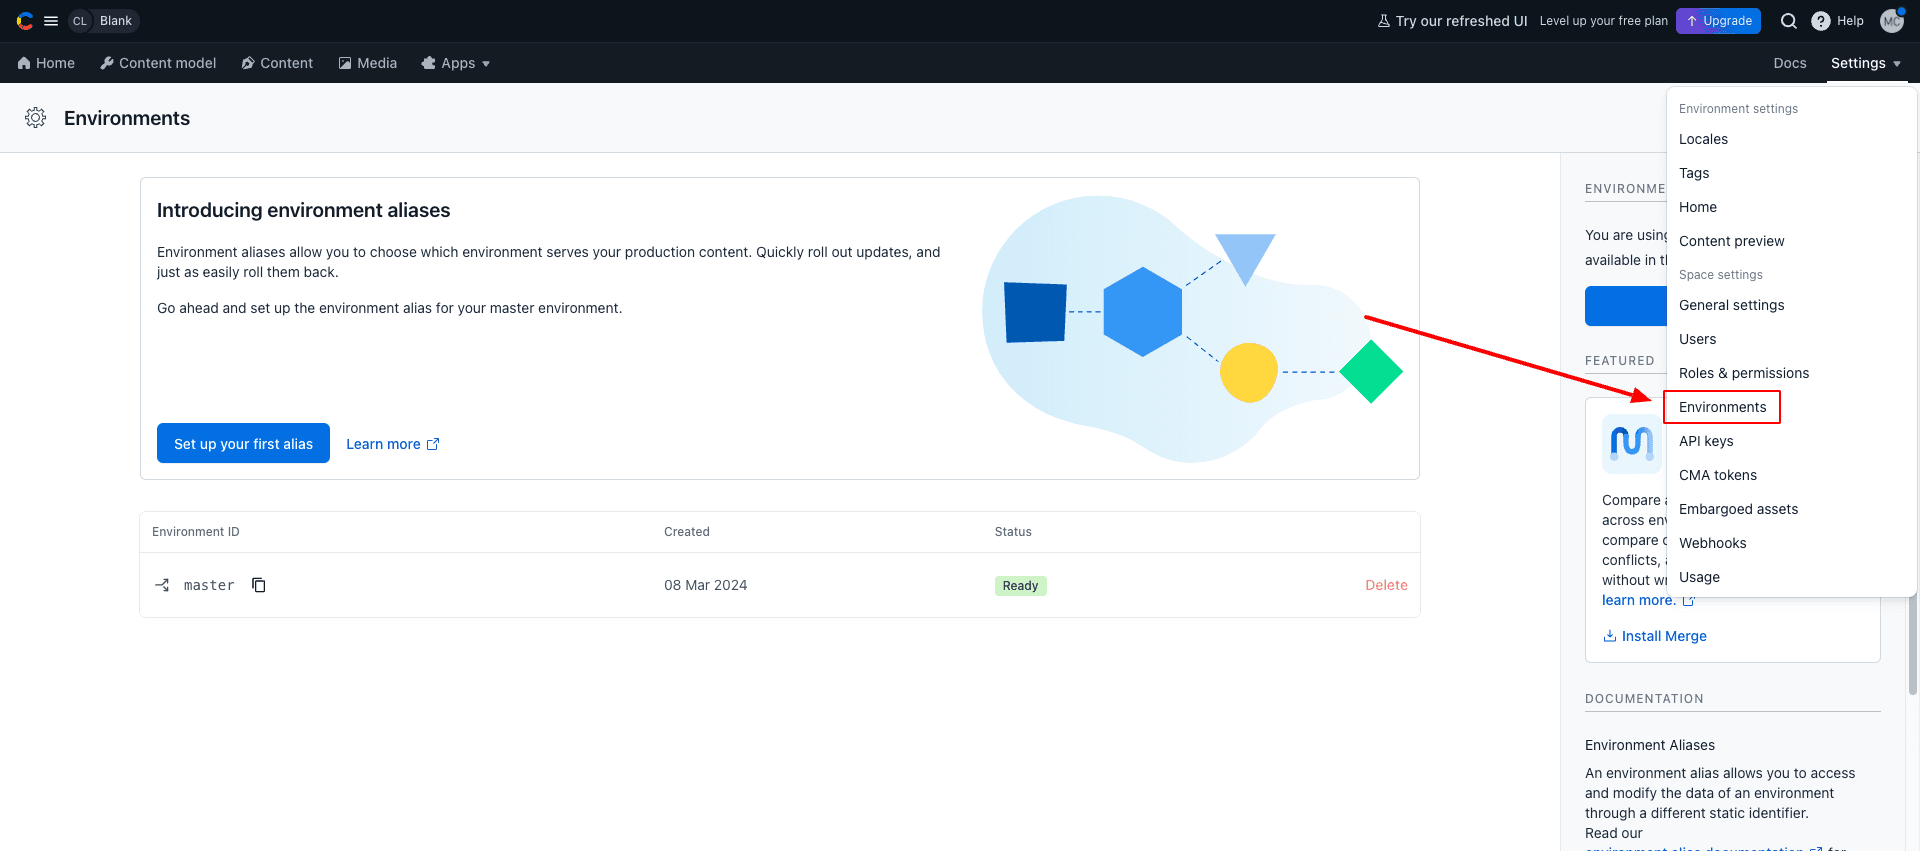
Log in to your Contentful Account (Free Subscription) and click on settings in the upper right corner. Select “Environments”.
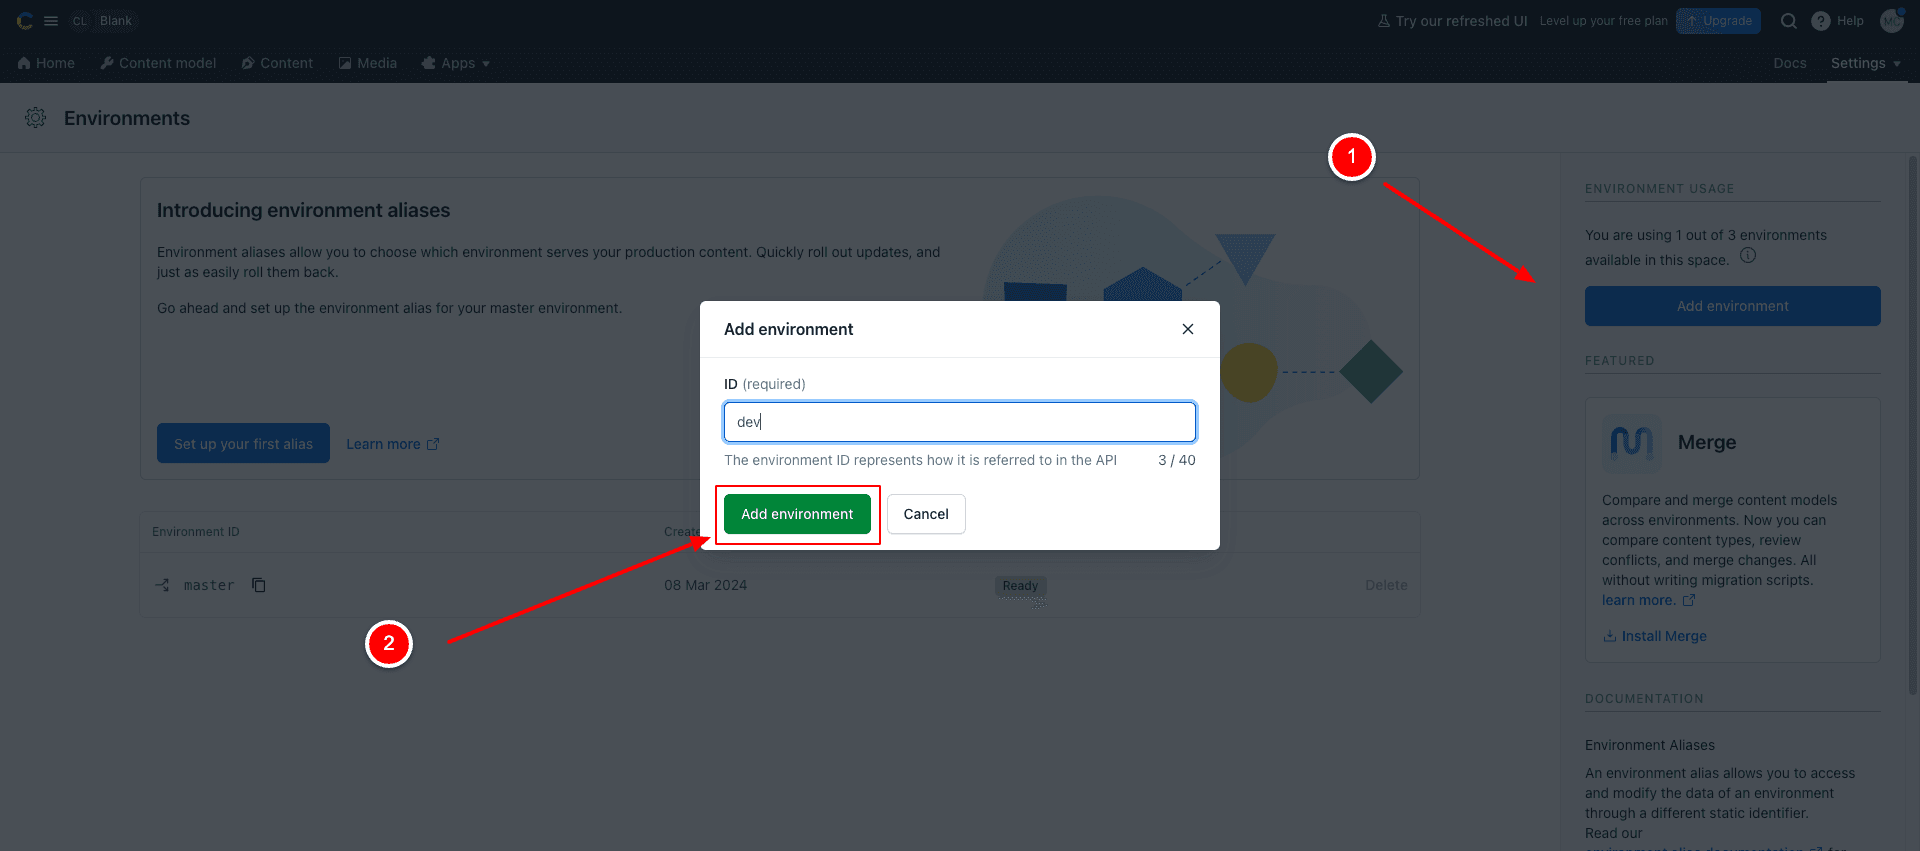
Create new Environment
I will name it “dev” and with a click on “Add environment” Contentful will clone the “master” environment and provide the new “dev” environment.
Create a new Alias
We can see the new environment in the list below as soon as it is ready.
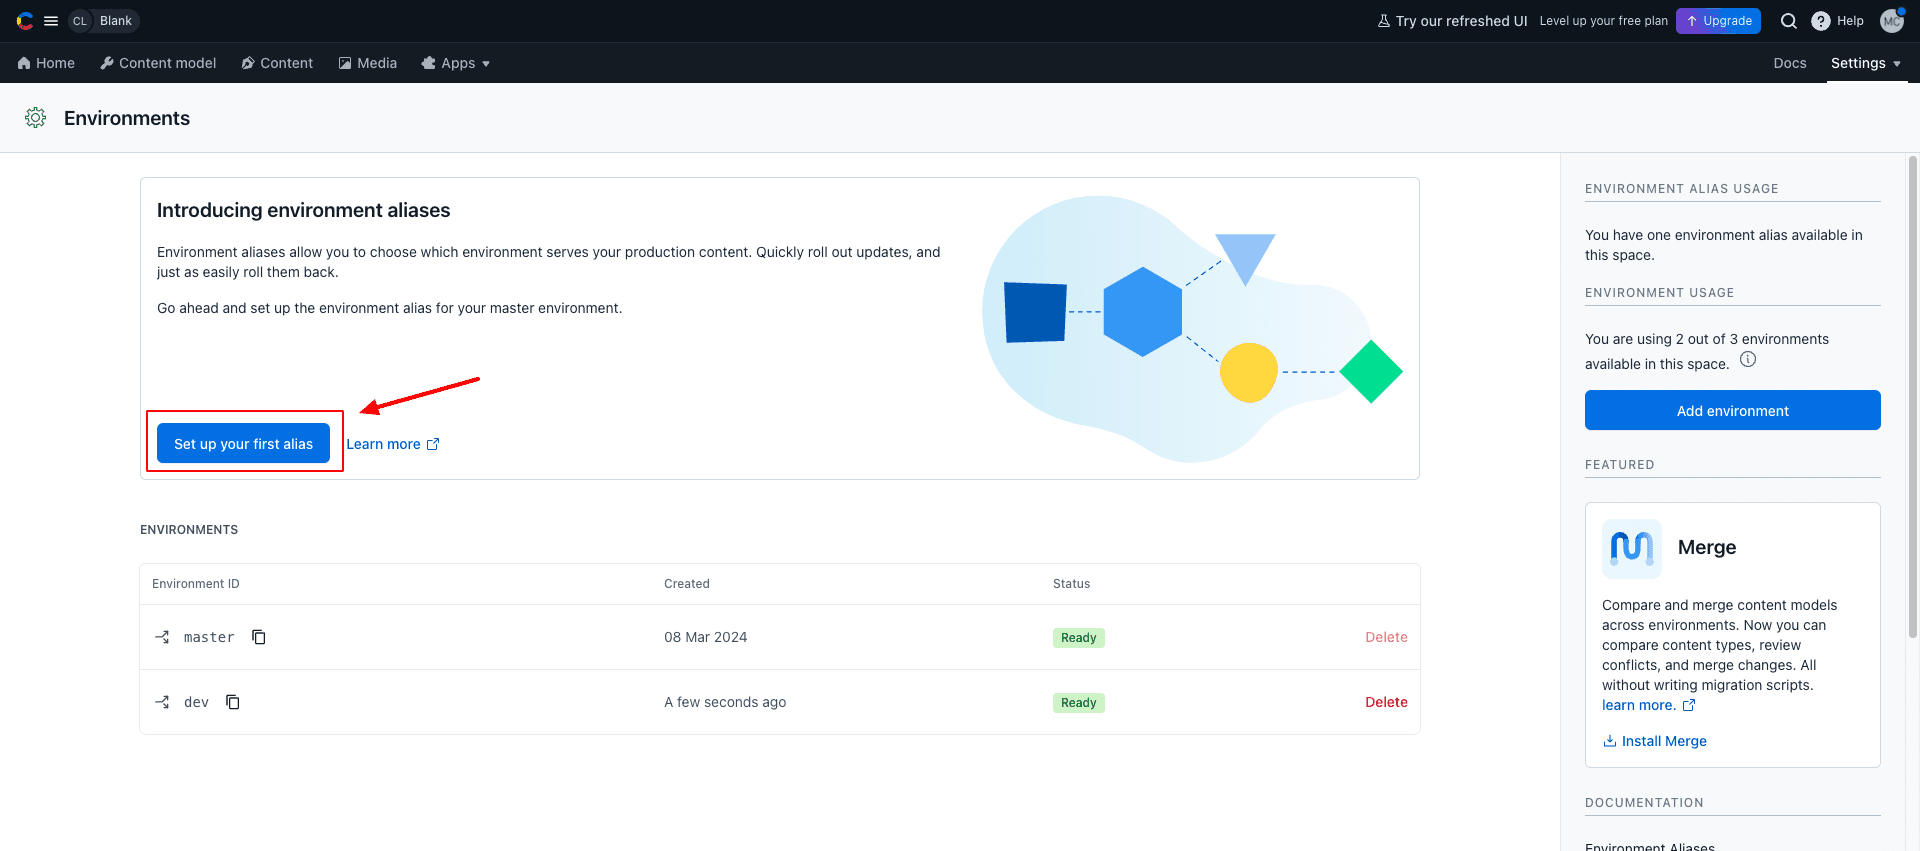
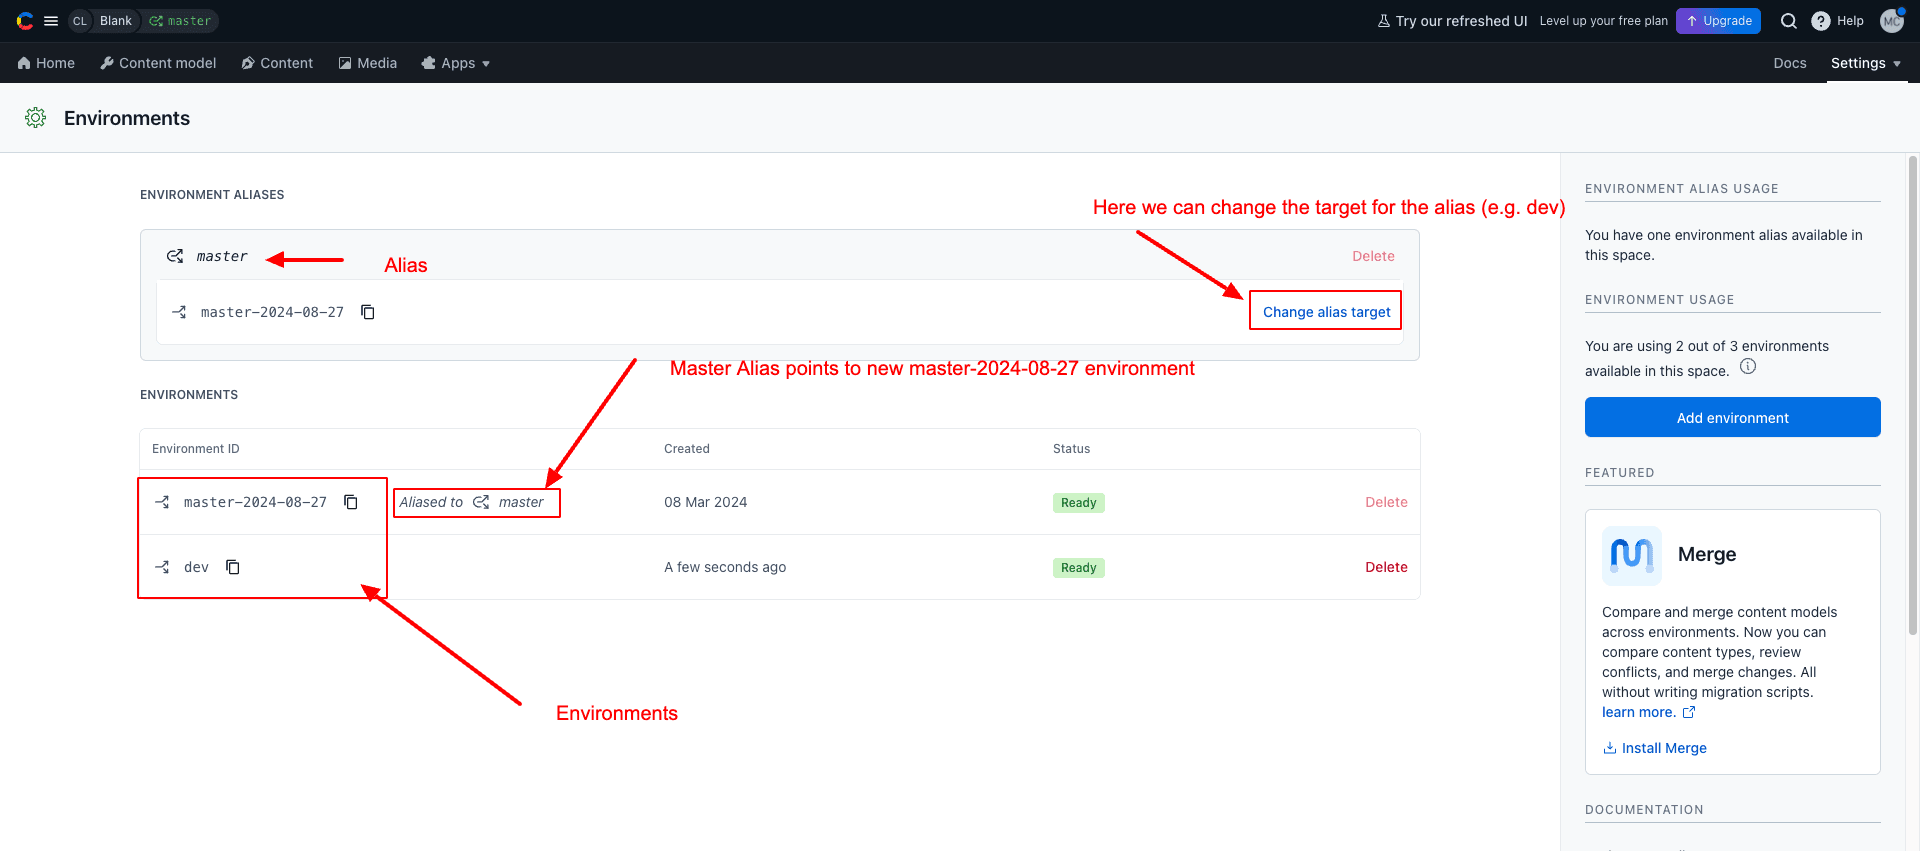
We can now proceed with the new “dev” environment or take it one step further and create a new “alias”. Aliases are convenient because we can switch our dataset within seconds. If we click on “Set up your first alias,” Contentful proposes to call it “master + current date” like “master-2024–08–27” and point directly to our master environment, which we can change at any time.
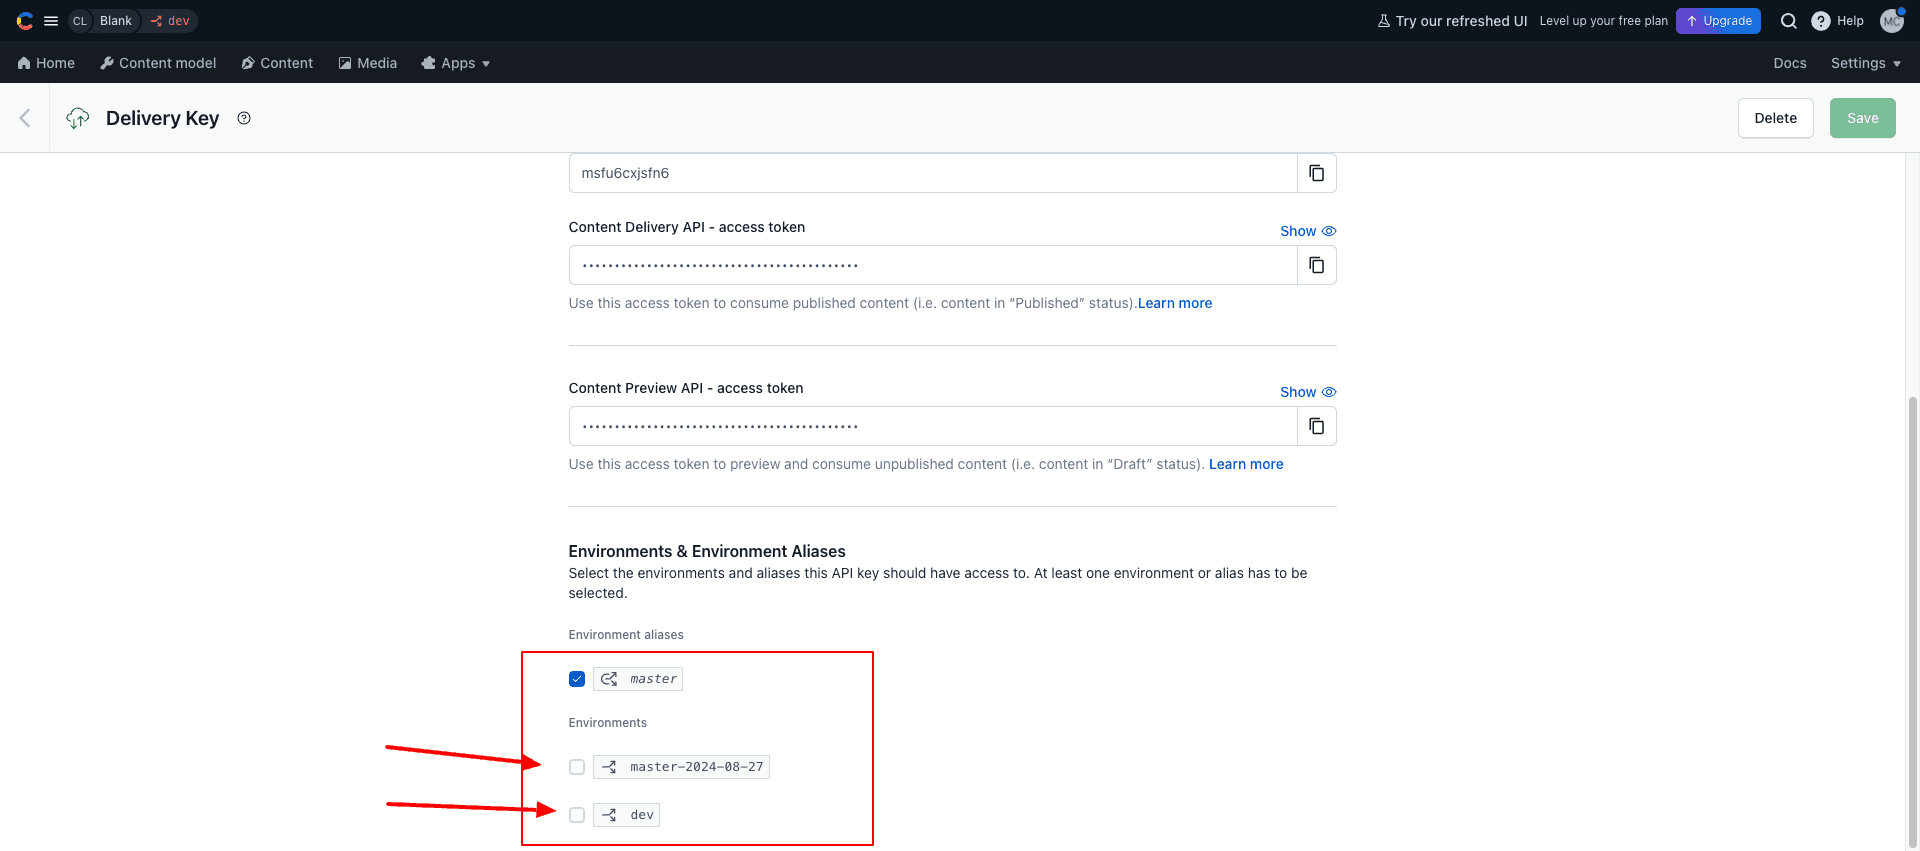
Adapting API Keys
After creating a new environment/alias, we must adapt the API Keys because otherwise, they will not work in the new environment. So, let’s flag them and click save in the upper right corner. (You can find them under settings/Api Keys)
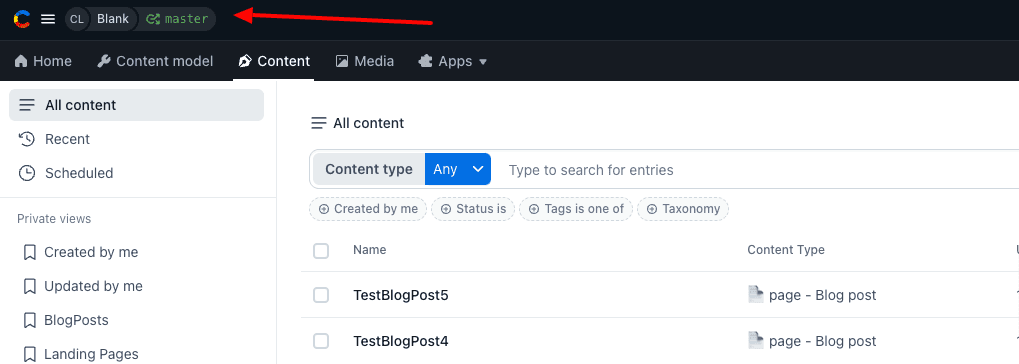
Switch between Environments
Now, we can easily switch between the environments with one click in the left-right corner. Contentful opens a side menu on the left, where you can select the needed environment for every space in your account.
It’s a handy feature and helps a lot during the testing and developing new features.
Below is the link to the Contentful documentation page, where you can explore the topic in depth.
https://www.contentful.com/developers/docs/concepts/multiple-environments/
Cloudapp-dev, and before you leave us
Thank you for reading until the end. Before you go: