Let’s create a completely new website powered with the following Tech Stack:
Next.js 14 - As a modern web framework built by Vercel
App Router - To get out the most of our project and the pages router is outdated
Contentful - Our headless CMS
Typescript - For Javascript with syntax for types
This is the first post out of a series where we will create a website from the ground up.
First, we start the project initialization, then we create the contentful account, and as the last step, we integrate contentful as headless CMS into our Nextjs project.
In the following posts, we will dig deeper and deeper into the project and add functionalities like multi-language support, user registration/authentication, advanced search with Algolia, and a lot more.
All the services used are free and well-suited for smaller projects.
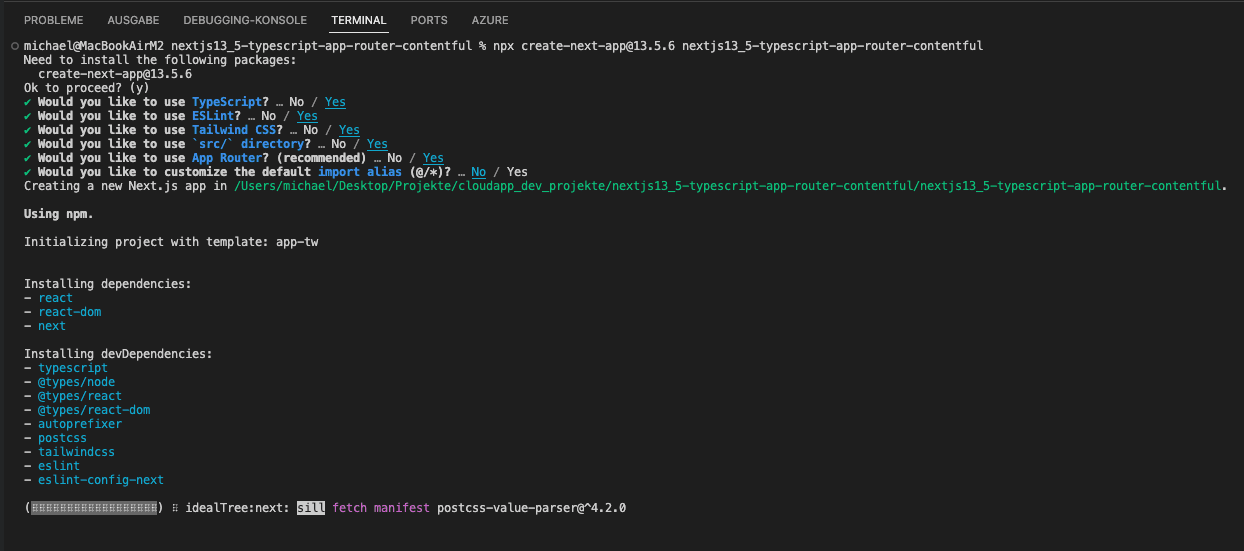
Create a Project with create-next-app
We use the latest version of the create-next-app package
I am using VS Code for the development, so please install VS Code https://code.visualstudio.com/download
Open VSCode and if you are using a “MacOS” you can use Command + Shift + P to open the command palette, and now type “shell”. You should see “Shell Command: Install ‘Code’ command in Path” in the dropdown. Please select it and now VSCode is in your path. So you can jump into your previously created folder and type
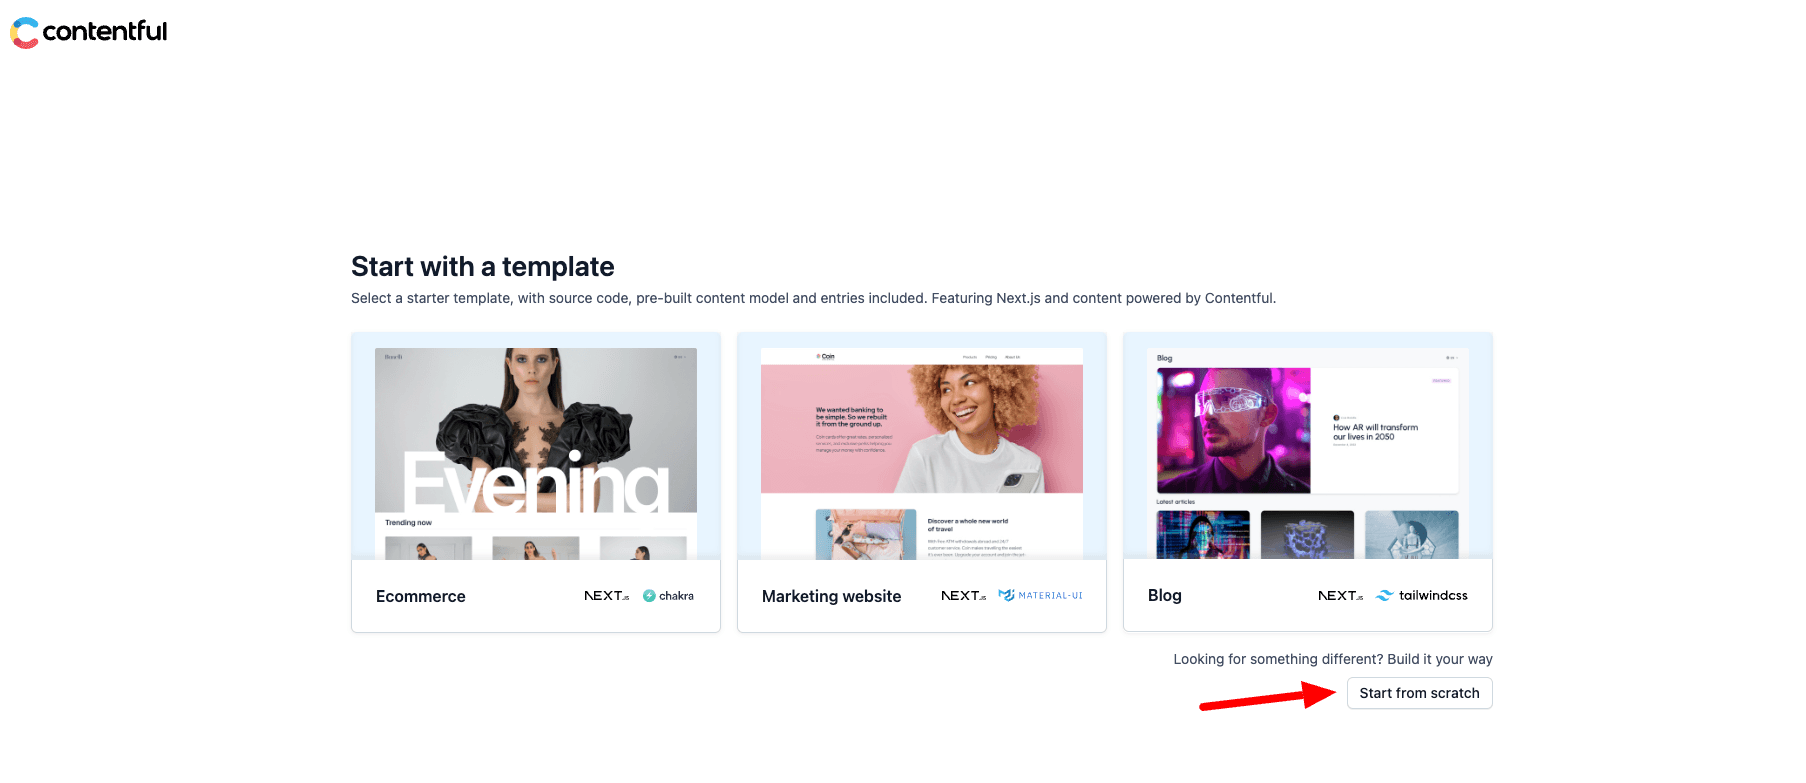
which will open VScode within your project folder. Now we have to create/register an account at www.contentful.com. After the first login, you should select “Start from scratch”
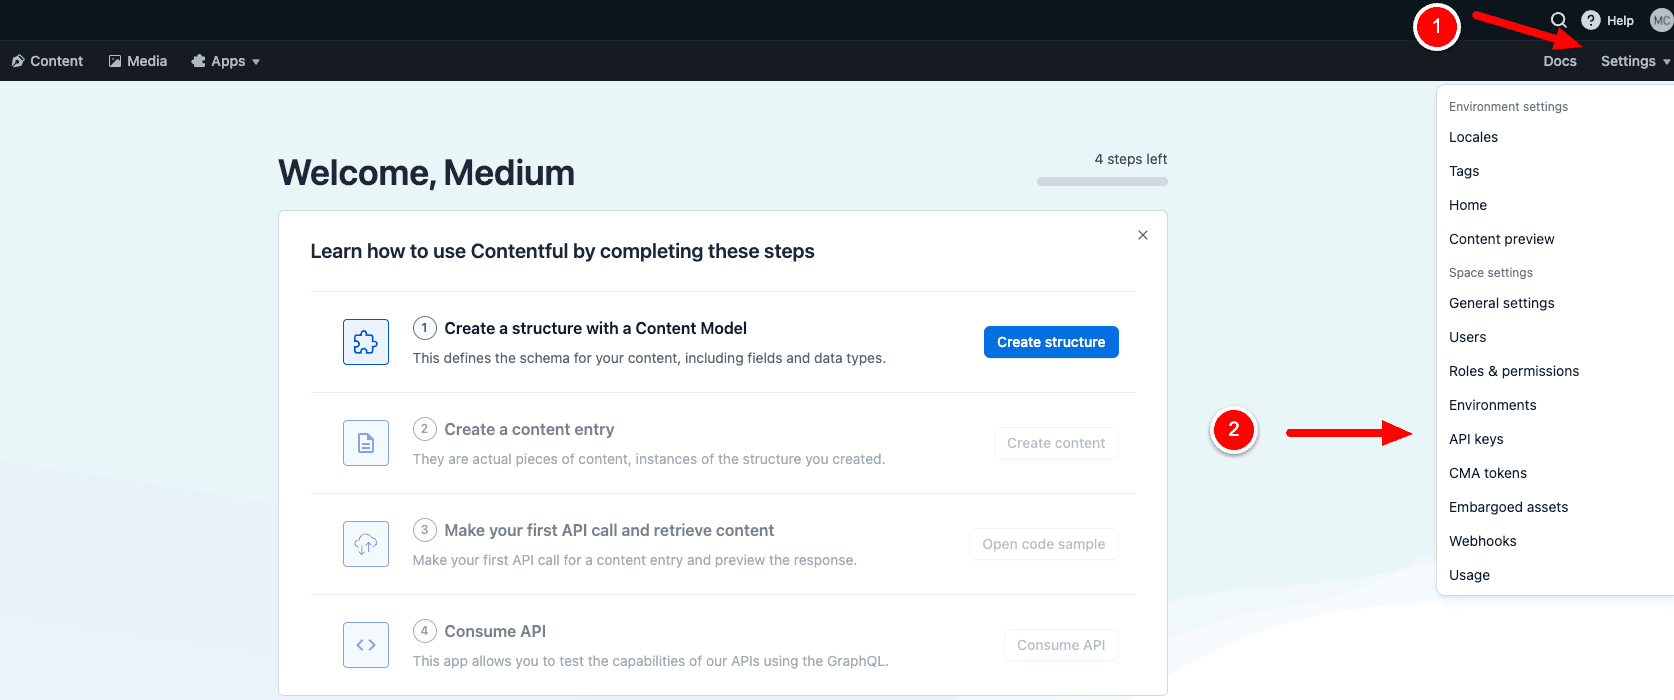
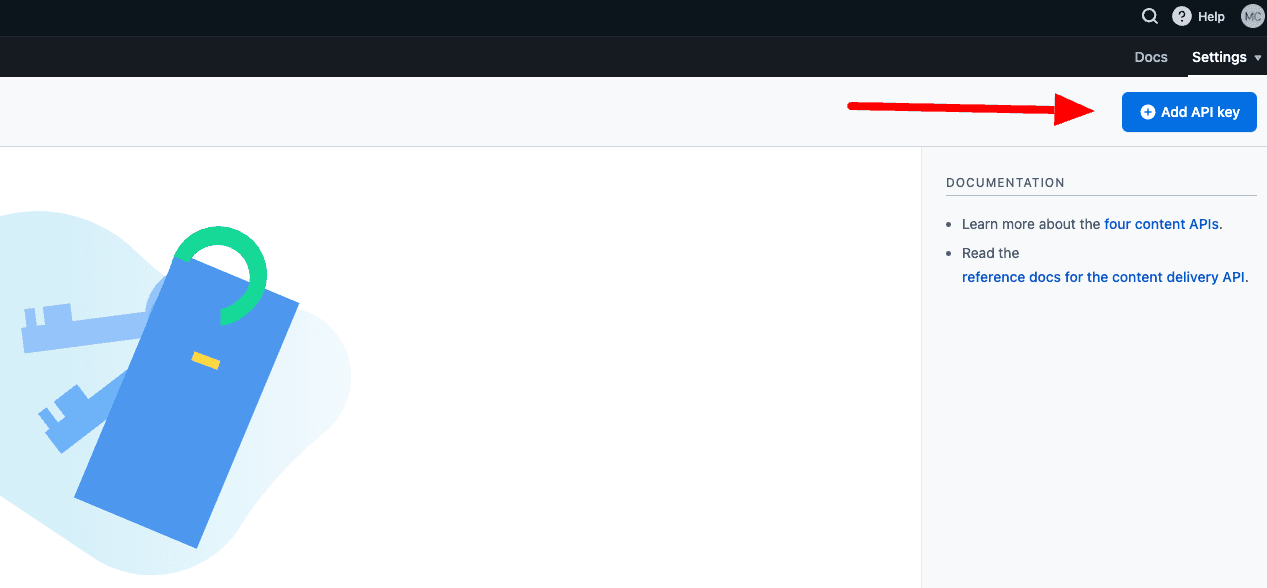
Contentful API Token & Space ID
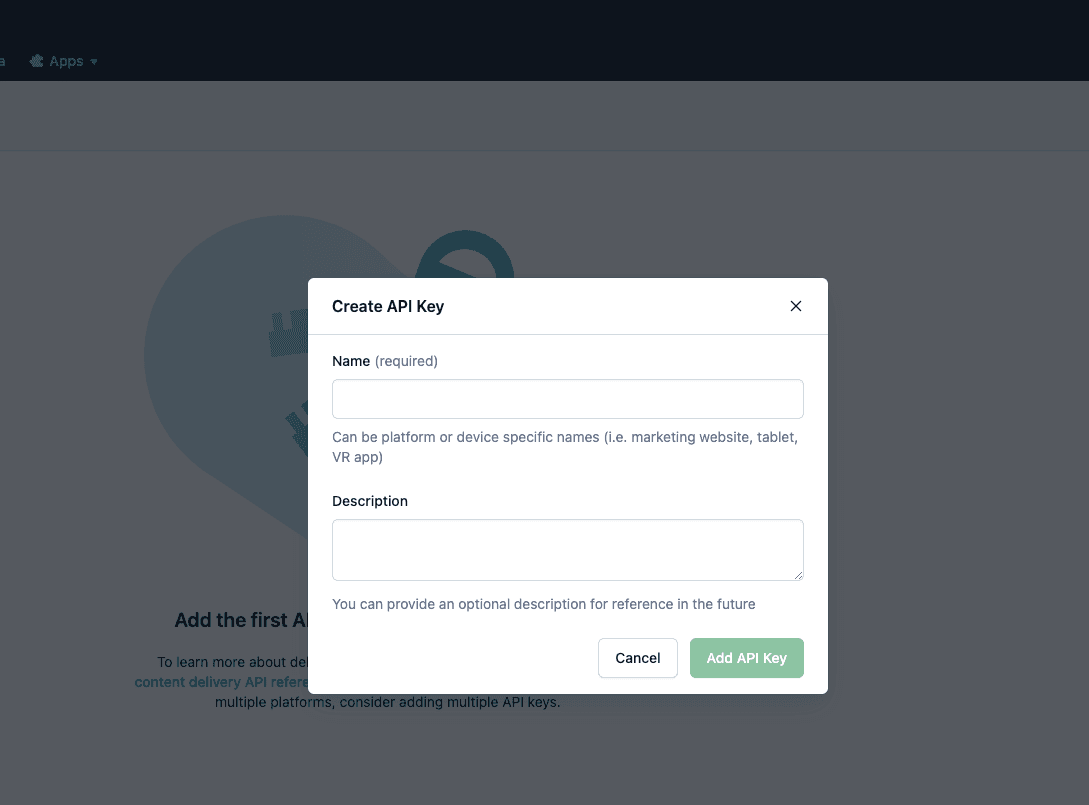
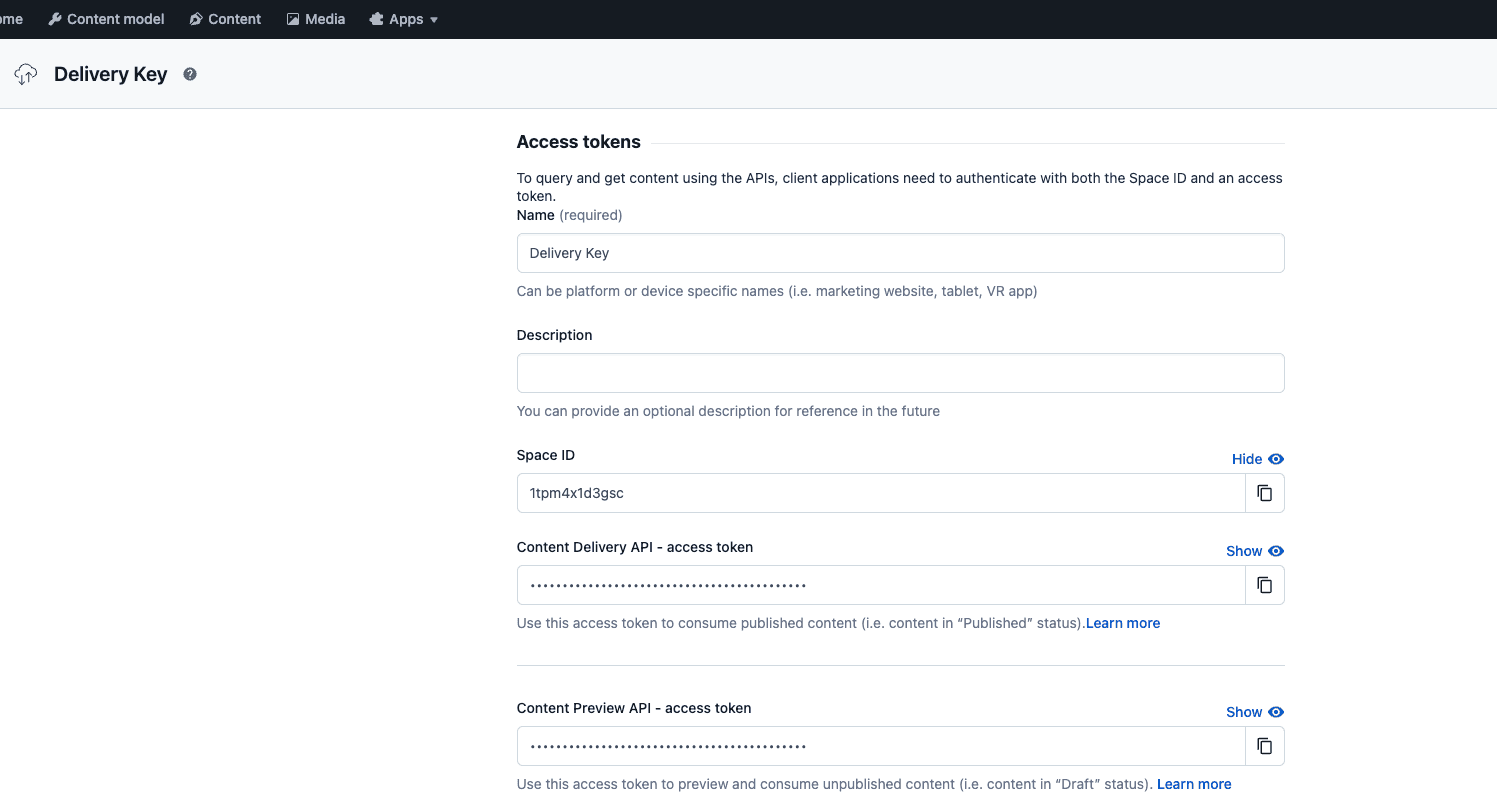
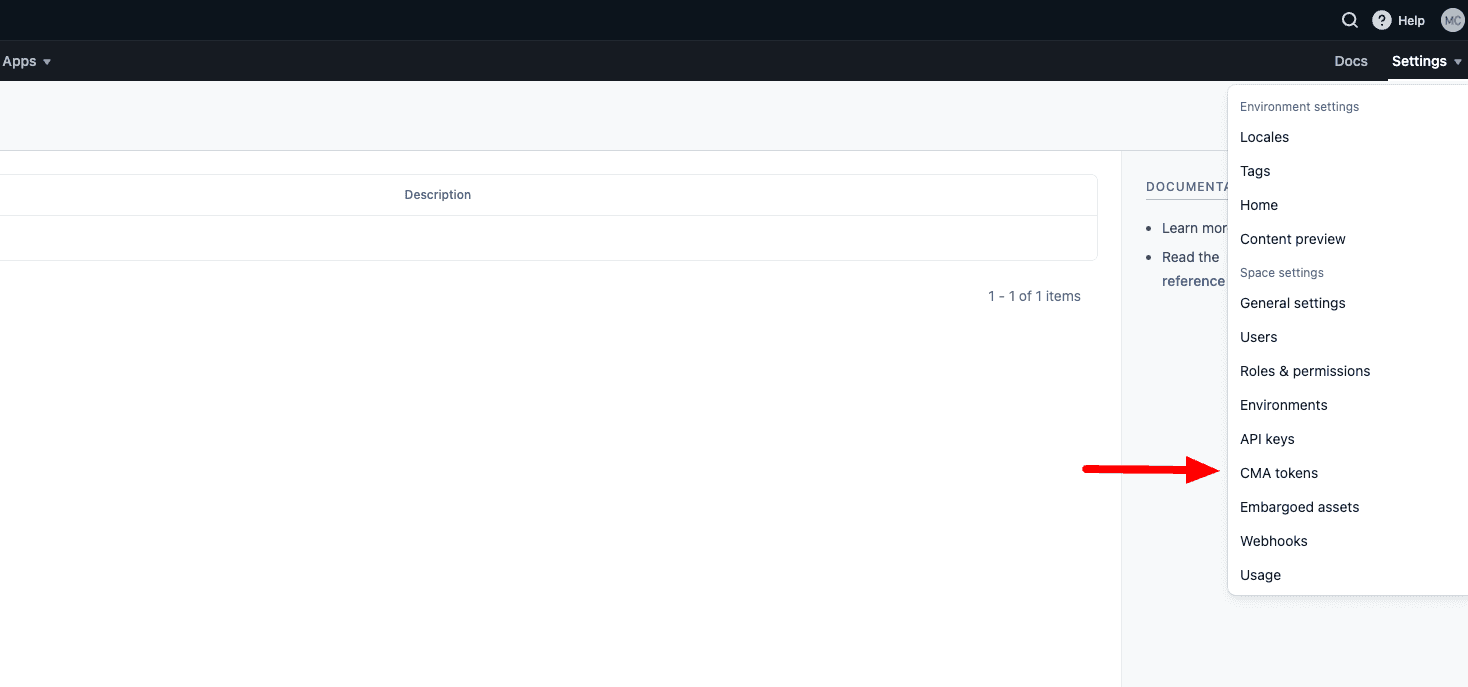
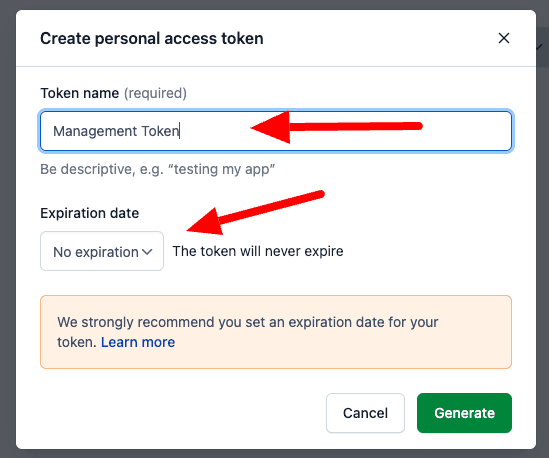
Now we create the needed Api Keys for our .env.local file. First Space_ID, Access_Token, and Preview_Access_Token, and then Management_Token for write/insert operations.
Management Token (CMA)
Env File and Npm Packages
Create .env.local file for the env variables
Add npm packages
Create file codegen.ts in the project root
Adding two lines to package.json in the scripts section
Creating folders and files for GraphQL
Create folder src/lib and there the file client.ts
Create folder "graphql" under src/lib/ and within the "graphql" folder create these .graphql files (you can get them from the Github-Repo)
Now we create a new folder called contentfulsync in the project root and then we add these lines in the script section of the package.json
Let's create the import config file for the contenful-cli under contentfulsync/import/config/contentful-import-config.json
Create a new folder contentfulsync/export/config
Import data into Contentful Space
Now we can import the data to our contentful space:
Done this the content types and the content are present in our Contentful Space.
What about the Frontend ?
To be able to show the data on the frontend we need to install missing npm packages.
As a next step, we add these components under src/components (create the components folder if not exist)
And then we can modify our page.tsx under src/app/
Deployment
Starting the development server with
will lead to an error because the domain, where the images were served “images.ctfassets.net” is not configured. So let’s go to our next.config.js file and modify it so that it looks like this:
Now the development server should start and we can use the URL http://localhost:3000 to see the result.
That’s it. The basics are done and in the next post we will go ahead with the Frontend, then how we can handle additional languages, User registration/login, and a lot more. Stay tuned.
Github Repo
https://github.com/cloudapp-dev/nextjs13_5-typescript-app-router-contentful
If you like what you see, then please support me with a clap or follow me on medium.com.